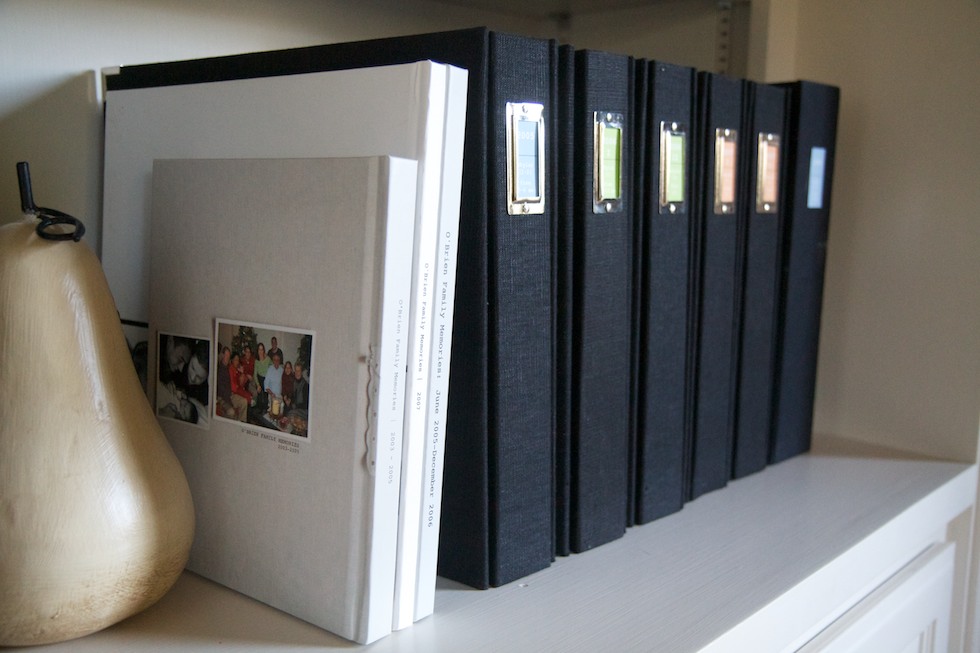
As I wrote about in this Week in A Life post, last year I found myself taking a good hard look at the real estate required to store my memory keeping efforts. I couldn’t shake the feeling that rather than a blessing, these albums may be a burden to my kids someday. Our “library of memories” was full and another shelf was filling up fast.
So, I embarked on a project that is not for the faint of heart. I decided to scan the 8.5×11 and 12×12 layouts I had created since my oldest was born, and build digital photo books of these pages. Thin, portable, replicable, layouts backed up and stored online, yes please. When I read this post from Becky Higgins earlier this year and she mentioned her desire to do something similar, I breathed a sigh of relief that I was not completely crazy.
But yes, holy mother of all projects! Let me fast forward to the end result, I went…
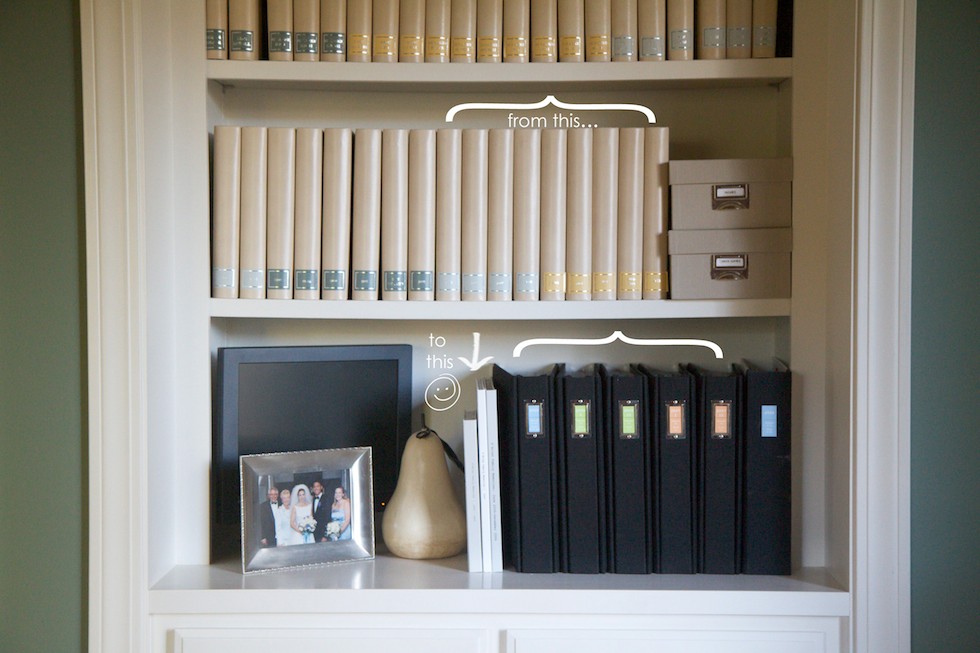
Here is my 5-step guide to making this happen…
1 | Choose scanning vendor
I went with Scan Digital in southern California. They were more expensive than the larger Scan Cafe but I liked that their scanning facility is in the U.S.* I used a Groupon which made Scan Digital pretty competitive. Ultimately, I was happy with my decision. I loved the fact that I could easily email or call them if I had any questions. I did have to prod them a few times when my order was late, but once I picked up the phone and said hello they were very responsive. A few of my scans also had some color issues and help was just an email away. All in all, very positive customer service experience.
2 | Place order online
I did this awhile ago so don’t remember all of the details but do recall calling to ask what resolution was required for printing at 12×12 size. Answer: normal resolution. After you enter in your details, you are issued a shipping label and you are onto the next step.
3 | Package & Ship
I was too chicken to send everything at once and also wanted to make sure I was happy with the service so did this in several batches. I had my best success packaging my layouts for shipping in 12×12 Iris bins (often on sale at Michaels). These bins will even fit page protectors. Shipping in a plastic container was a lesson learned from the first batch I sent in. Although I carefully enclosed the layouts in an oversized ziploc bag, the edges still got a bit curled. Label with your name and phone number. Put in box. Say a little prayer and send it off.

4 | Receive returned layouts with digital images
Do a little happy dance and get to work on phase two of this project.
5 | Create and order digital book
Choose your preferred photo book vendor – Blurb or Shutterfly are great choices for a project like this. For the 12×12 scans I obviously chose a square book. 12×12 works for me but smaller square sizes would be great for little hands too. These scans will bleed right to the edge so a bit will be trimmed off.
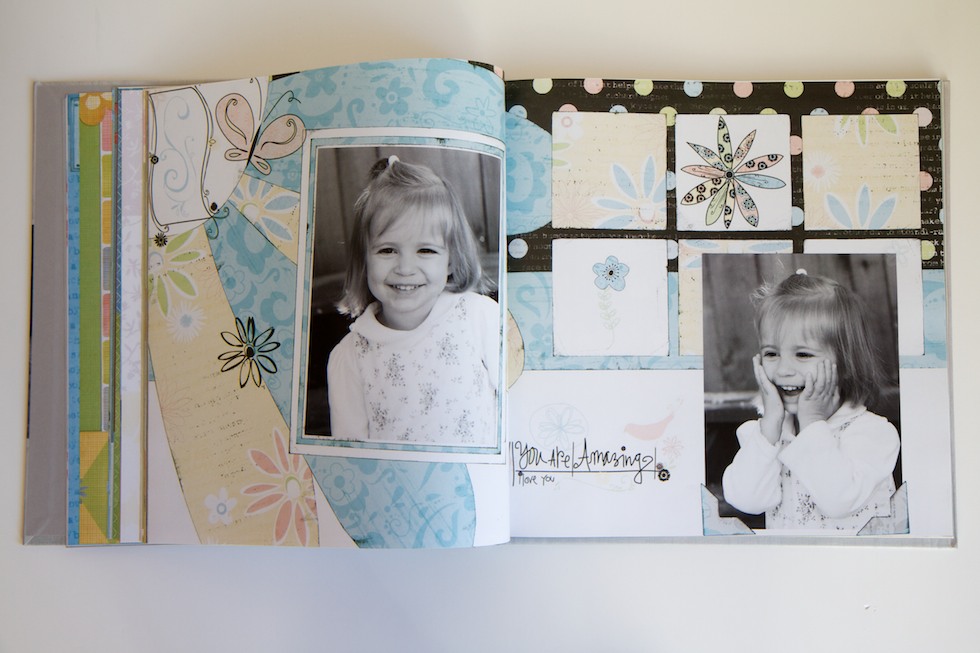
If there was important content/text right at the edge I reduced image to 98% and that would usually fit the full image but still be within the trim guidelines. In a few cases I created a larger “frame” around the layout like this…
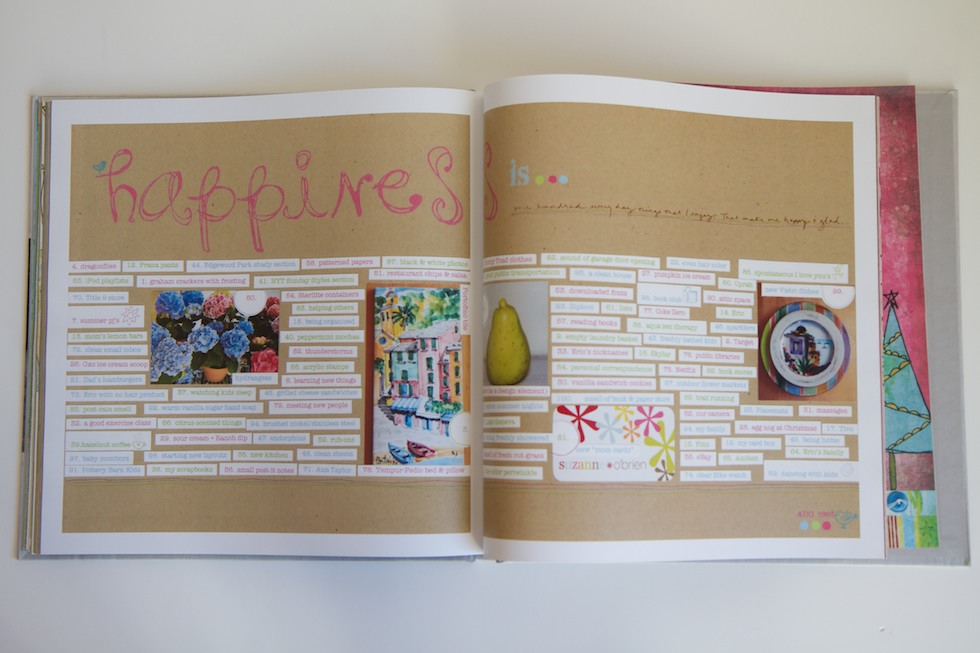
For the 8.5×11 scans I debated for a good long while about what size to use. I ended up choosing 8×10 vertical for 2 reasons:
1) the layouts just fit better than in a 12×12 album and
2) cost – my book was 200+ pages which made the larger album rather pricey
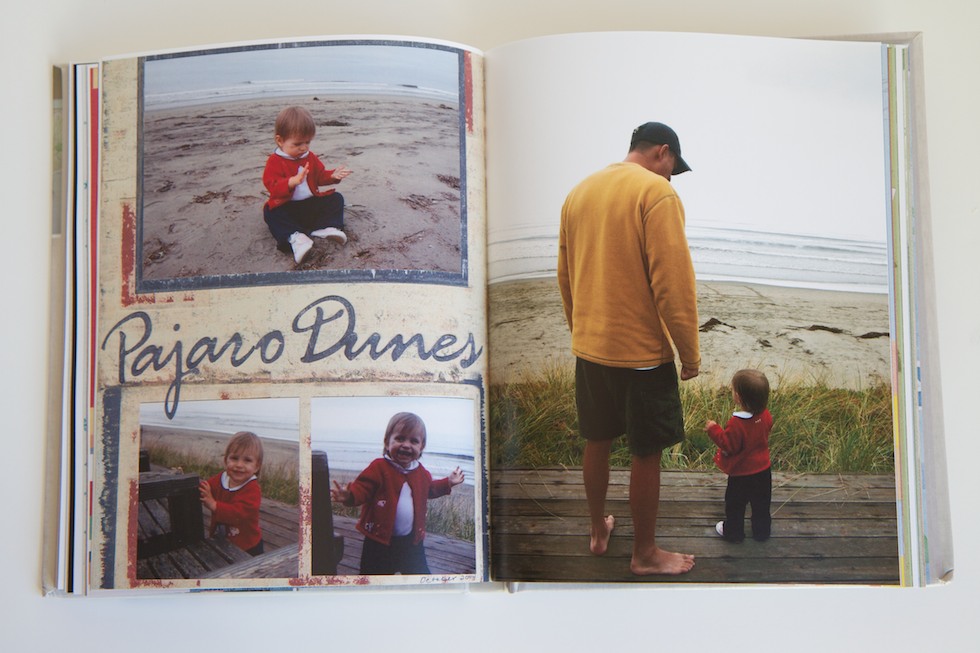
I just had to let go of my vision of all of my family albums lining up on a shelf nice and neat. Here is the 8×10 book with an example of what I did when I didn’t have a two-page spread (usually book title or end pages) – just add a picture from the same time.
And that’s it! I’ll be honest, this was not a quick project. There were many steps along the way, but these books give me peace of mind and make my heart very happy.
So for the 3 of you out there with enough patience to tackle this project – go forth, digitize and please share your results!
* ScanCafe recently announced US scanning services in a San Francisco facility so I would definitely compare the two.

Leave a Reply