
A frequently asked question from last month’s Travel Series was how to create itinerary maps to include in a photo book. Read on to discover my favorite way…
- Visit TravellersPoint and sign up for a free account to “effortlessly create a beautiful visualization of your trip.”
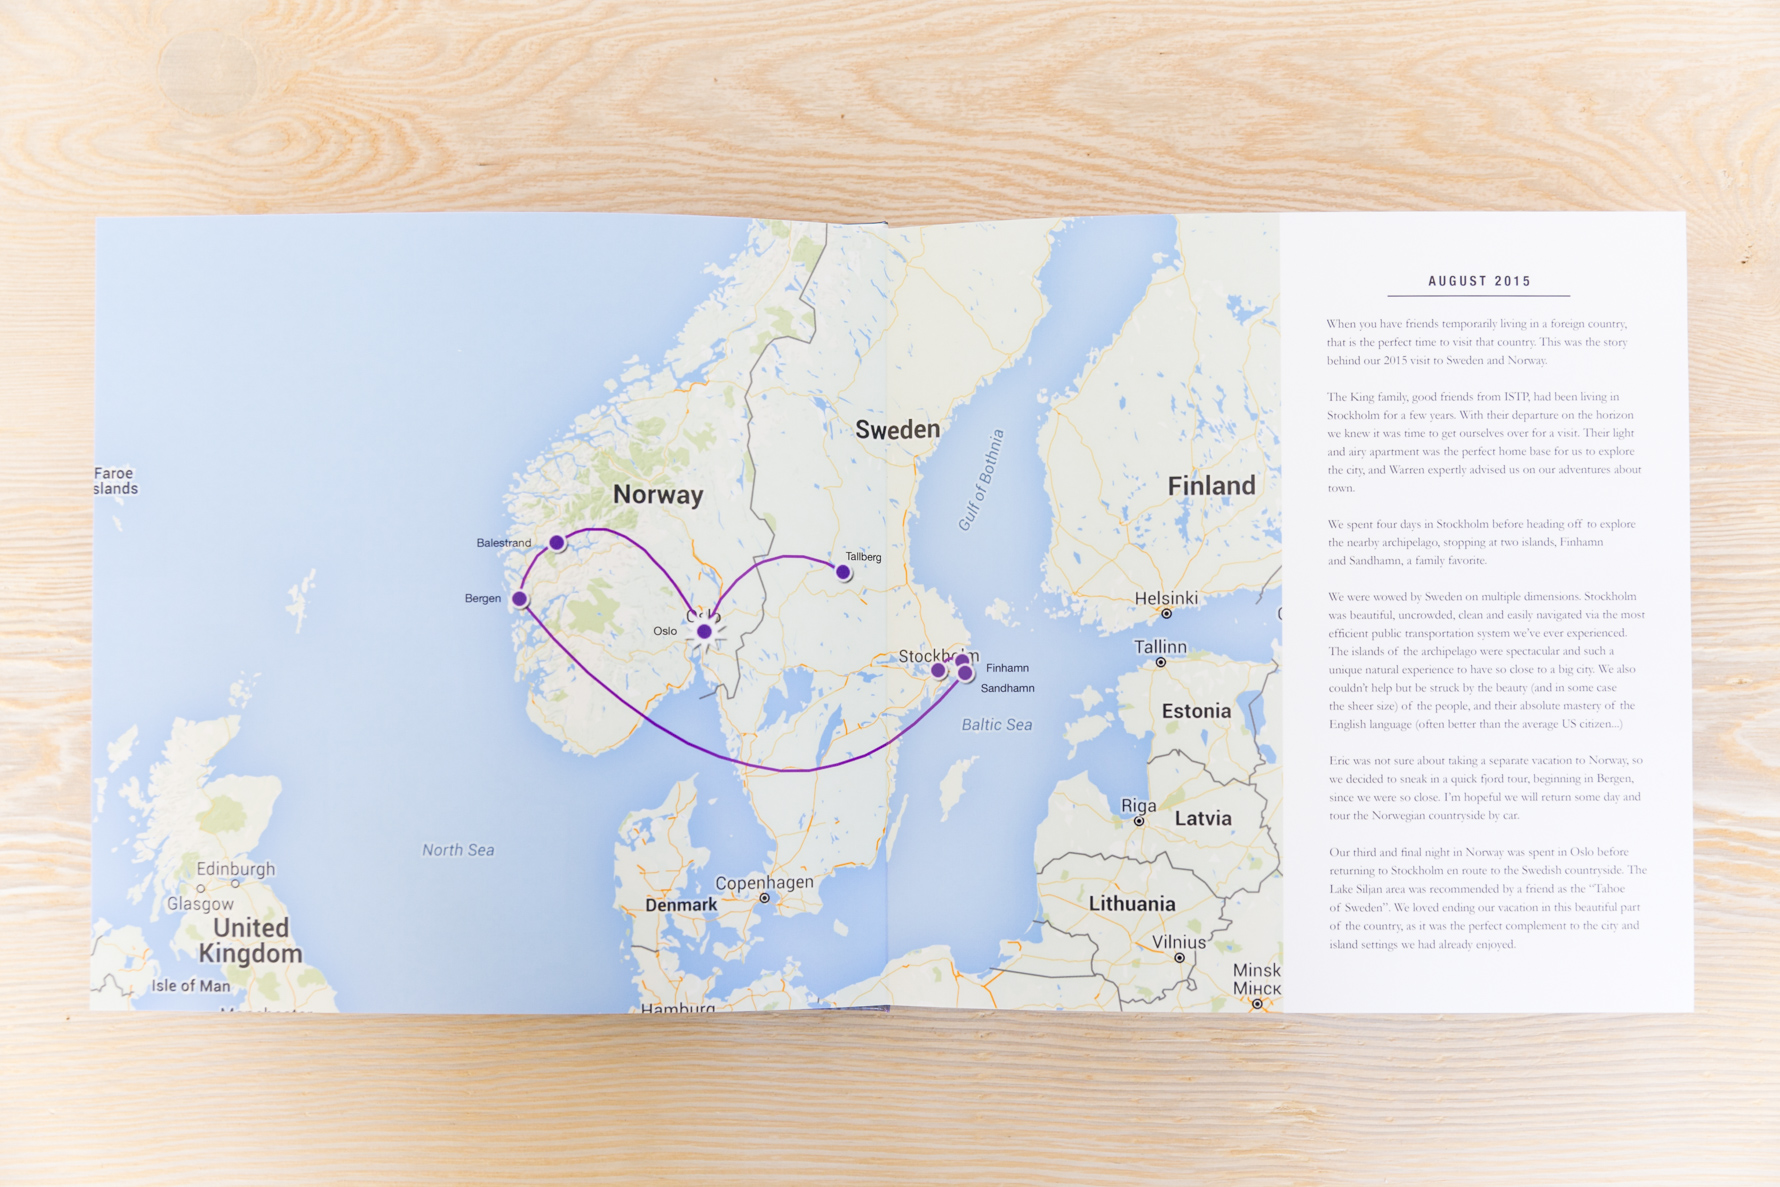
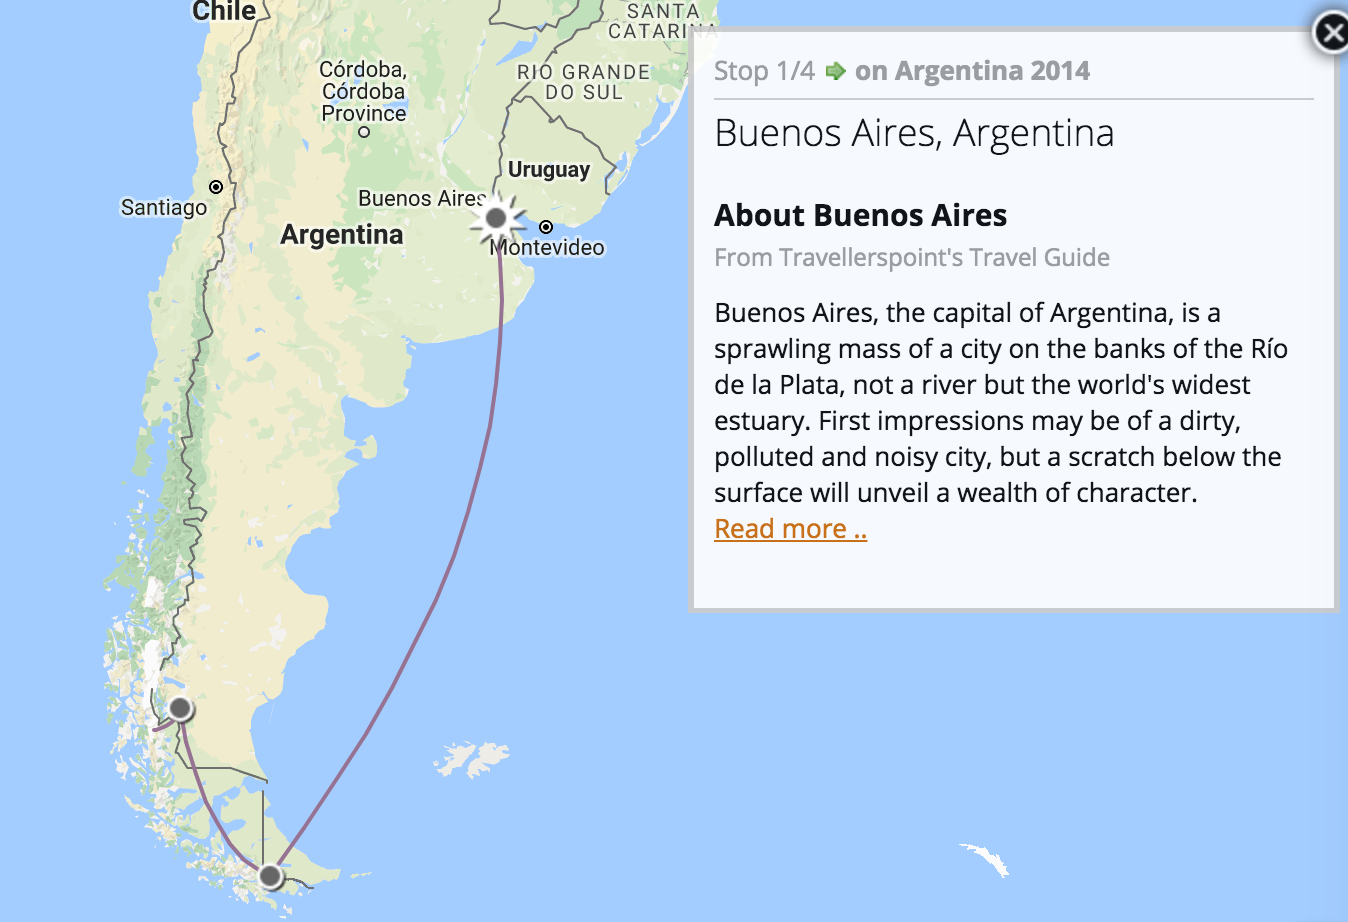
- Click on “Map” from menu bar and select “Add a New Trip”. Begin plotting your itinerary! Some cities include basic information you might find useful to include in your book (see below).
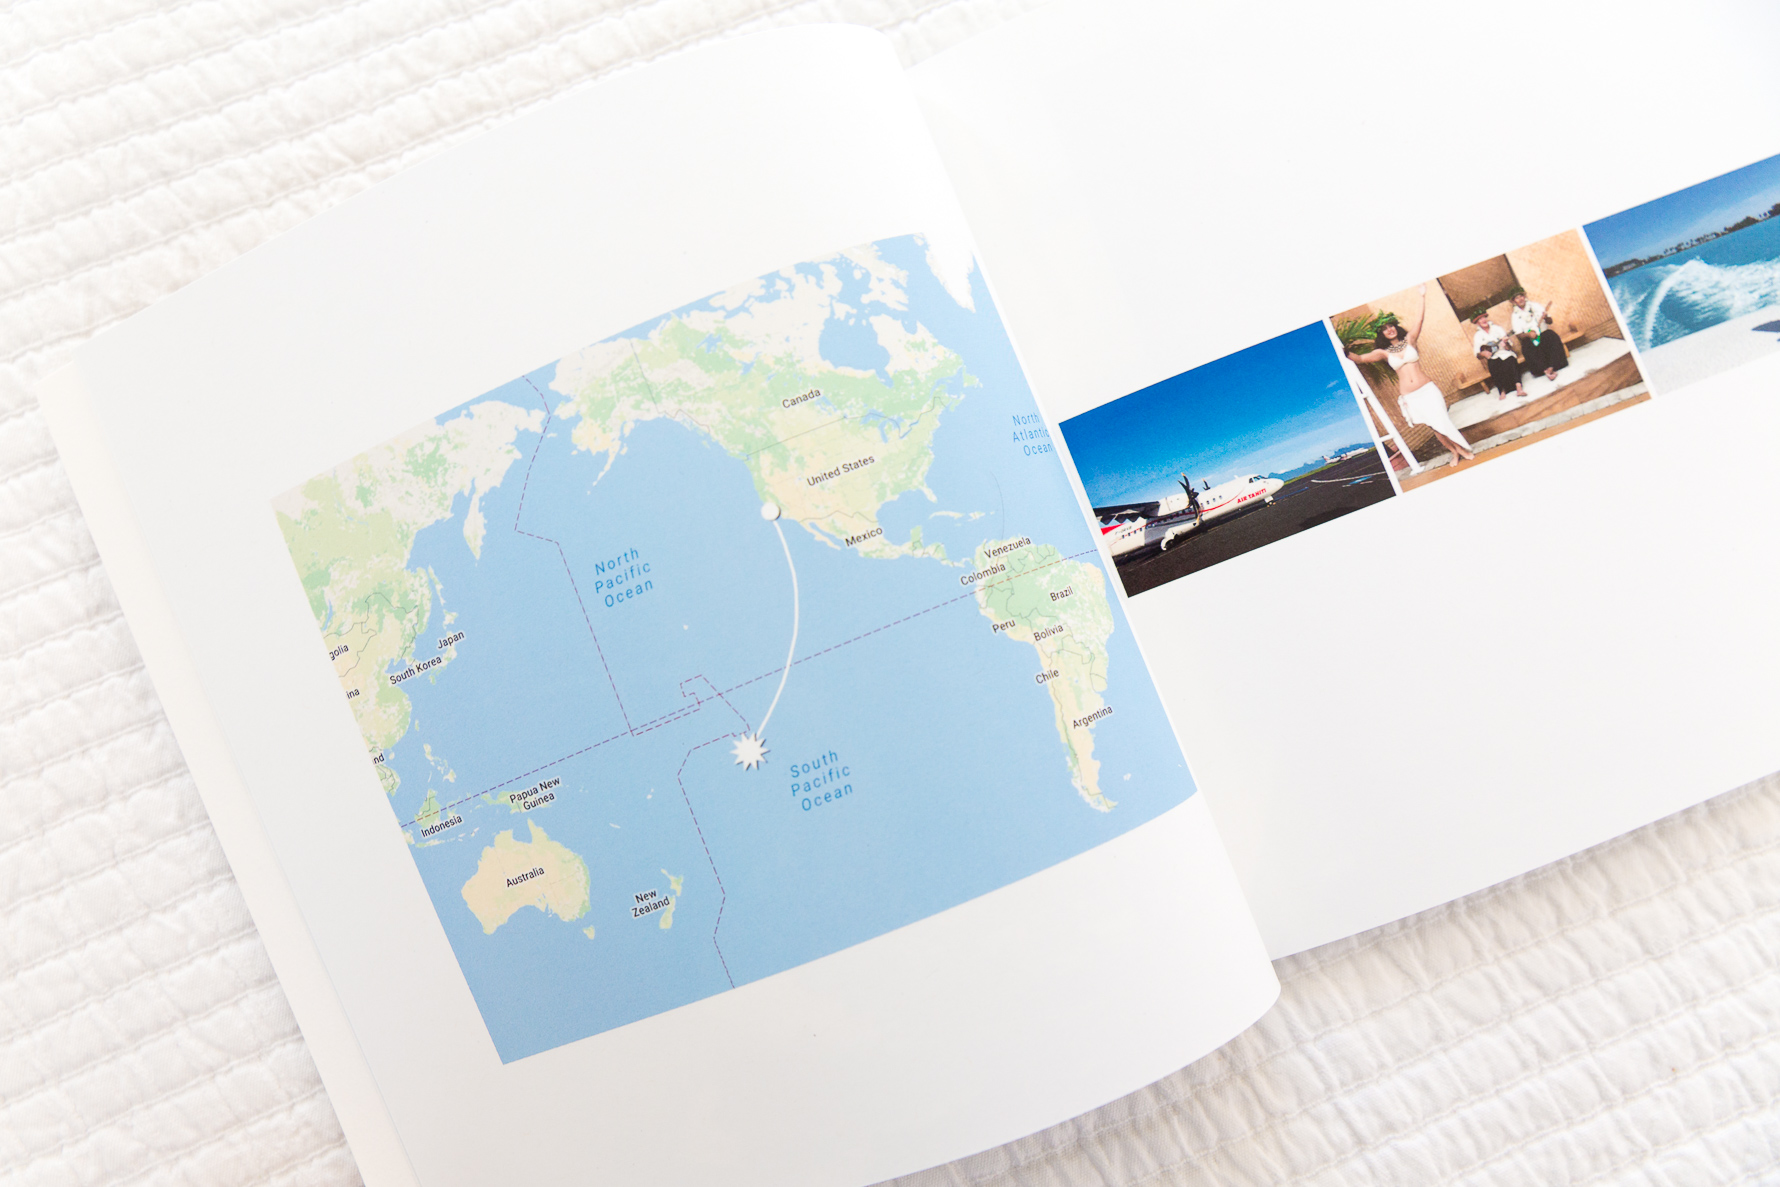
- Take a screenshot of completed map with all of your stops. Convert to JPEG if your photo book software will not accept .png files.
And that is it! Easy peasy and you have given your reader some context about where the story you are telling takes place.
Happy mapping!
Erin M says
I see that your lines are in different colors. Is there a way to change the line colors in the Travellerspoint map maker?
Suzanne says
Hi Erin,
I don’t recall proactively changing the line colors. Perhaps you can contact Travellerspoint to ask them that question!
– Suzanne
Lauren T says
Thanks for this tip! I was looking for a simple map to plot my vacations for my photo books. Exactly what I needed!
Suzanne says
Hi Lauren, glad you found this post helpful! – Suzanne