
One of the biggest challenges my clients and friends share with me is that they lack an organized photo system. They are overwhelmed. Drowning. Buried. Scattered. Sound familiar?
They want to be able to find the specific photo they want, when they want it. That doesn’t seem like too much to ask, does it? If one of your biggest desires is to create a photo organization system, keep reading, my friend, while I share a story about the time a snowstorm gave me the gift of time to do just that..
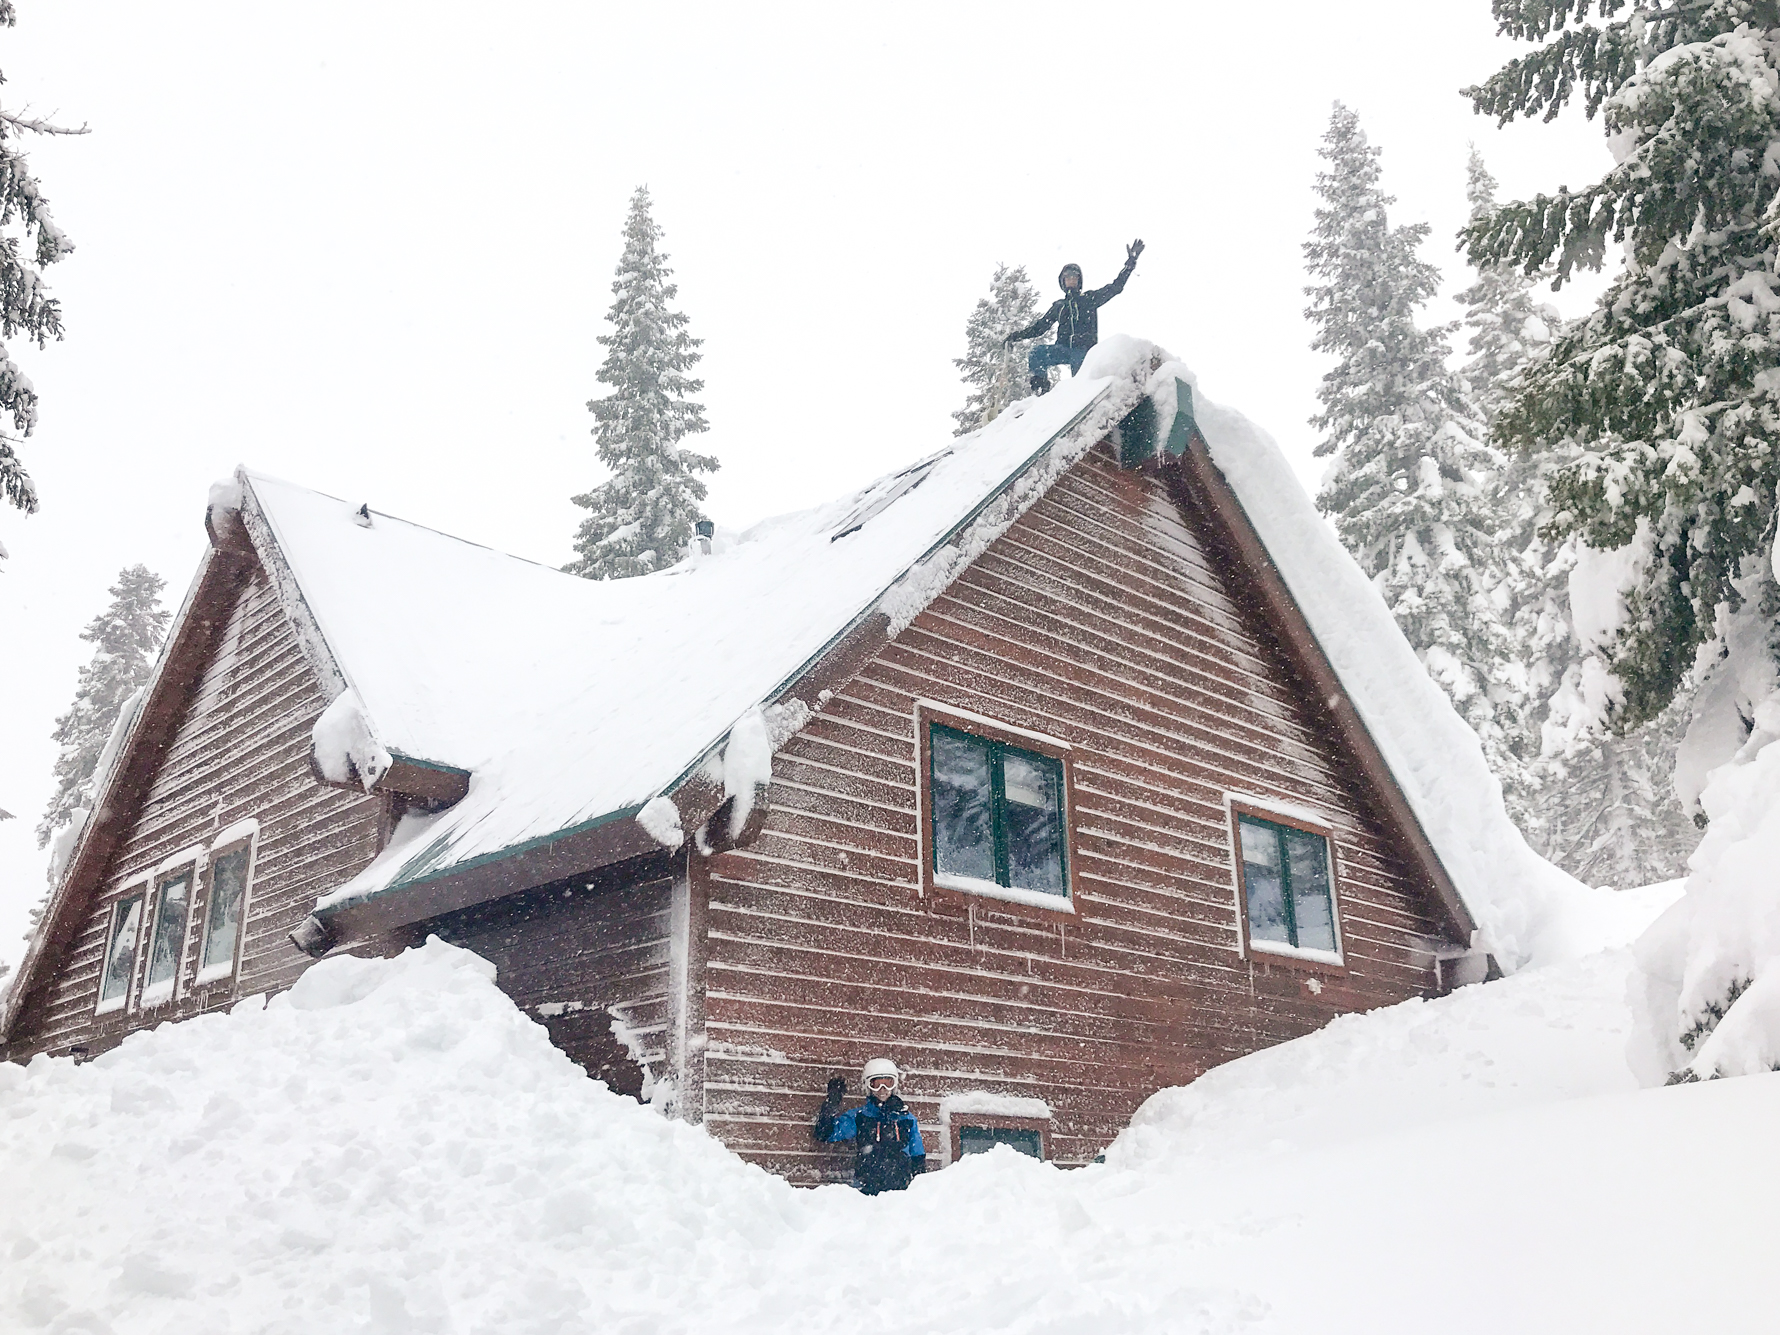
This story is on my mind because I just celebrated my 5th anniversary of finally feeling on top of my photos. It was February 2017, ski week here in California. Lake Tahoe was already enjoying an epic winter and that week delivered the mother of all storms. The ski resorts were mostly closed as they dug out from the non-stop storms, our road was not plowed and internet was spotty.
If there was ever a moment to roll up my sleeves and get my digital photo act together, this was it! Does this scenario of being isolated in your home sound familiar to anyone?

These photos of our home seem fairly symbolic of how I was feeling about my photos – a bit buried! So here are the 5 steps I recommend to take you from feeling buried to breathing easier…
1 | Gather Photos In One Centralized Place
For most folks, I recommend making their photo home an external hard drive (EHD) as our photo collections can easily exceed the space we have on our computers. I’m currently using this 4TB EHD. Of course, this gathering process will look different for everyone. For me, it involved collecting my digital photos from Apple’s Aperture program, double checking old iPhoto libraries, and pulling photos and videos from another older EHD. You might have photos on memory cards, old CDs, Facebook, or your phone to name a few typical storage spots. This is the essence of why we can feel so overwhelmed and scattered! But bringing all of your images into this one space will help so much.
Did I know how to do all of these tasks? Nope, but I do know how to do a Google search and in the words of Marie Forleo, “everything is figureoutable”! I will say my favorite ways to get a lot of photos off of your phone are the DropBox or Amazon Photos apps. They allow you to sync your camera roll and then you can access these files online from your computer.
2 | Ignore the Photo Clutter
I cannot emphasize this step enough. You will be tempted to want to clean out all of the “bad” photos (blurry images, screenshots etc.) but trust me, resist the urge. That project will always be there for you to tackle over time. For now, our goal is to get your photos organized in one place and backed up, keep moving forward! Remember the expression “can’t see the forest for the trees”? Yep, stay focused on the big picture and resist the urge to get bogged down in the little details right now.

3 | Remove Duplicates
Once you have all your photos happily together in one place, you may need to eliminate duplicate images. Check out this slick software, Photo Sweeper, that makes it easy to identify and delete duplicate and similar photos.
4 | Organize Folders
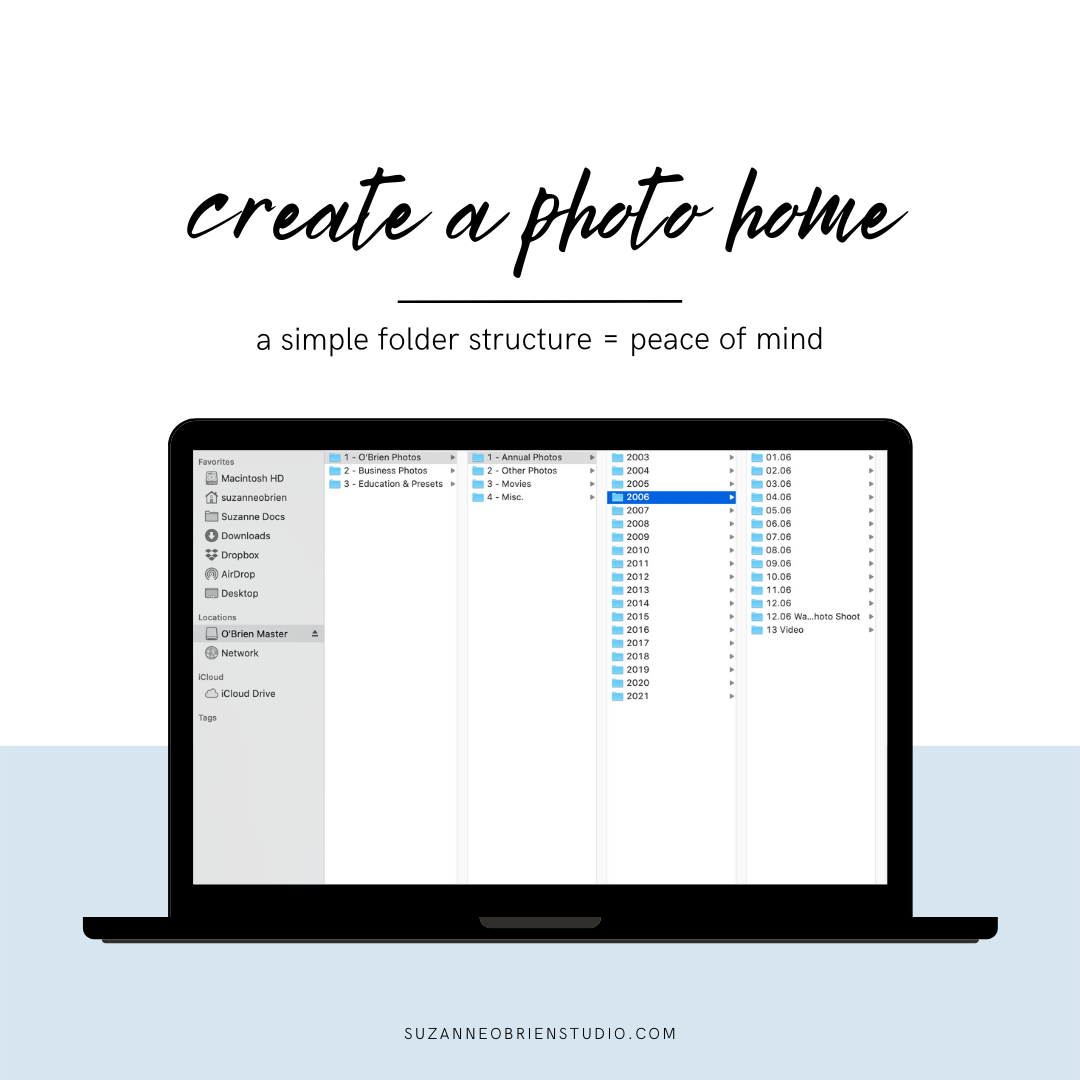
My preferred folder structure is simple folders by year and month (see below). For special events or trips with lots of photos, I will create another folder for that. I like separating out my videos from photos, so create a “13 Video” folder for those. If you have a lot of photos and videos to organize into Year/Month folders, I highly recommend recruiting Silent Sifter software to help with this process.
4.5 | Utilize Photo Management Software (optional)
This was the point where I pulled my photos into Adobe Lightroom, a program I was already familiar with and knew I wanted to make my primary software for organizing and editing my photos. There is a learning curve with using this software though, so if you are not ready to invest the time or money right now in this program, I highly recommend Adobe Bridge because it is free and does a great job organizing photos. But this step is definitely not required before taking the final step. In fact, if I weren’t sharing my story with you, I would skip this step and urge you to move on to…
5 | Enable Auto Backup
Backblaze, DropBox and Amazon Photos are my recommended backup options.
Of course an entire blog post could be dedicated to each step above, but I wanted to keep this post as simple as possible and show you a clear path to conquering the photo overwhelm. Are you feeling as optimistic and hopeful as this pup after that storm?

I truly believe if you stay laser focused on getting those photos organized in one place and backed up, you will sleep better at night. And once you have all of your photos under your control, in one location, the real fun begins! Stay tuned for additional photo organization inspiration and join me on Instagram to continue the conversation…

Leave a Reply