How I digitized 33 photo albums and 12 photo boxes during lockdown…
Some people mastered the art of baking sourdough bread, others started gardens. I organized my photos. And I don’t think I’m alone, so many things about this past year made us consider what matters most. For those of you that still have boxes of photos you’d love to make some sense of, this post is for you!
This project was on my “When the Kids Are Off To College” list. Then, all of sudden, it moved to my “When You Don’t Leave the House for 100+ Days List.” Last year, I methodically tackled the project of digitizing all of my (and my husband’s!) childhood photos. Want to come along on the journey?!
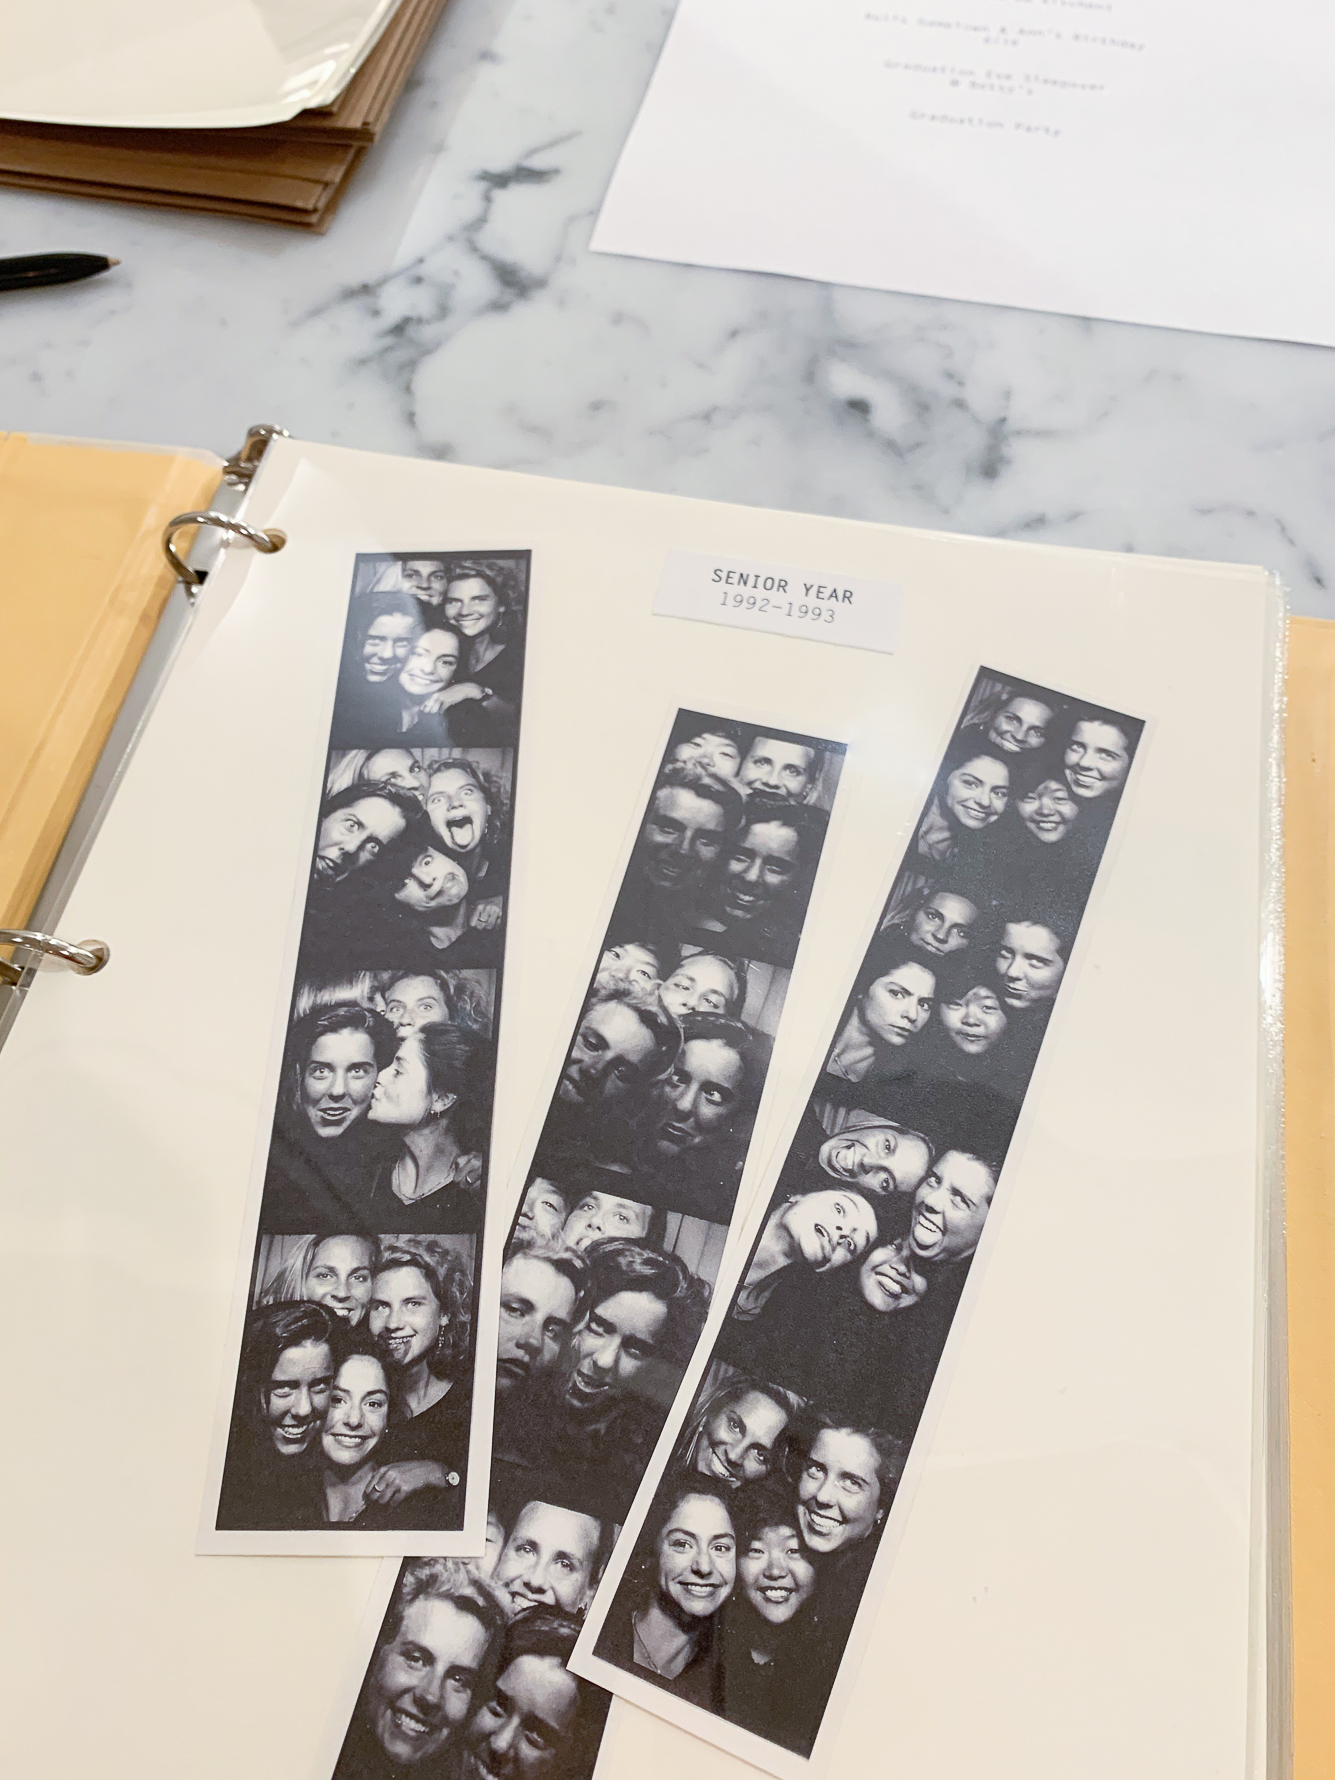
This process will look different for everyone given the current state of your photos. My hope is that by sharing the details about my specific project and process, it might give you some ideas for how to tackle your own situation!
How it Started…

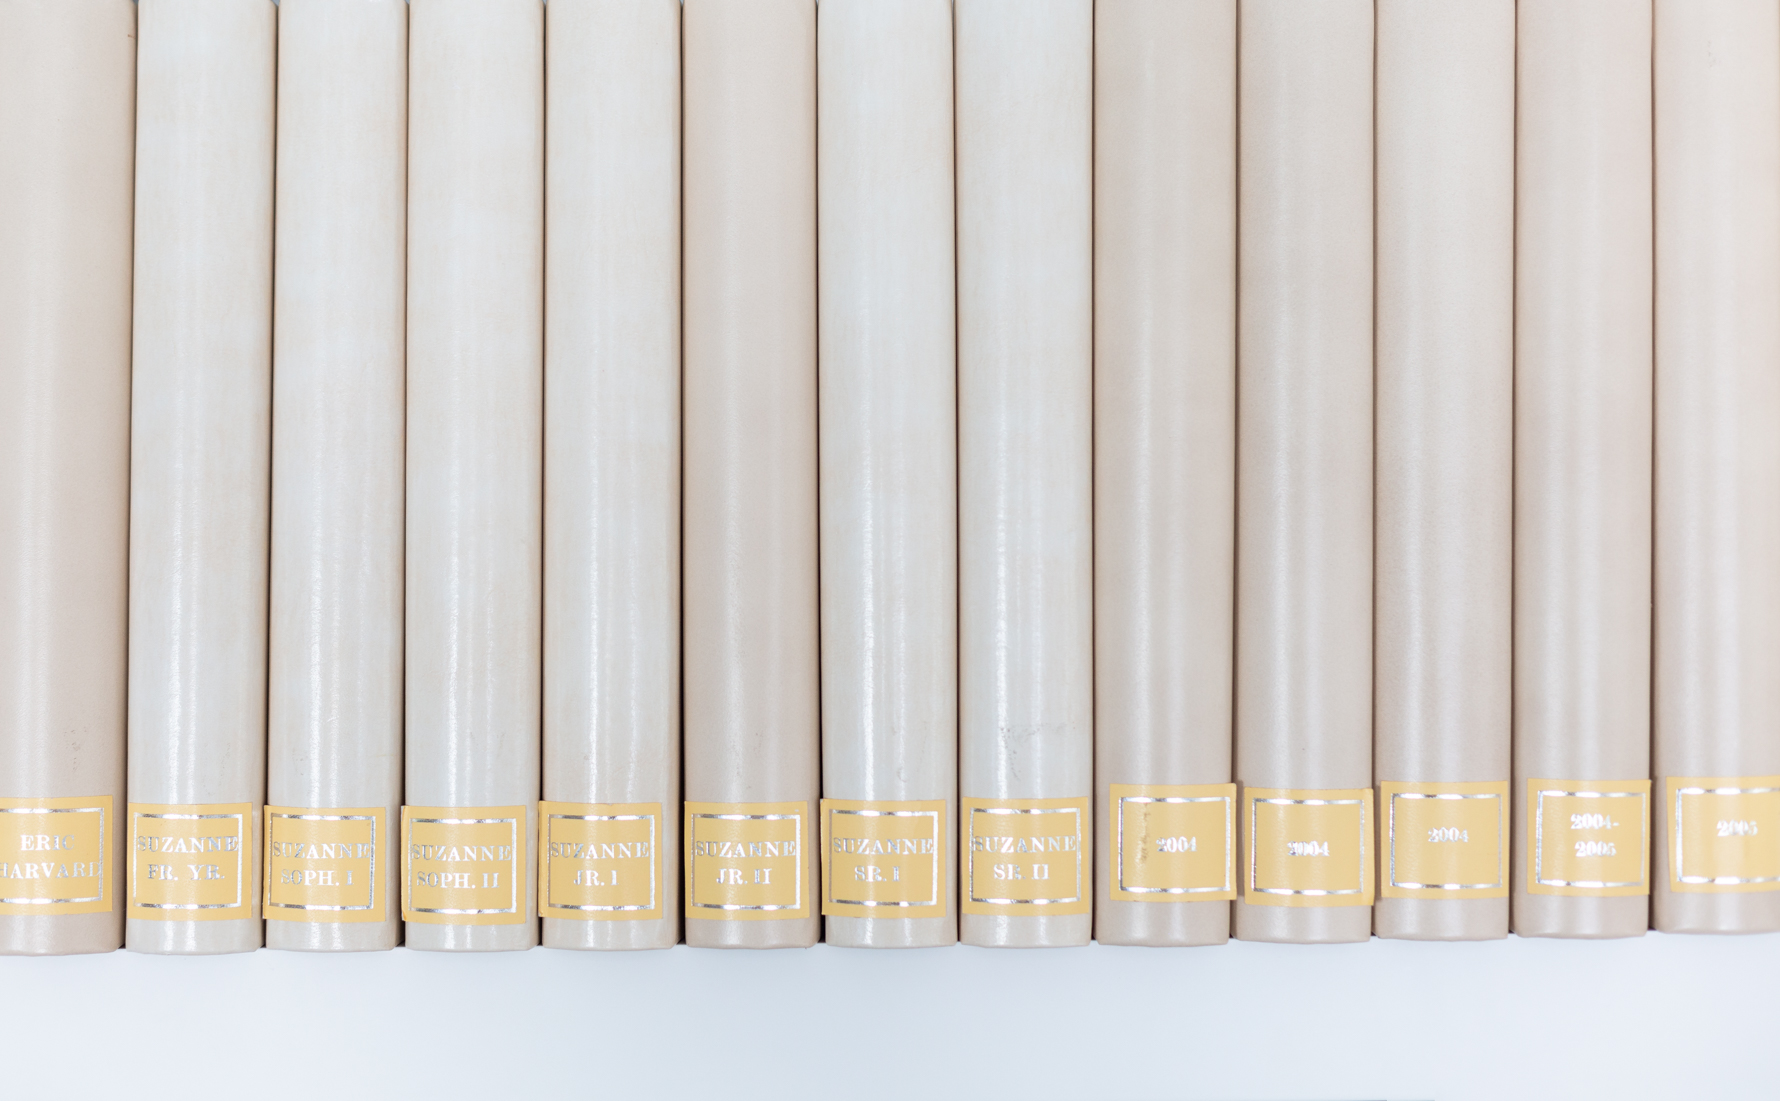
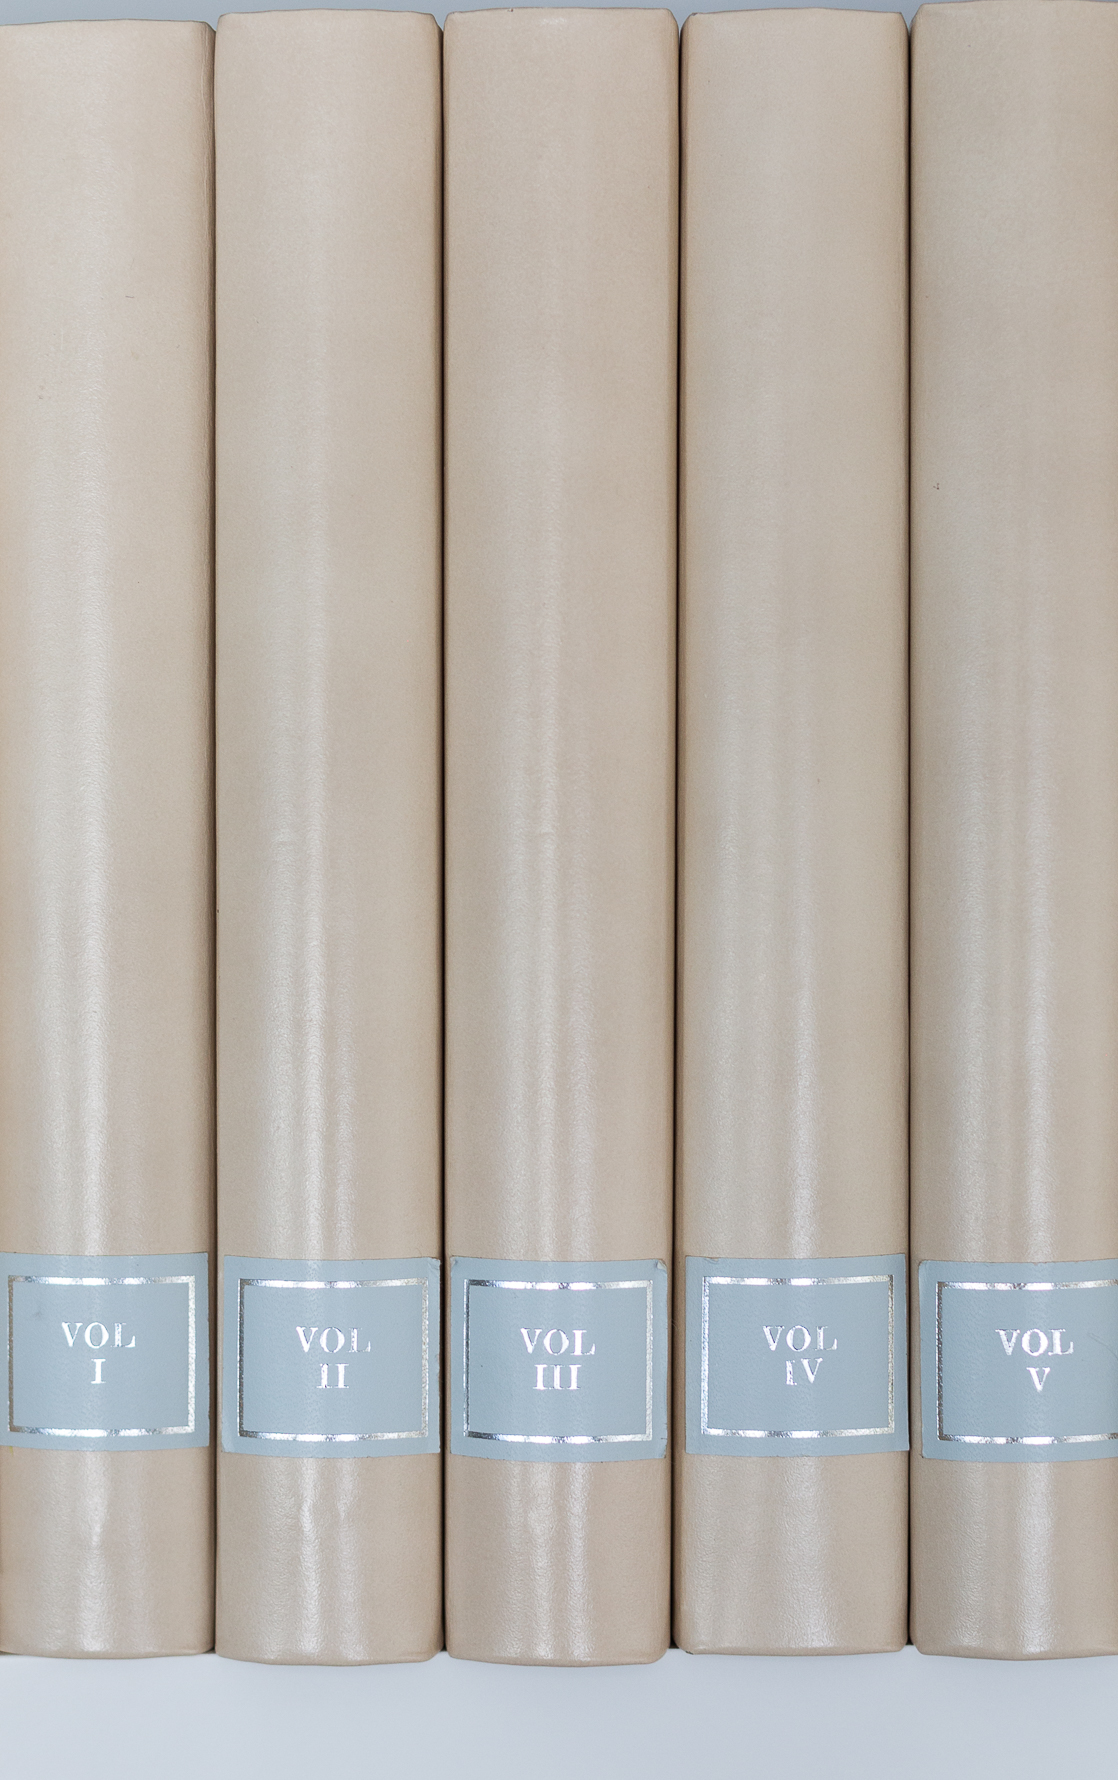
My printed photos started out in two locations: shoeboxes and these albums shown above. My goal was to eliminate the shoeboxes, digitize the best photos, and freshen up the album pages. So let’s get started…
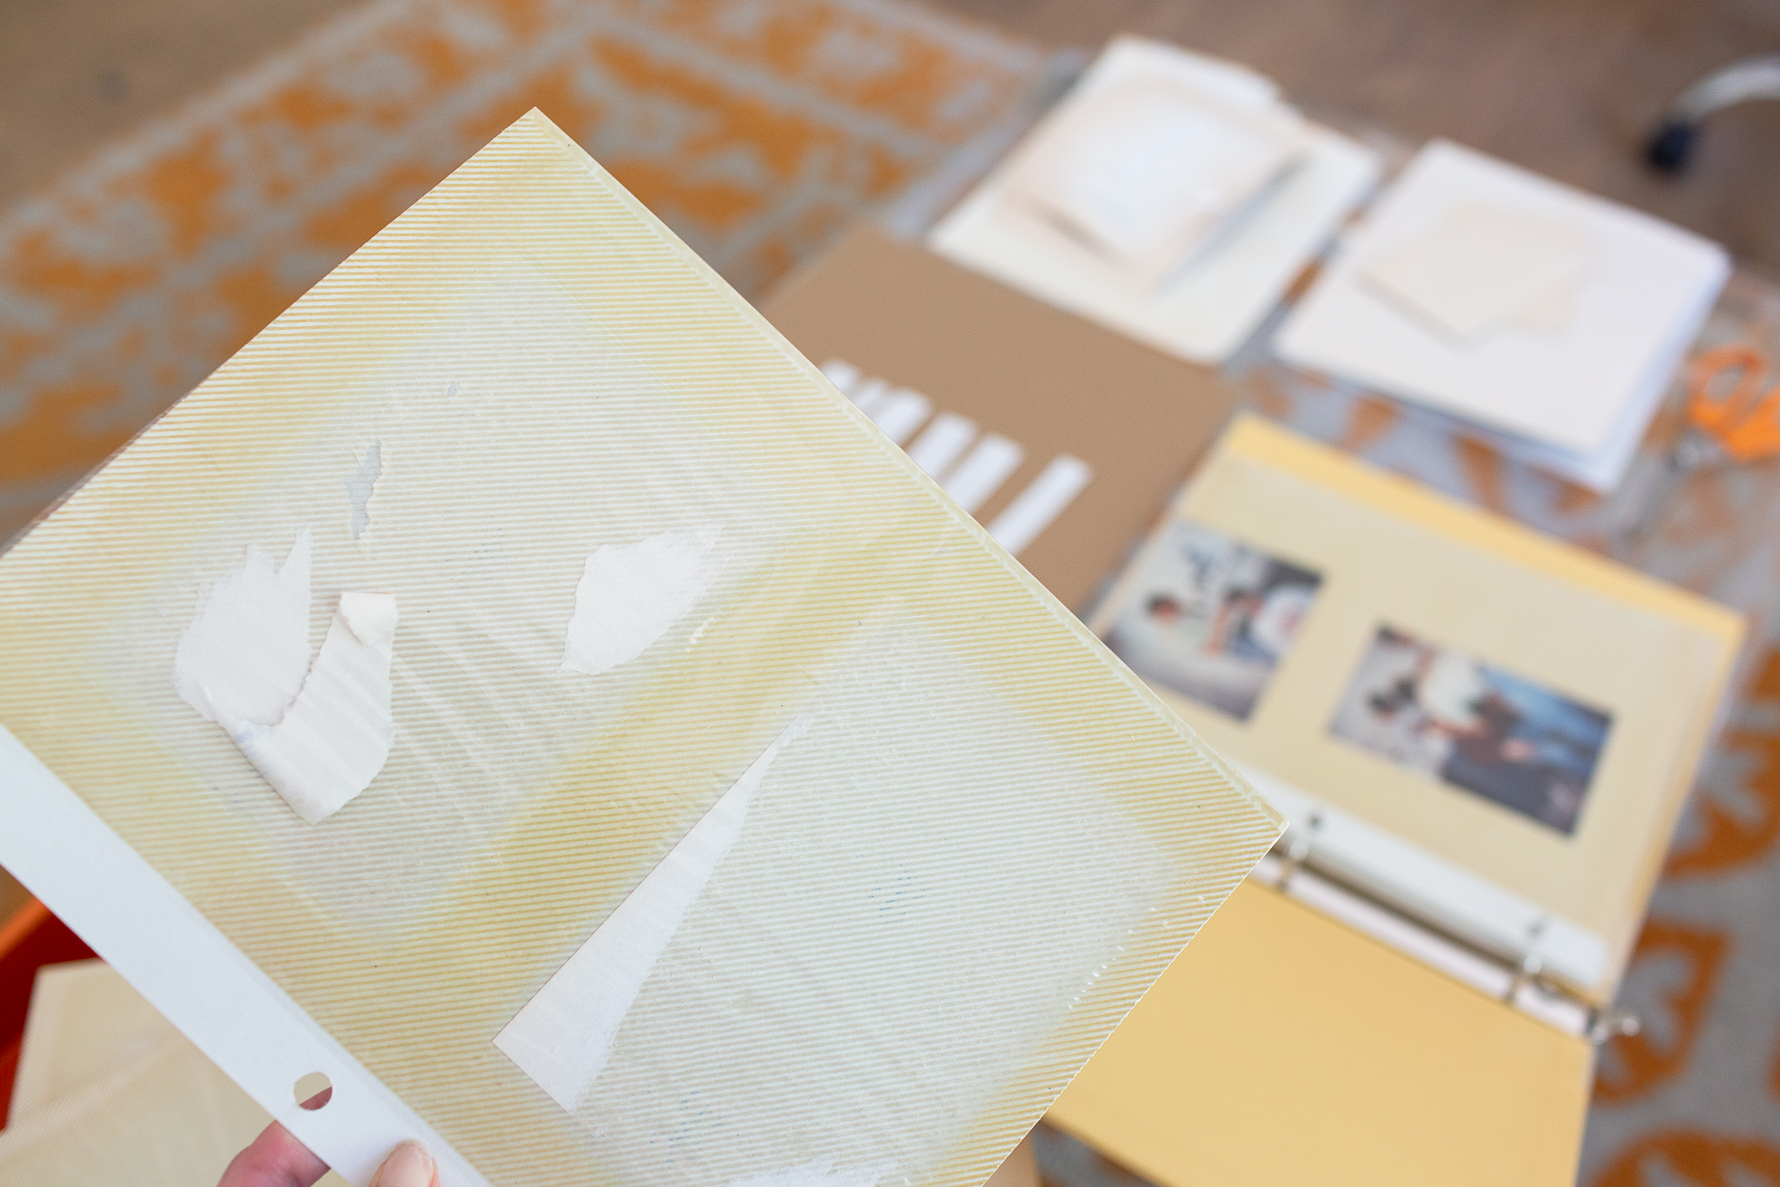
- SAY GOODBYE TO MAGNETIC PAGES | The first big reason I wanted to take on this project was these yellowing magnetic photo album pages. Yuck. I peeled out the photos, ready to give them a new home in archival quality pages. If your photos are particularly stuck, check out some of the clever solutions found here.
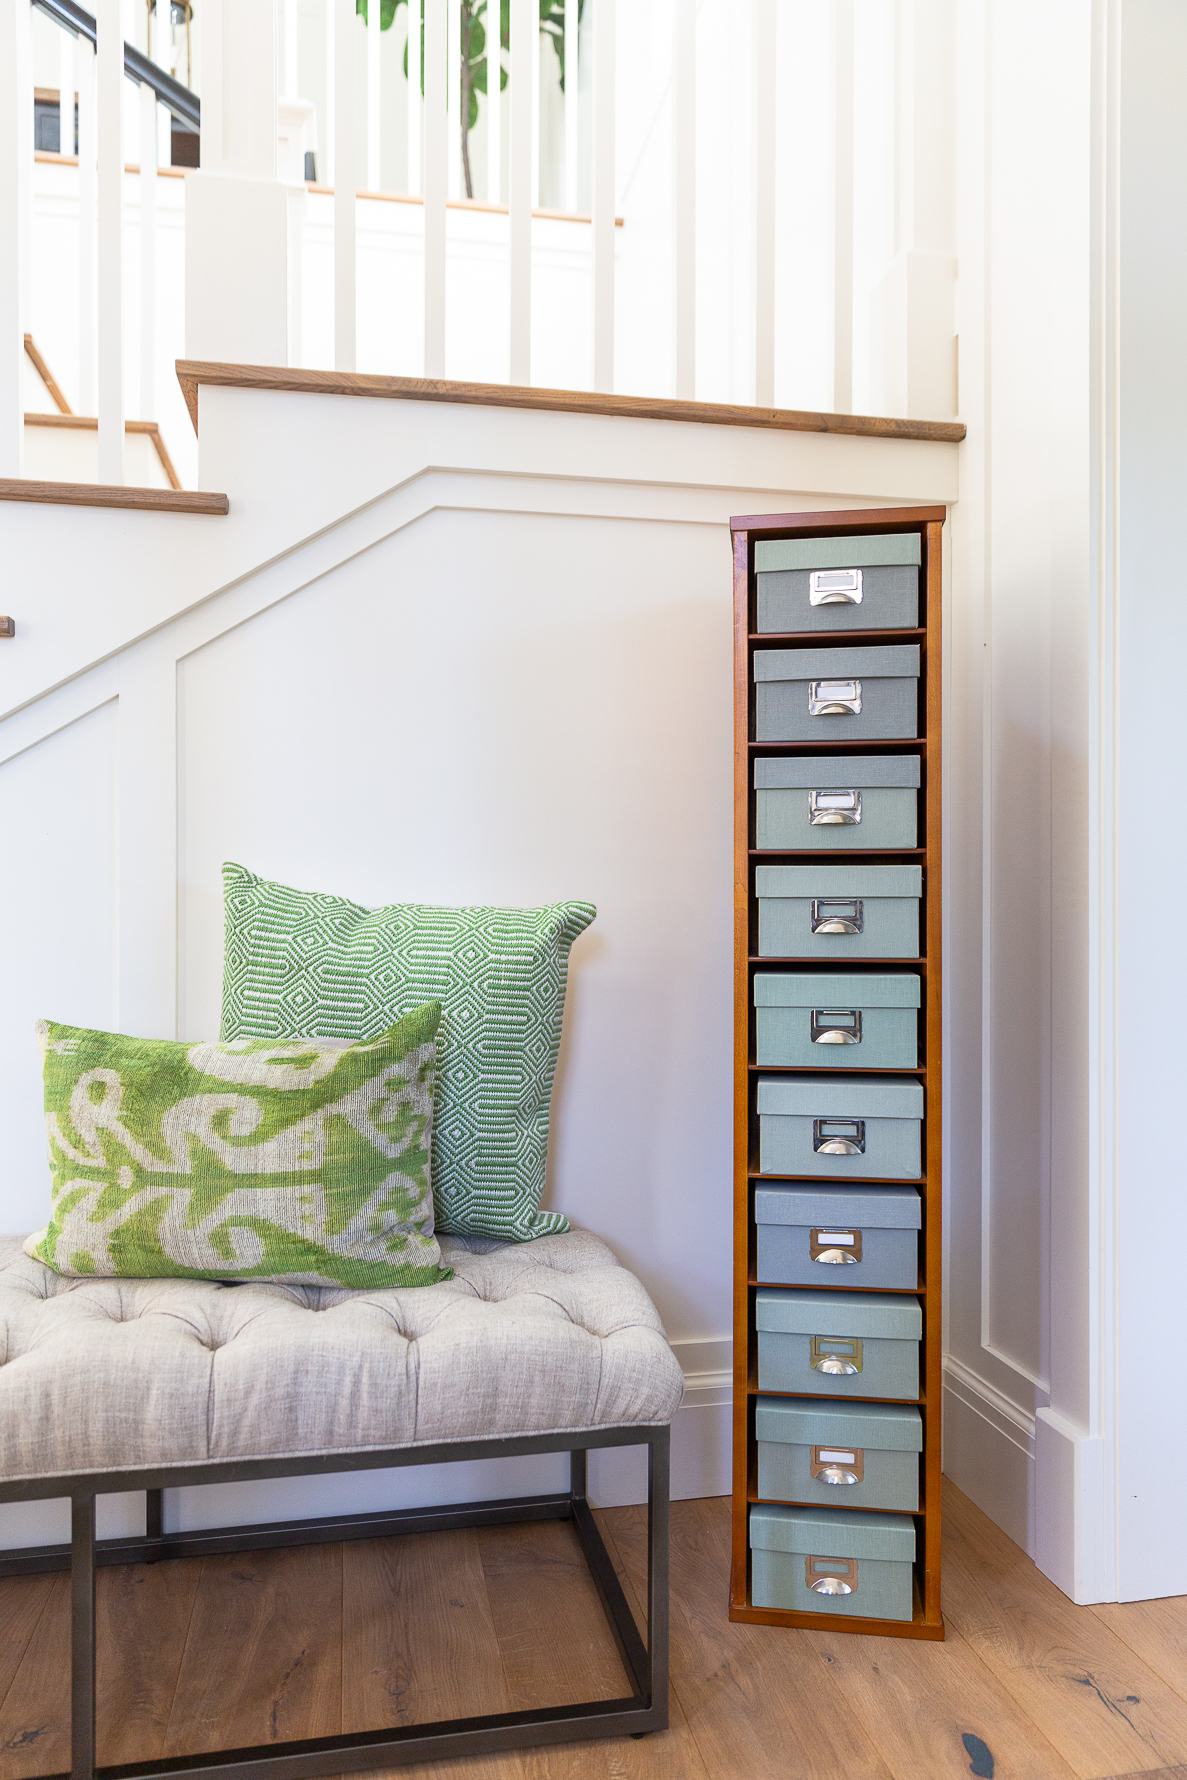
- PAIR WITH DUPLICATES & NEGATIVES | The second reason I was happy to jump into this activity was my desire to remove this photo tower from my office. I hadn’t looked in these boxes in years, time for them to go!
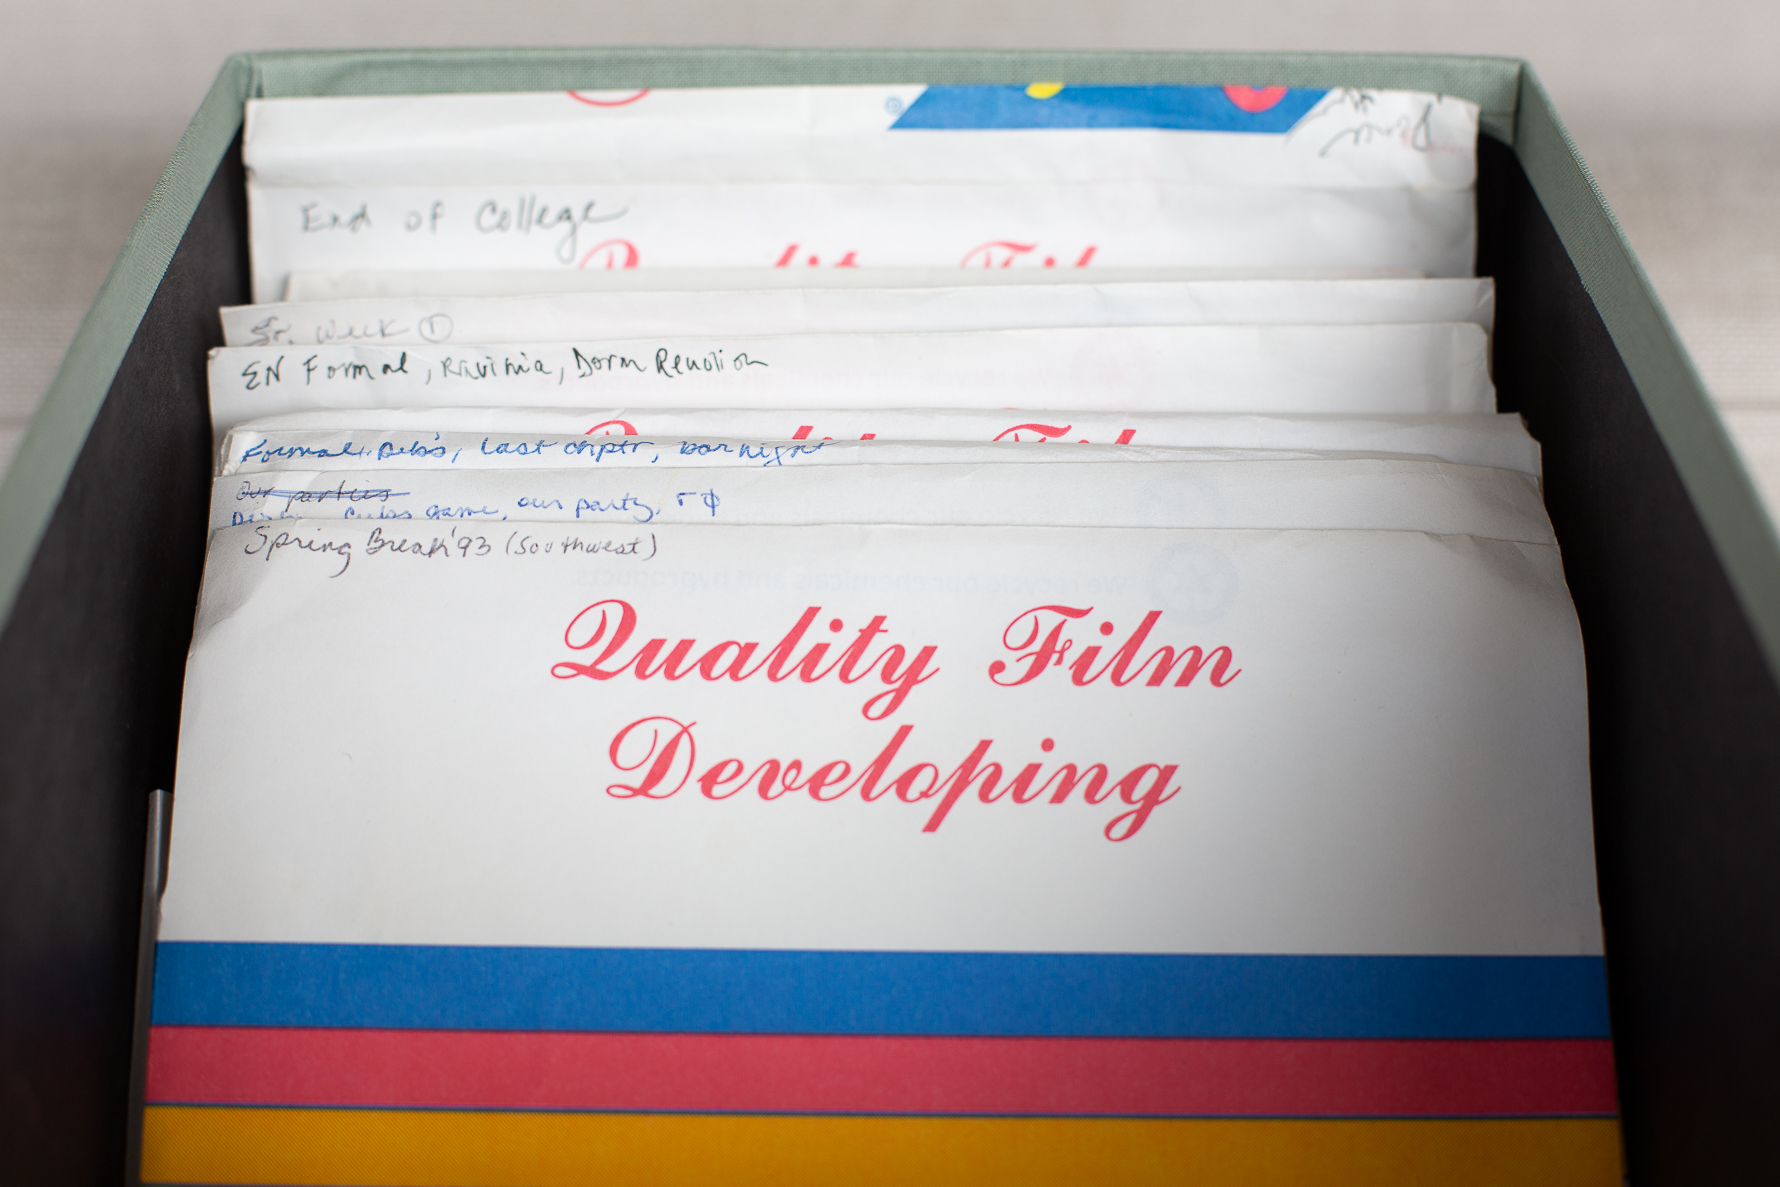
As I pulled the photos from their magnetic pages, I paired them with their parent envelope full of duplicate, similar photos and negatives.
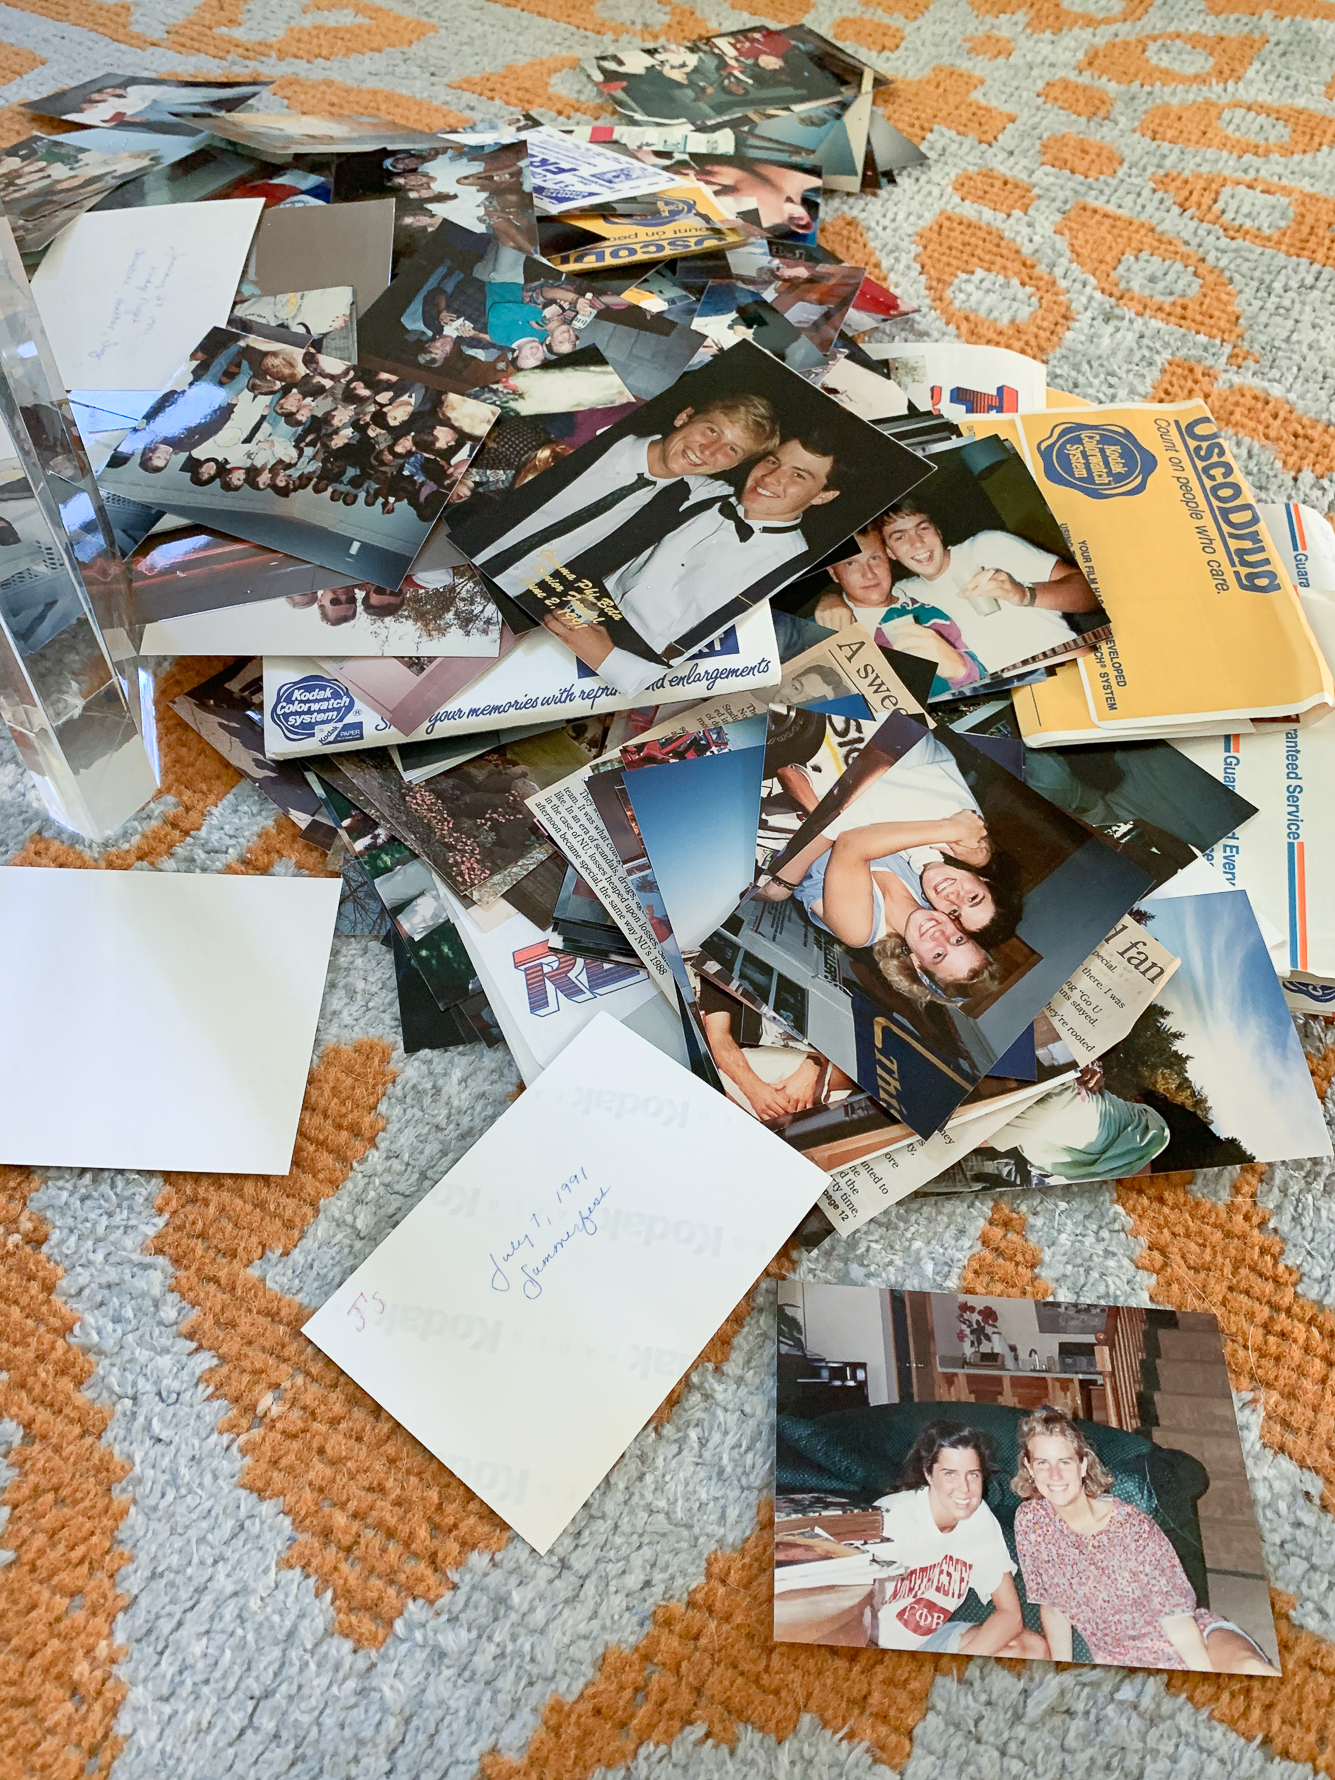
- SCAN OR TOSS | Next, I scanned the photos I wanted to preserve and tossed the rest in a pile on the ground. My best advice for this scary part? Just start. I had thought about how I wanted to do this forever because I was hung up about what to do with the extra photos and negatives. I had kept them neatly organized for so long, it seemed like a loss to get rid of them. But once I started working through them, I realized I would be much more likely to quickly look up a digital file and reorder a print vs. scrounging through old envelopes for ancient negatives. Seriously, just start.
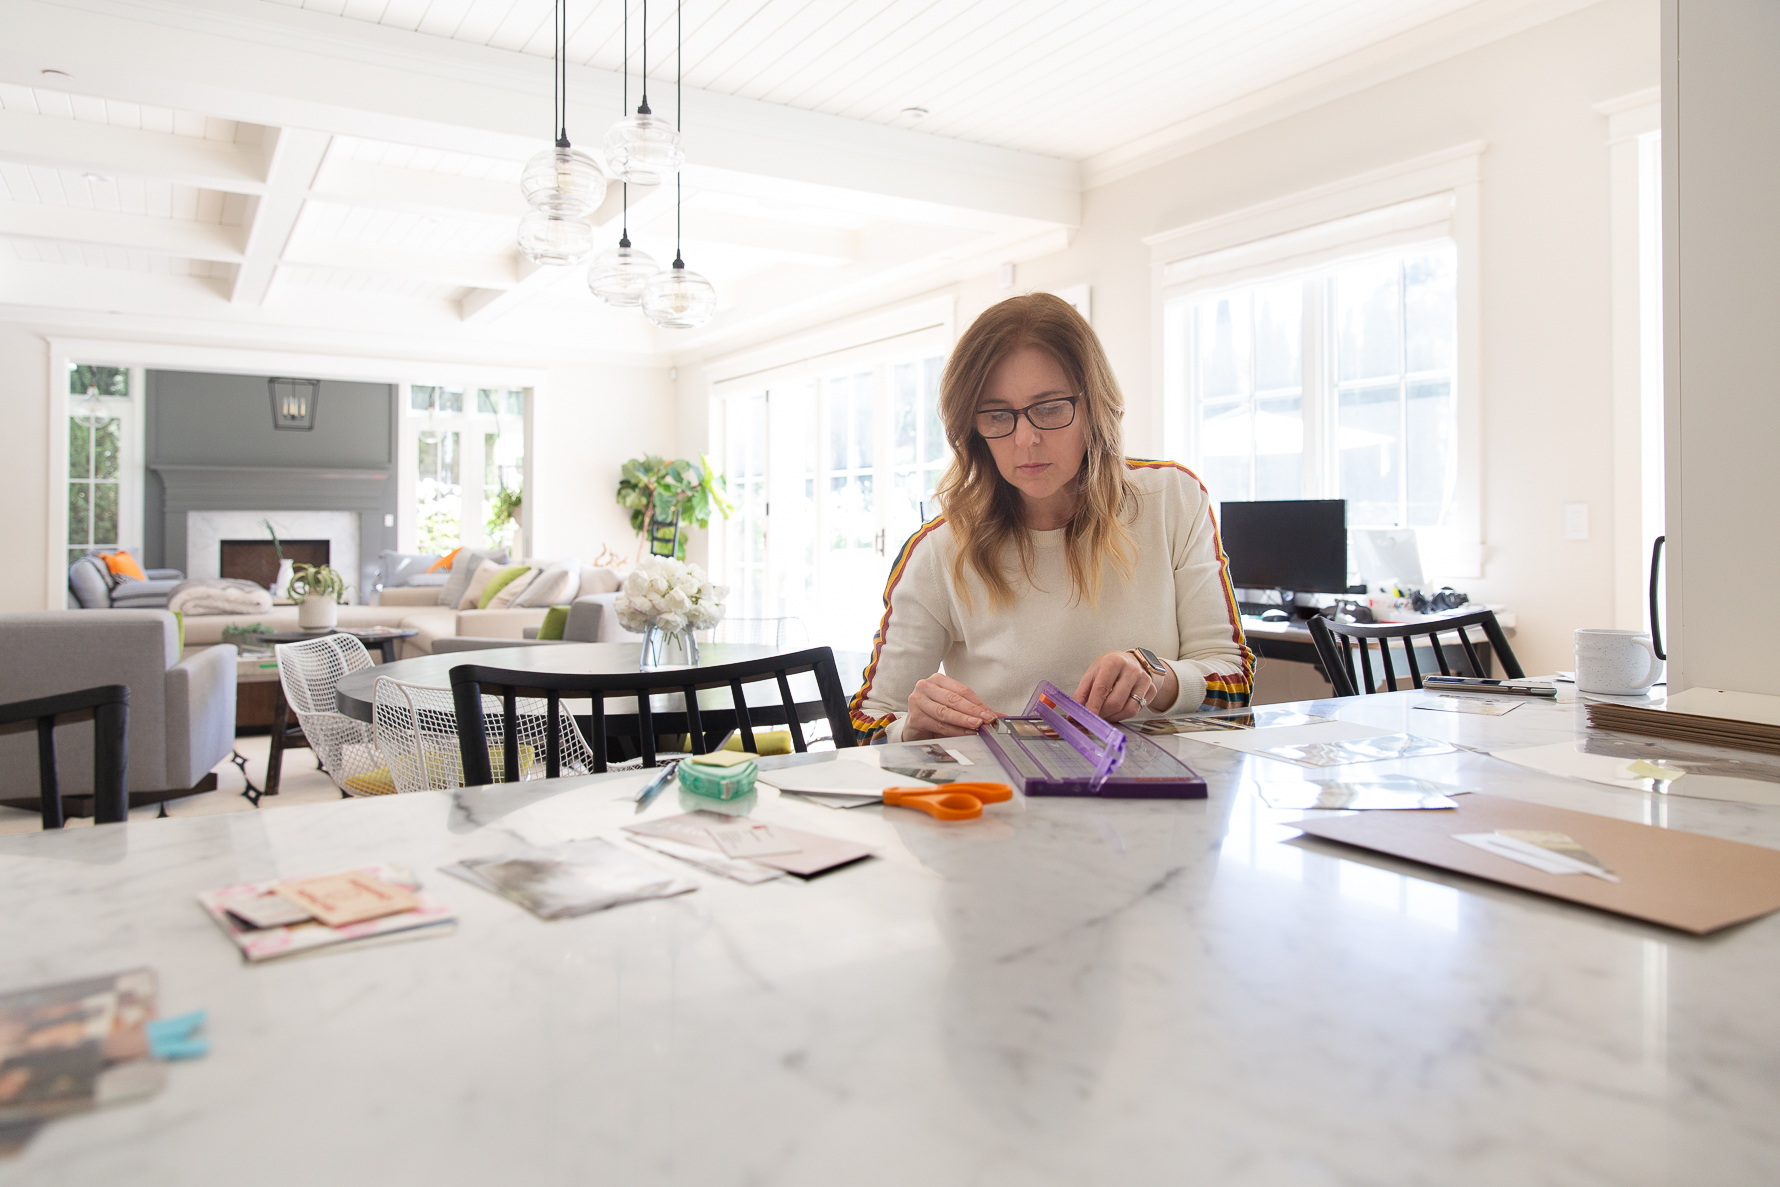
- SAVE ONLY THE BEST | I then put only the best of the best back into archival safe album pages. With the benefit of perspective on my side, I was able to cut down the number of photos I put back in these albums. I really didn’t need 2 full layouts (4 pages) to tell the story of a college spring break trip. 1 layout (2 pages) with the best photos was plenty.
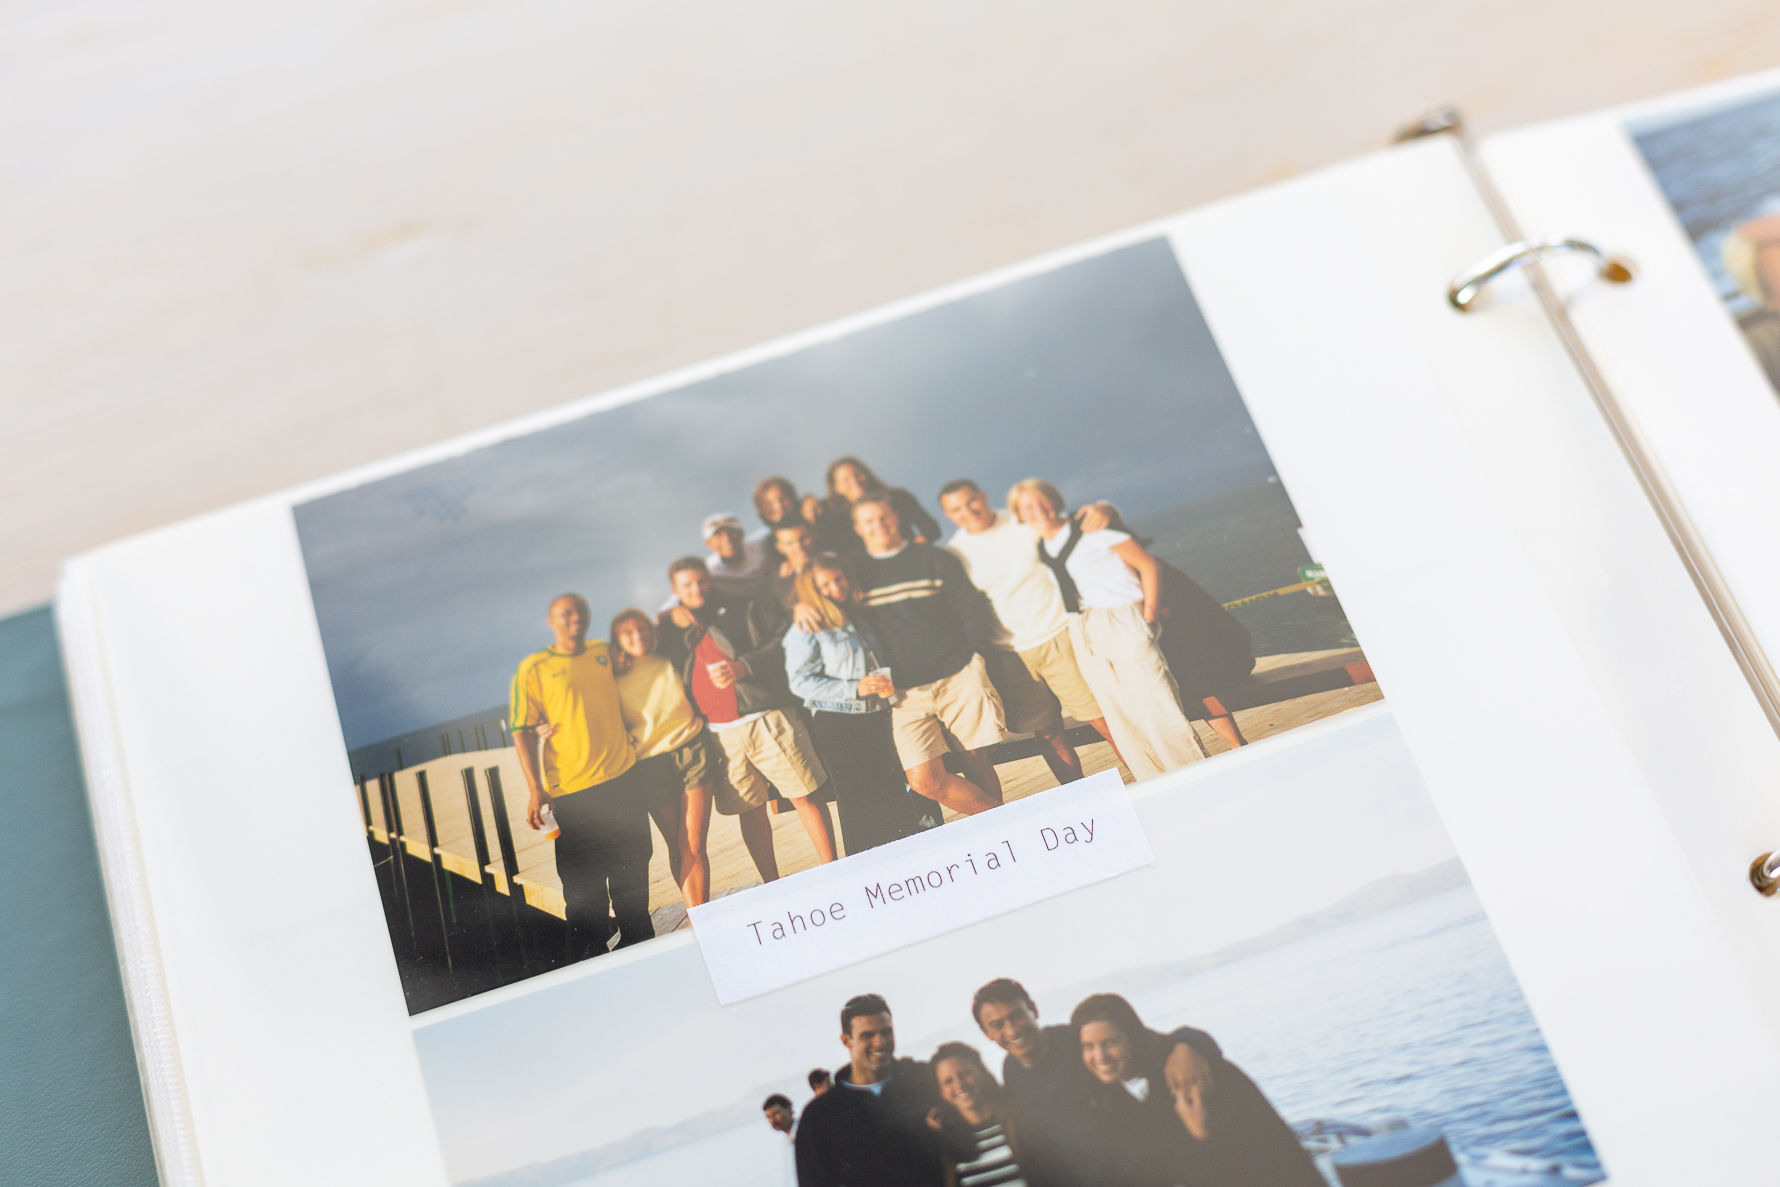
- LABEL | I’m a big fan of adding simple labels to describe photos when possible. Fortunately, my original albums had some labels, and I was also diligent about writing names/dates/places on the back of my photos, so this was pretty easy for me to create labels to make my albums easier to understand.
- ORGANIZE DIGITAL FILES | This was the fun part for me. I got busy in Adobe Lightroom star rating and adding keywords to my new digital files so they would be easy to search in the future.
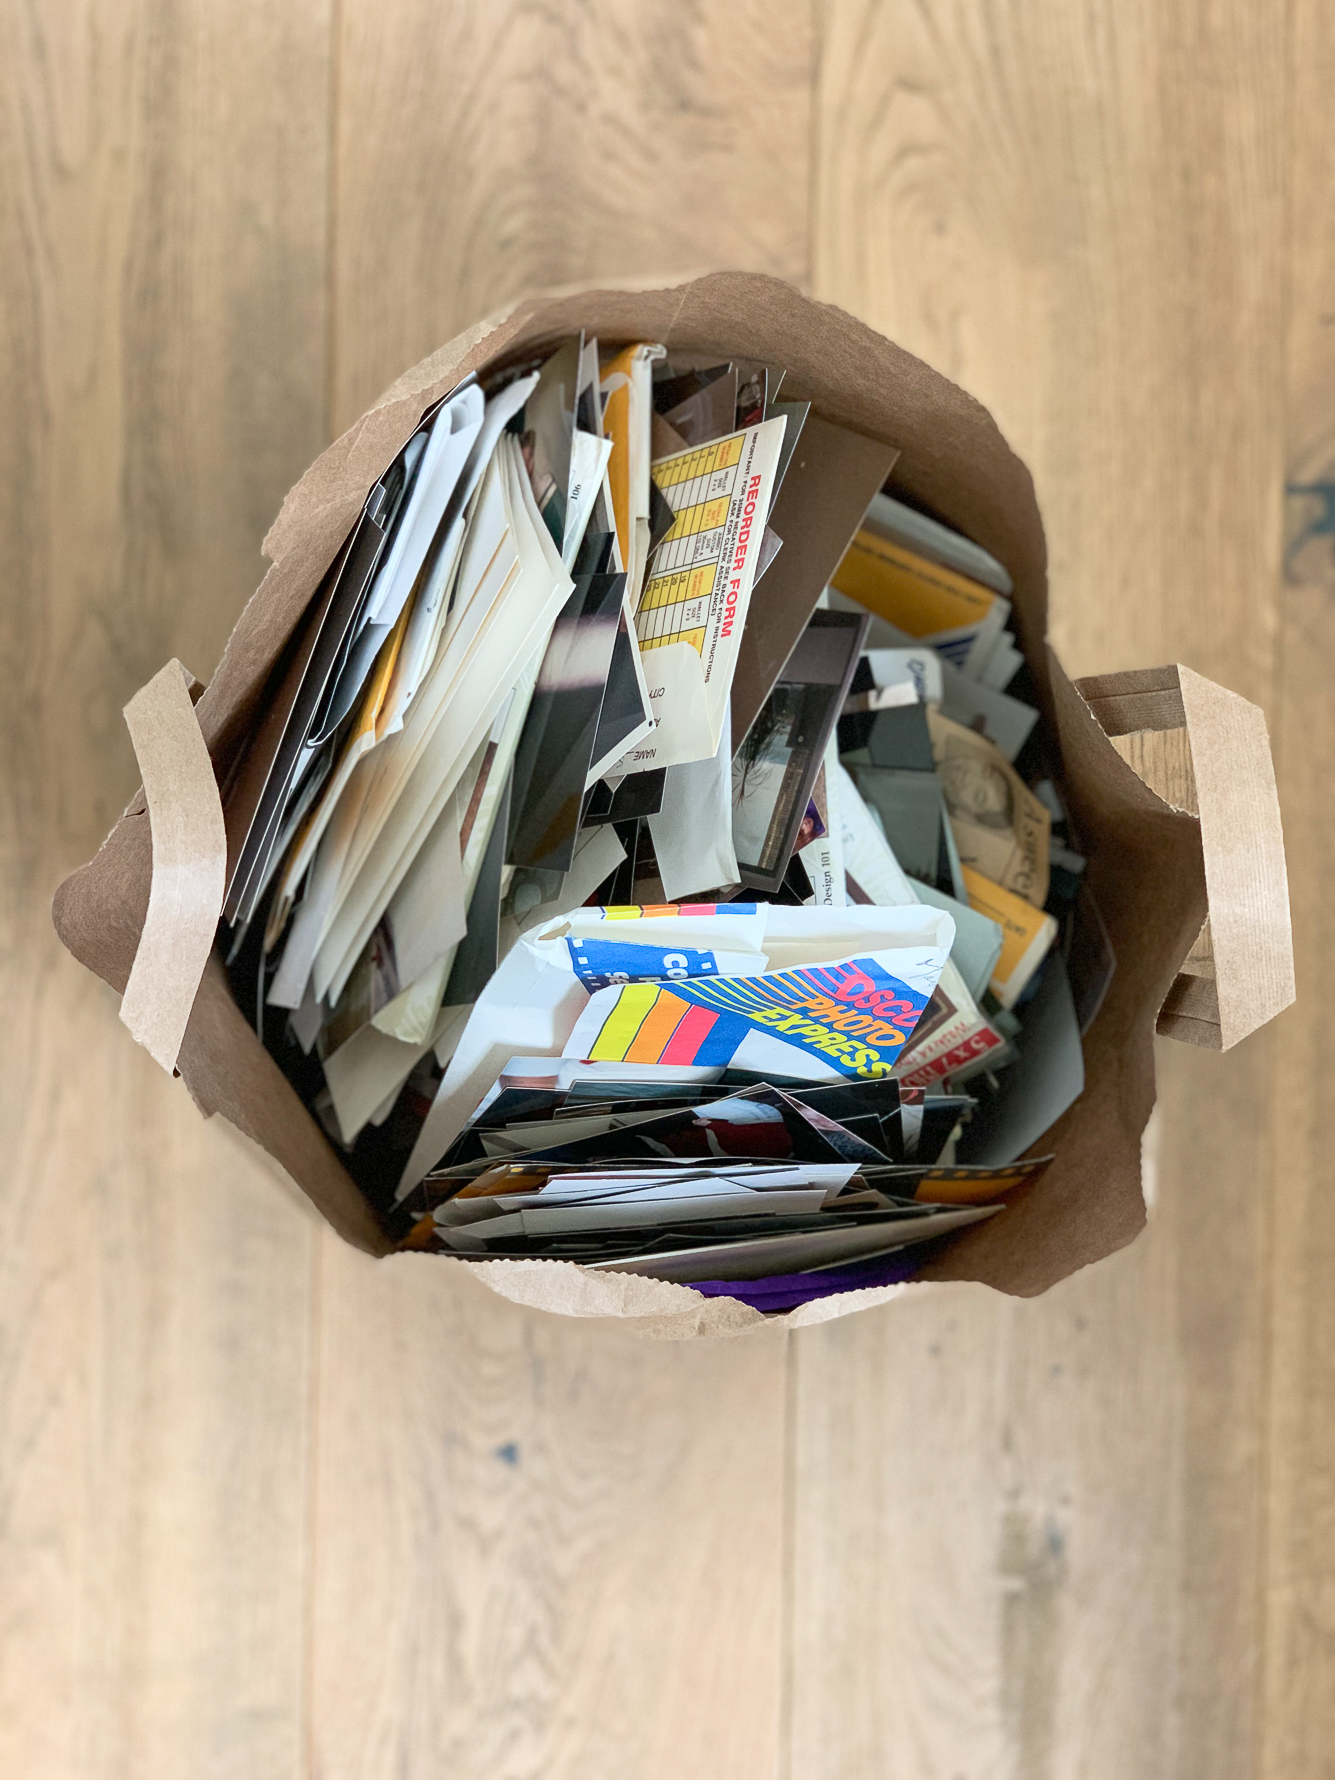
- TOSS EXTRAS, DUPLICATES AND NEGATIVES | I know this seems scary/hard/impossible, choose your adjective. But I’m telling you, once I had the images digitized and backed up, I was able to loosen my grip on these things. I had not touched that photo tower in five years since moving into our new house (and even longer before that). Those boxes had photos and negatives starting from 1981! Like I said, once I opened those envelopes, the thought of searching through a negative strip to reprint an image just seemed silly compared to quickly locating an image in Lightroom and reprinting as needed.
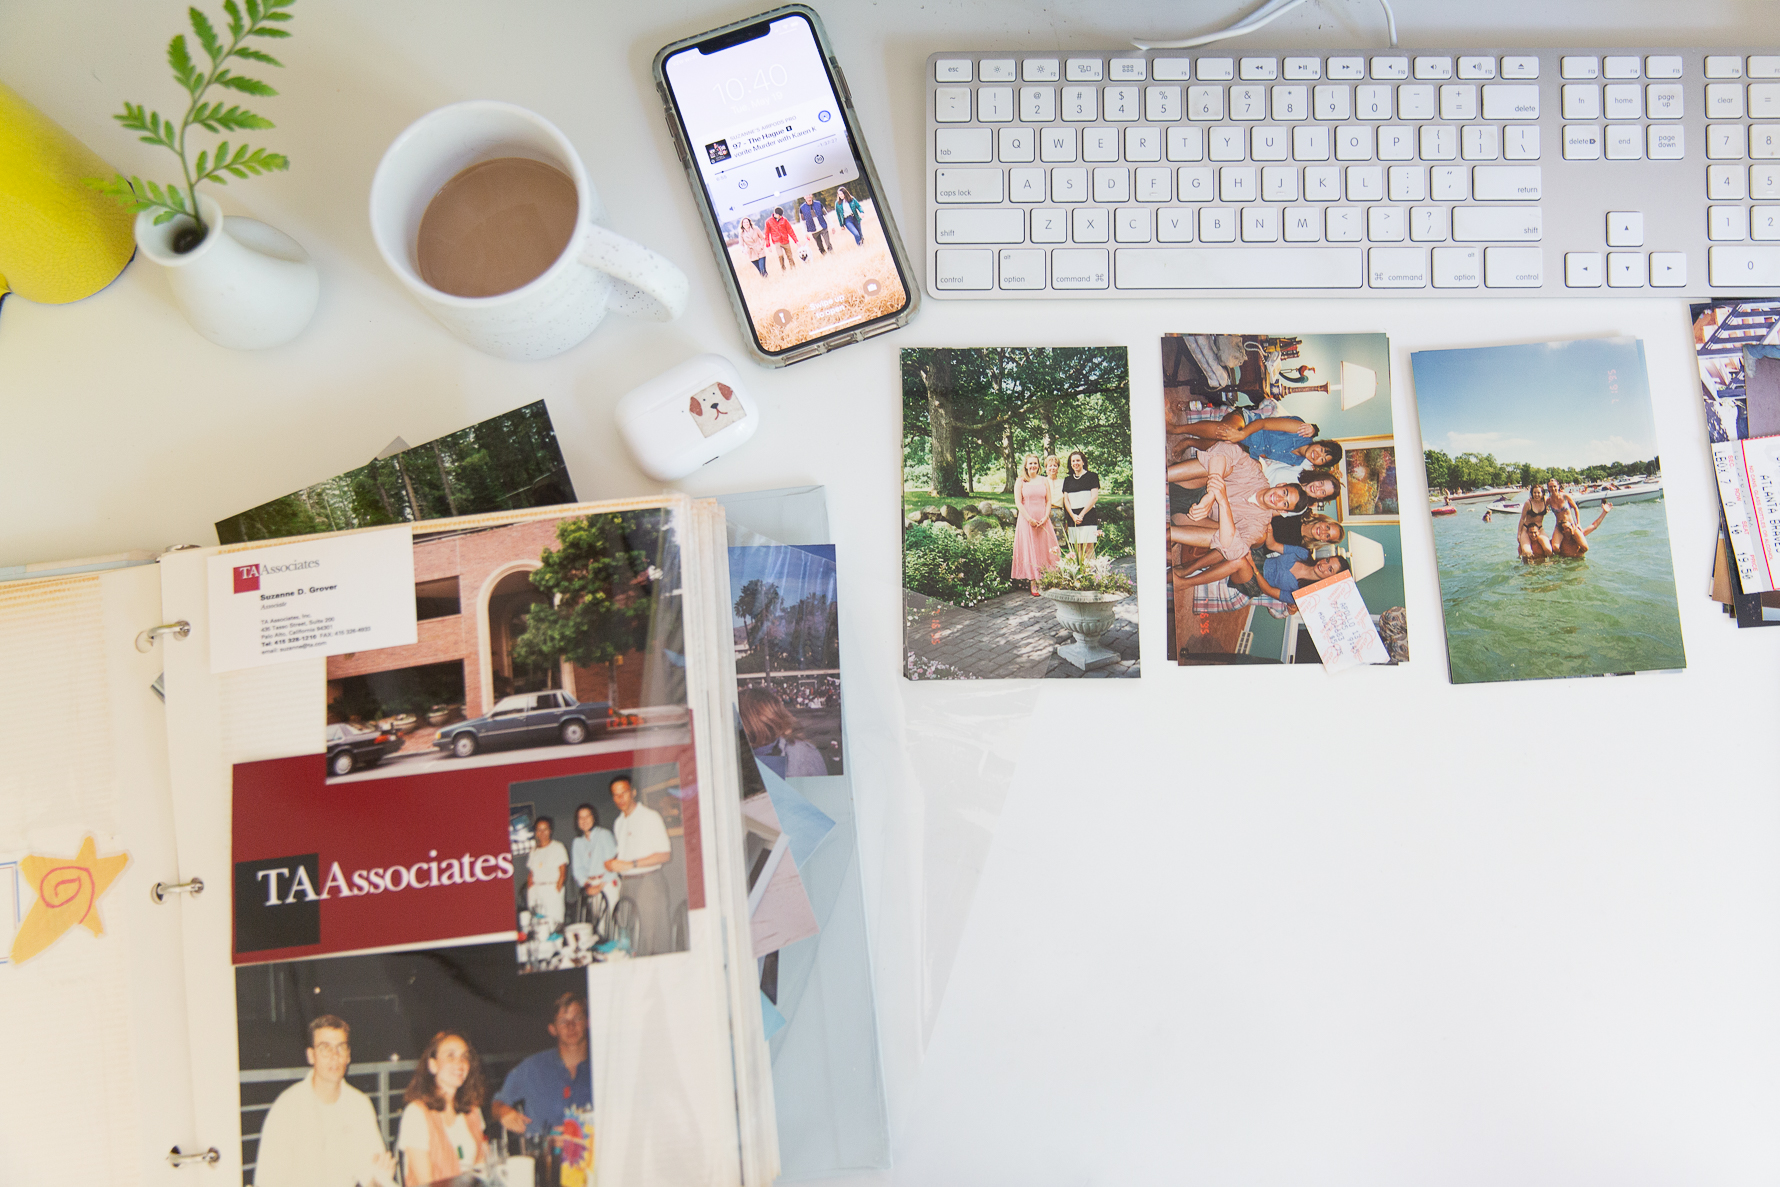
- ENTERTAIN YOURSELF | Good podcasts and/or audiobooks are critical companions during the most tedious parts of this process!
FINAL THOUGHTS
If I didn’t already own these albums full of all of my photos since 5th grade (it’s been a lifelong passion folks), I would have just digitized the printed photos and created a digital photo book with these images. Much smaller footprint.
Despite all of the worries and uncertainty of 2020, I now sleep just a little bit better knowing that if something were to happen to these albums sitting pretty in our family room, the important content held inside is safe and backed up.
Hopefully sharing my workflow got your wheels spinning about how you might make some headway with your own printed photos. Reduce the physical photo clutter and your anxiety about your printed photos not being backed up. Digitize the keepers. Increase your ability to easily access and enjoy your memories!
Project Start Date: April 27, 2020
Project Completion Date: October 15, 2020 (6 months)
Supply List
Albums + Pages
Paper trimmer
Adhesive
Adobe Lightroom
Good podcasts and/or audiobooks

Leave a Reply