Originally written as a guest post for Milk Books, I’m sharing this album here today, on ~ the 5th anniversary of selling our first home. This book remains an all-time favorite for me, and I wanted to be sure the story was captured here in my little corner of the world!
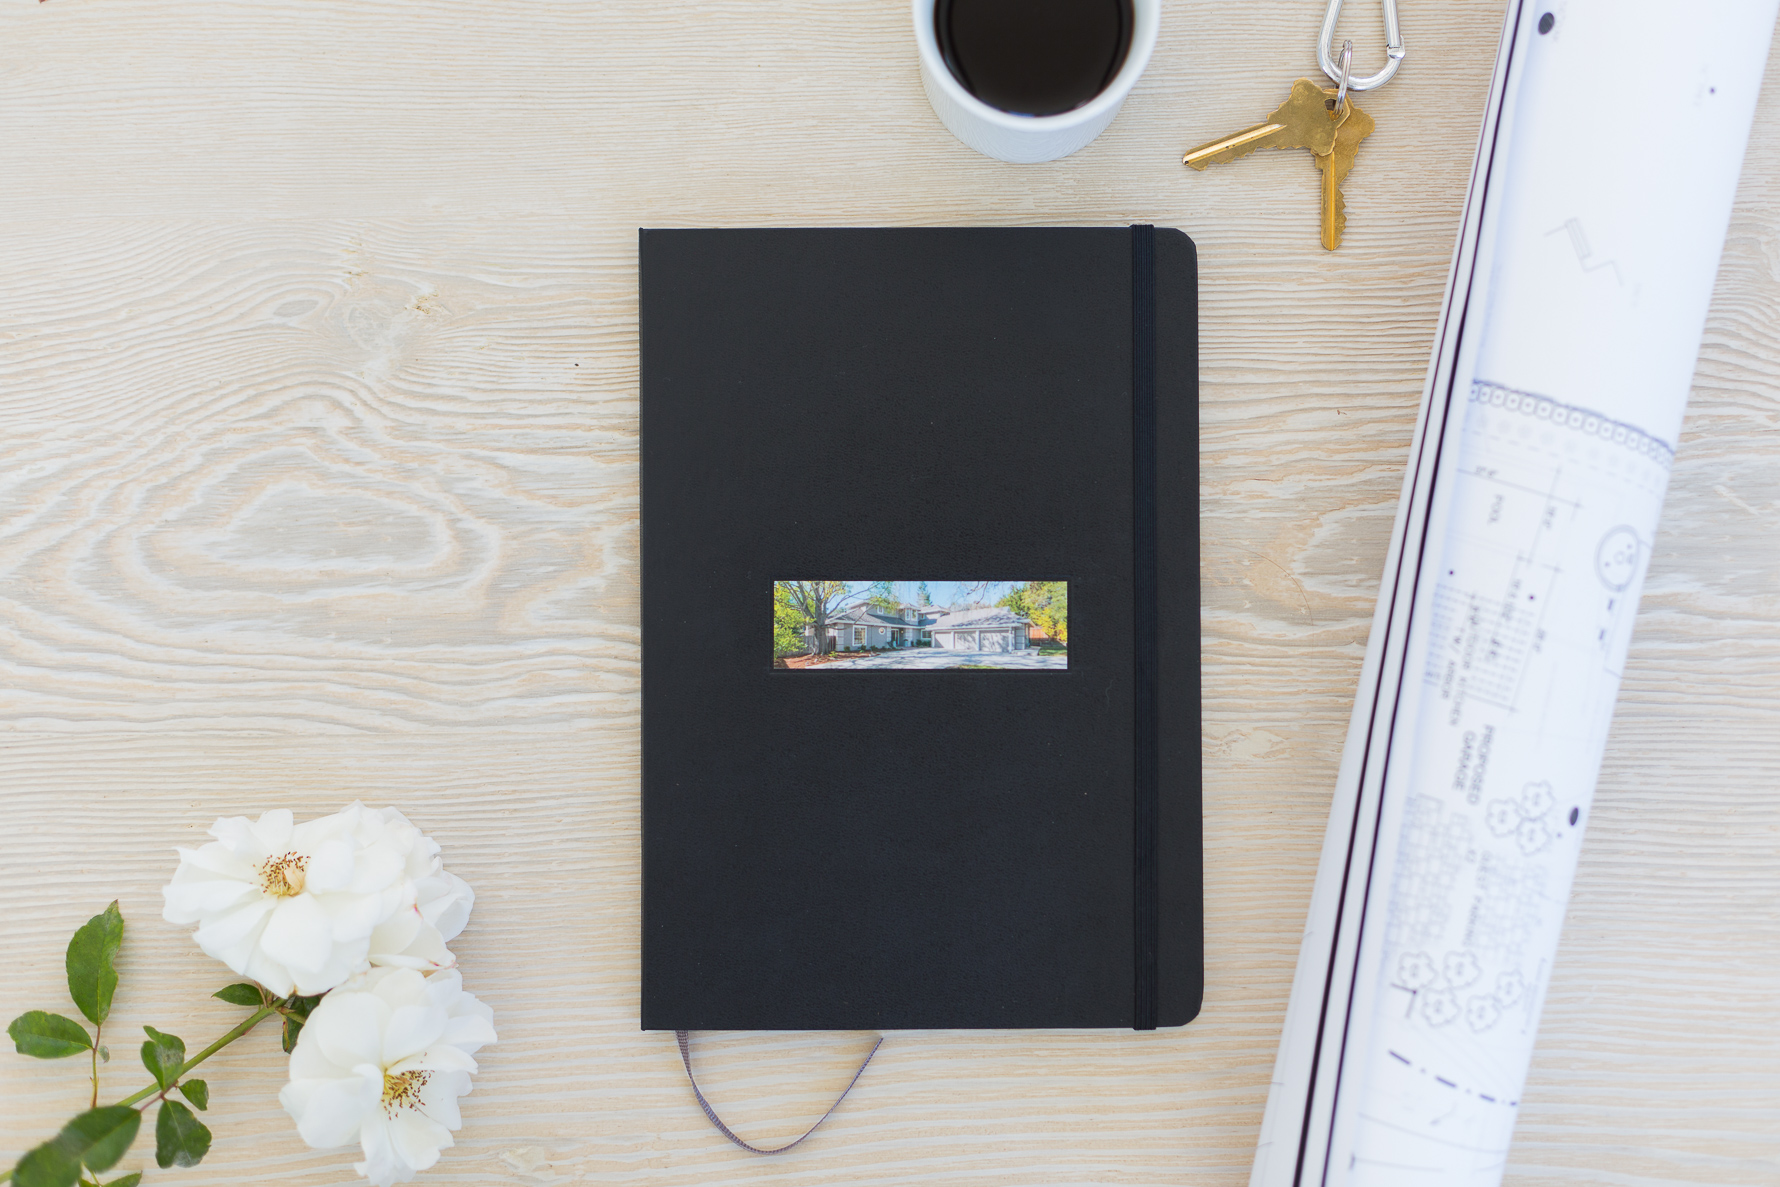
Late last year we moved from our home of 15 years. This was the first home we purchased as newlyweds, the home where we started our family and raised our kids for the first 10 and 12 years of their lives. I loved this home and all of the memories created inside (and out) of those 4 walls.
The idea to create a book honoring this special place had been percolating in my mind for awhile, but it was one simple moment that motivated me to move this book to the top of my project list. It happened on the night before our house went on the market. My son (age 10) and I were clearing out the remaining items from the garage and he became so emotional he couldn’t help any more. We’re talking sobbing-in-the-driveway-while-hugging-a stuffed-animal-kind-of-sad. He was able to perfectly express the feelings behind his emotions, and boy could I relate to his biggest fear – he was scared he would forget all of the awesome memories we had created in that home.
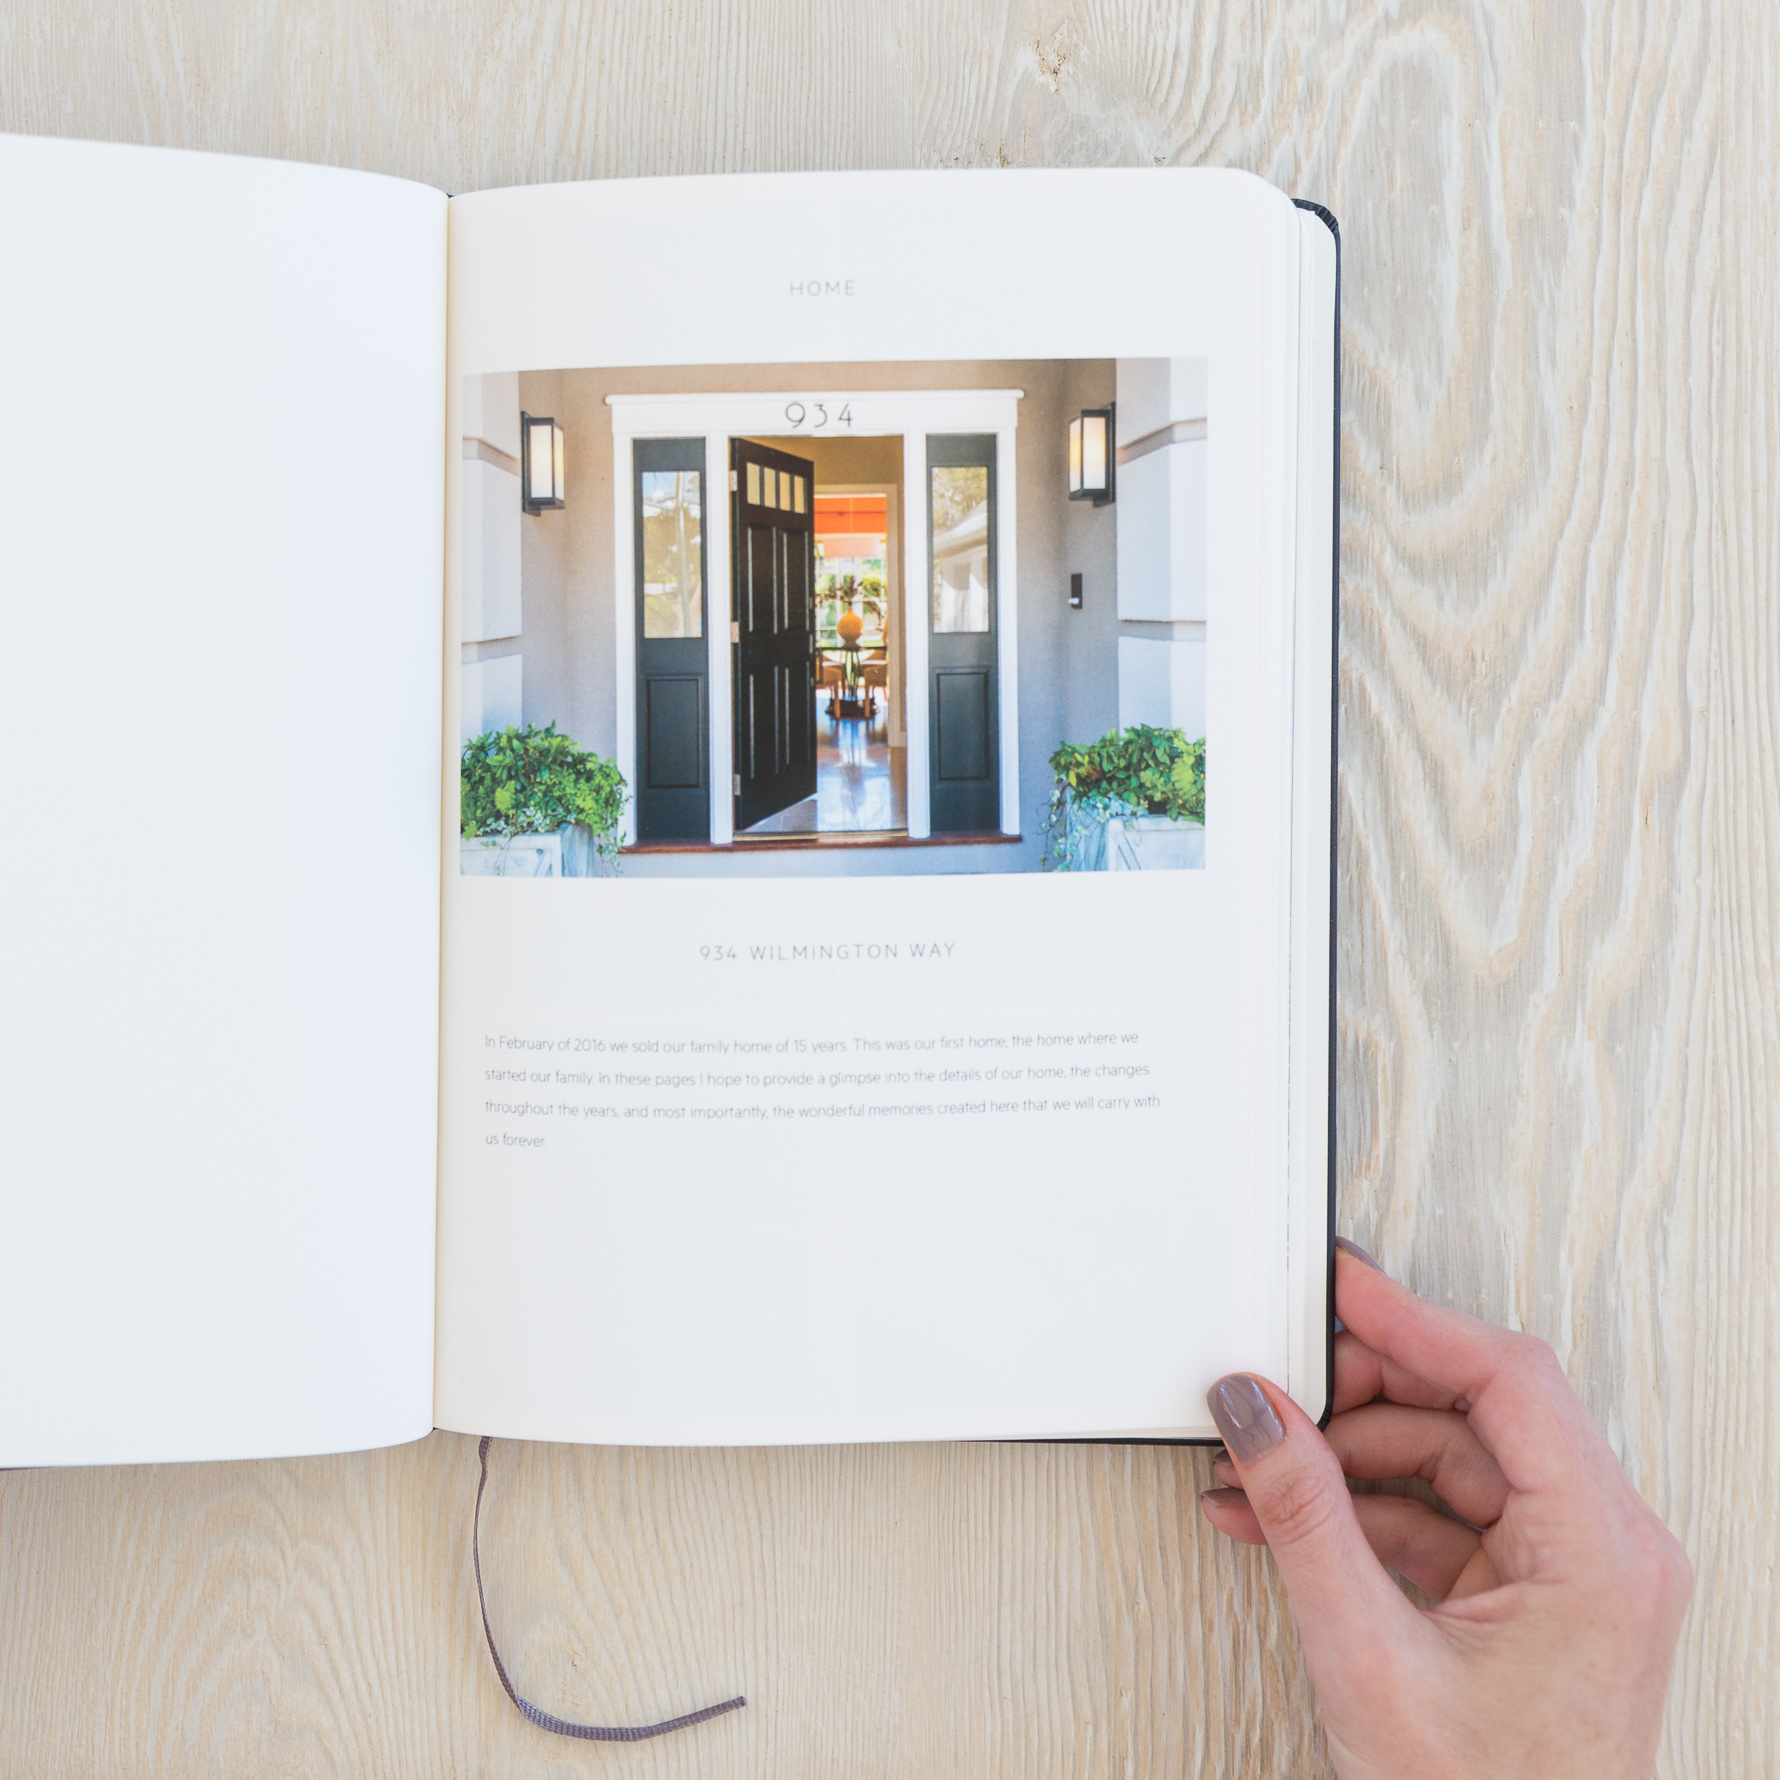
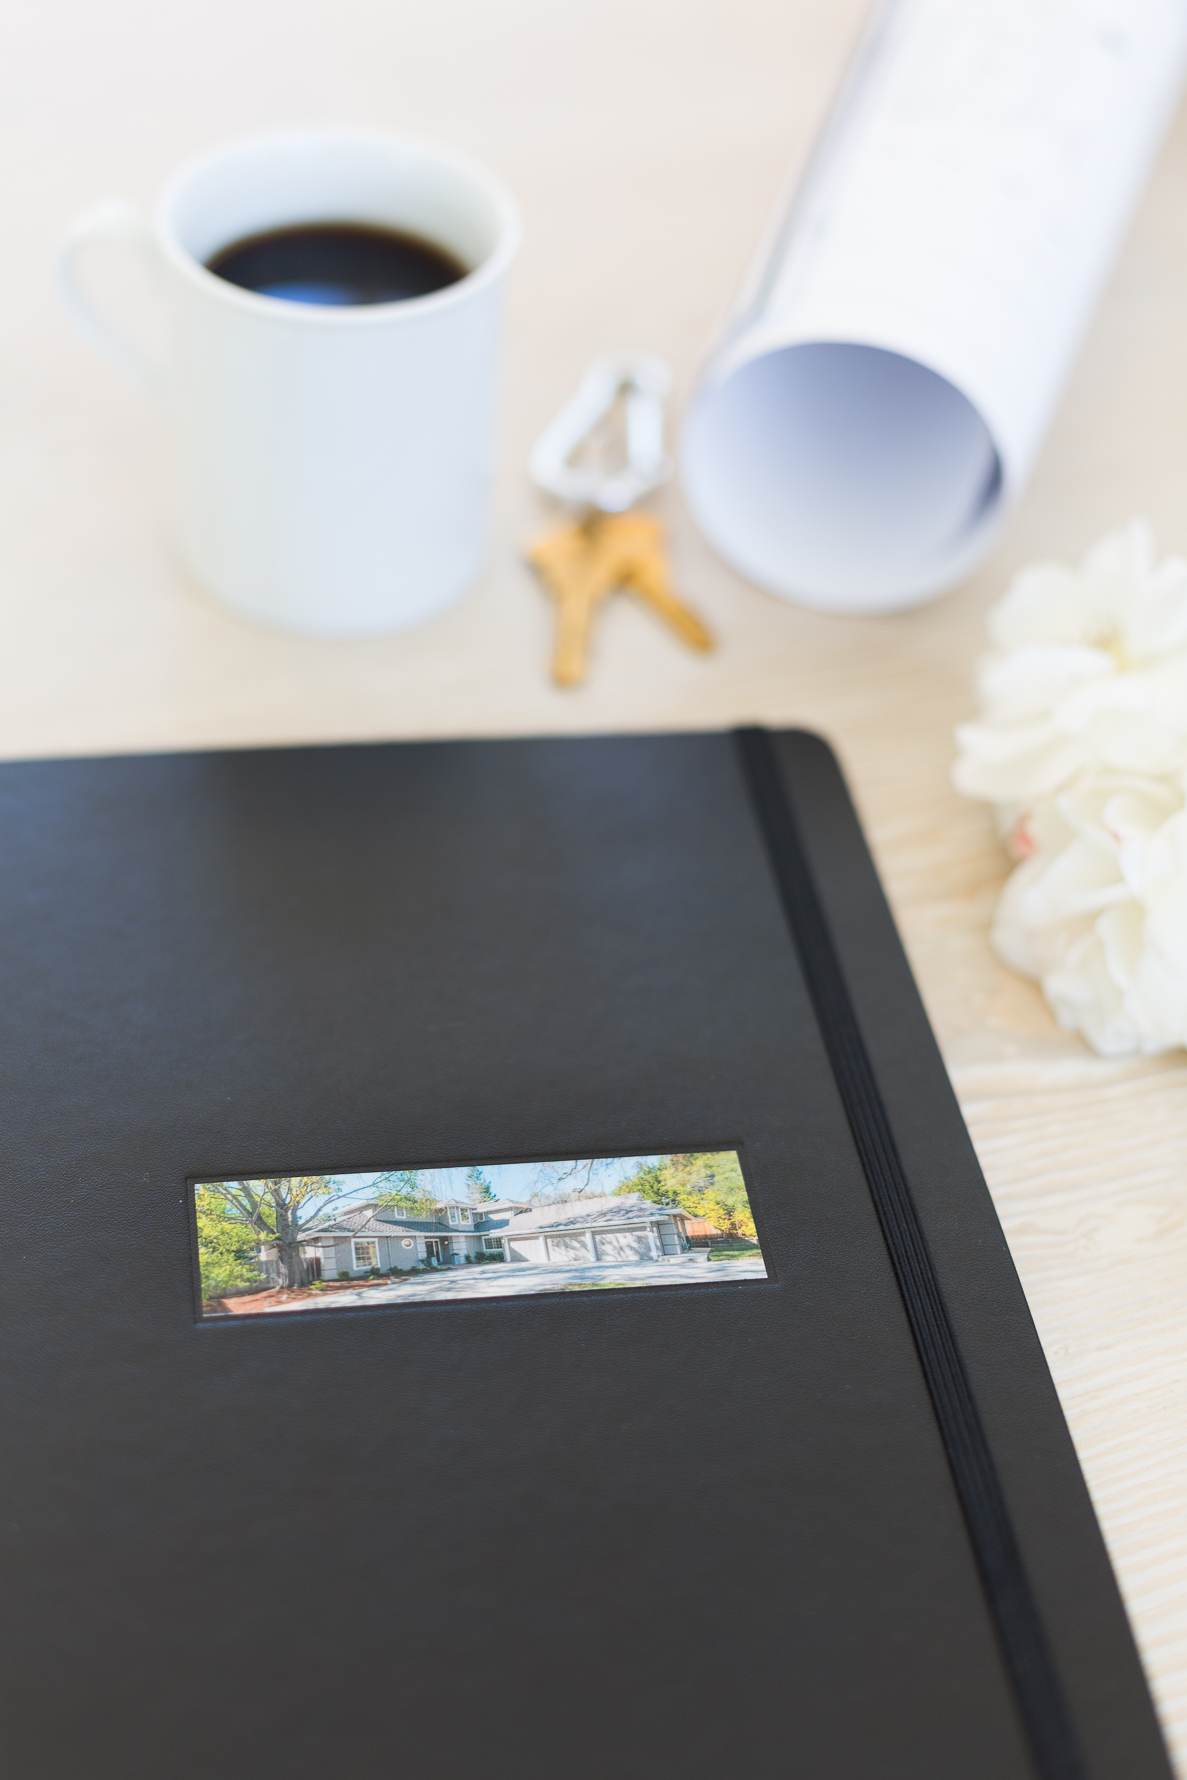
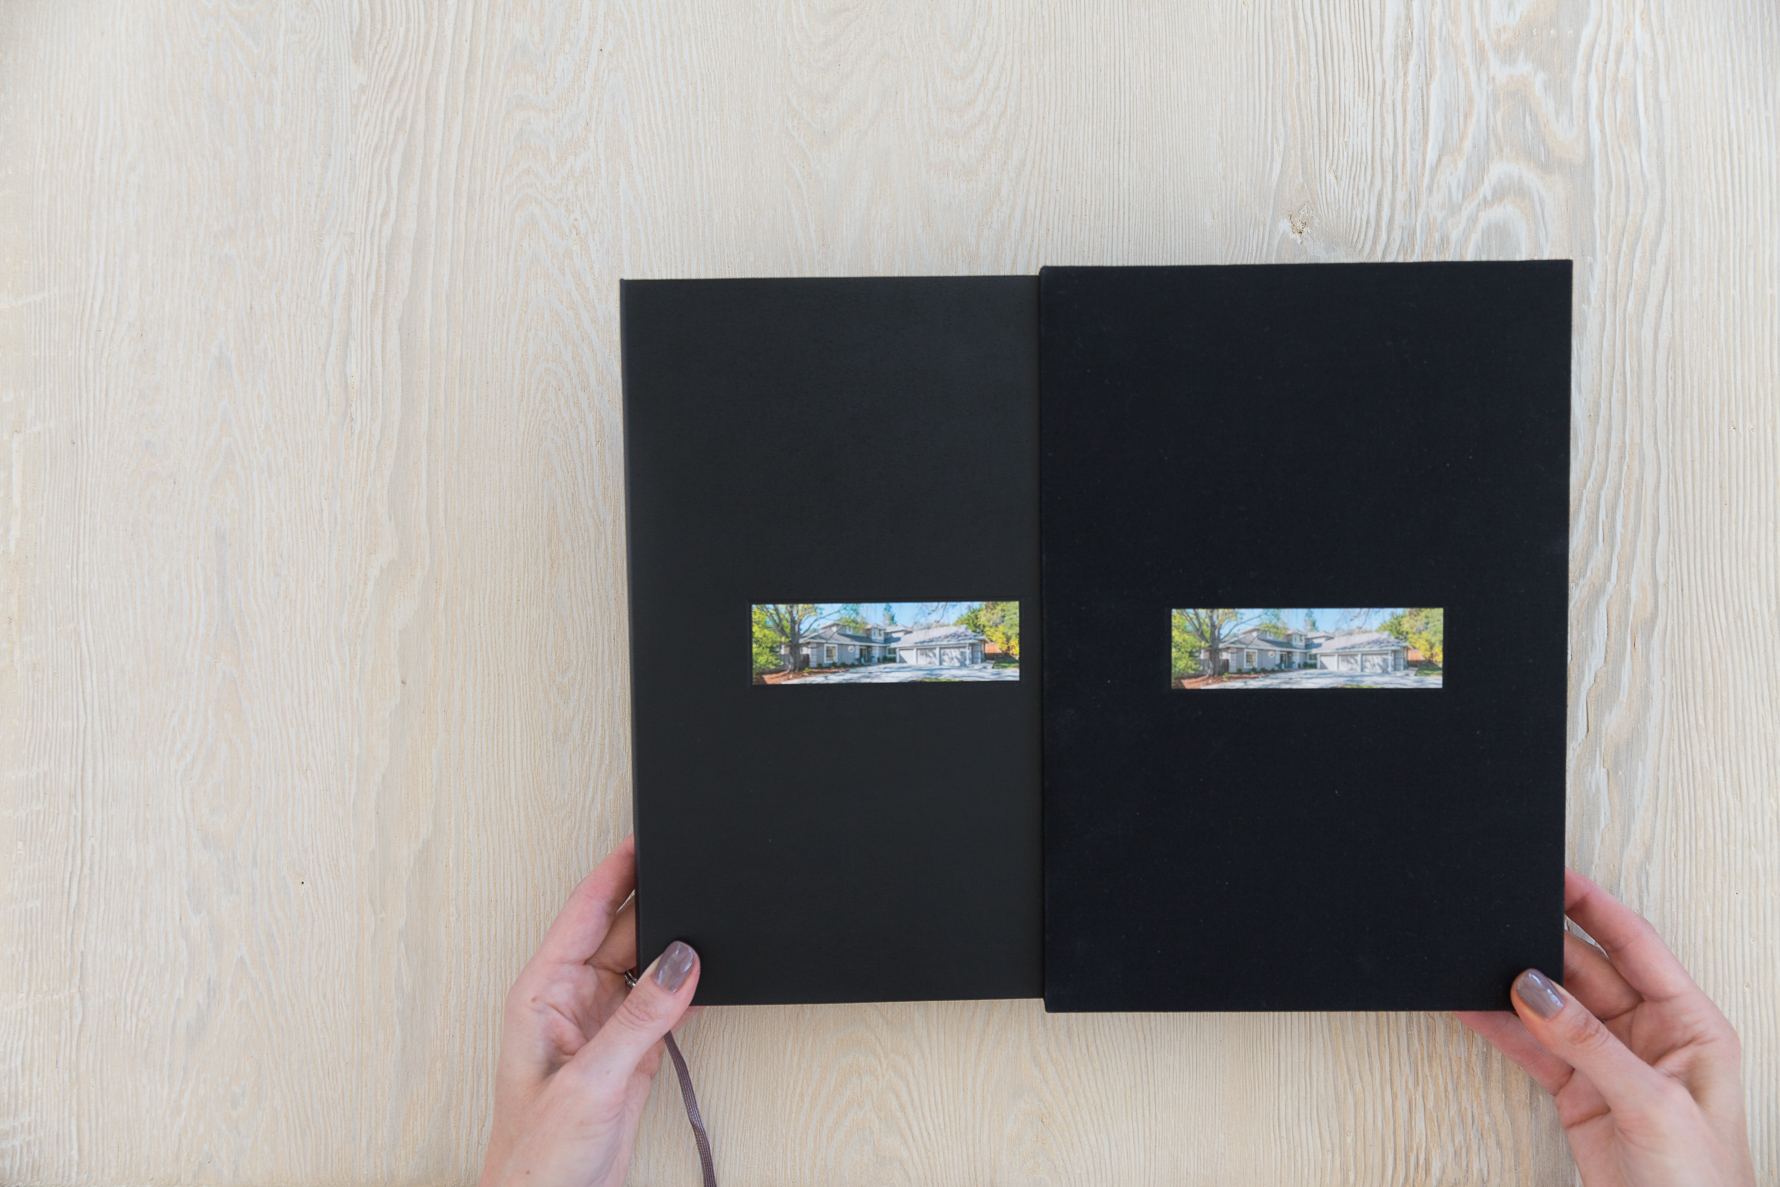
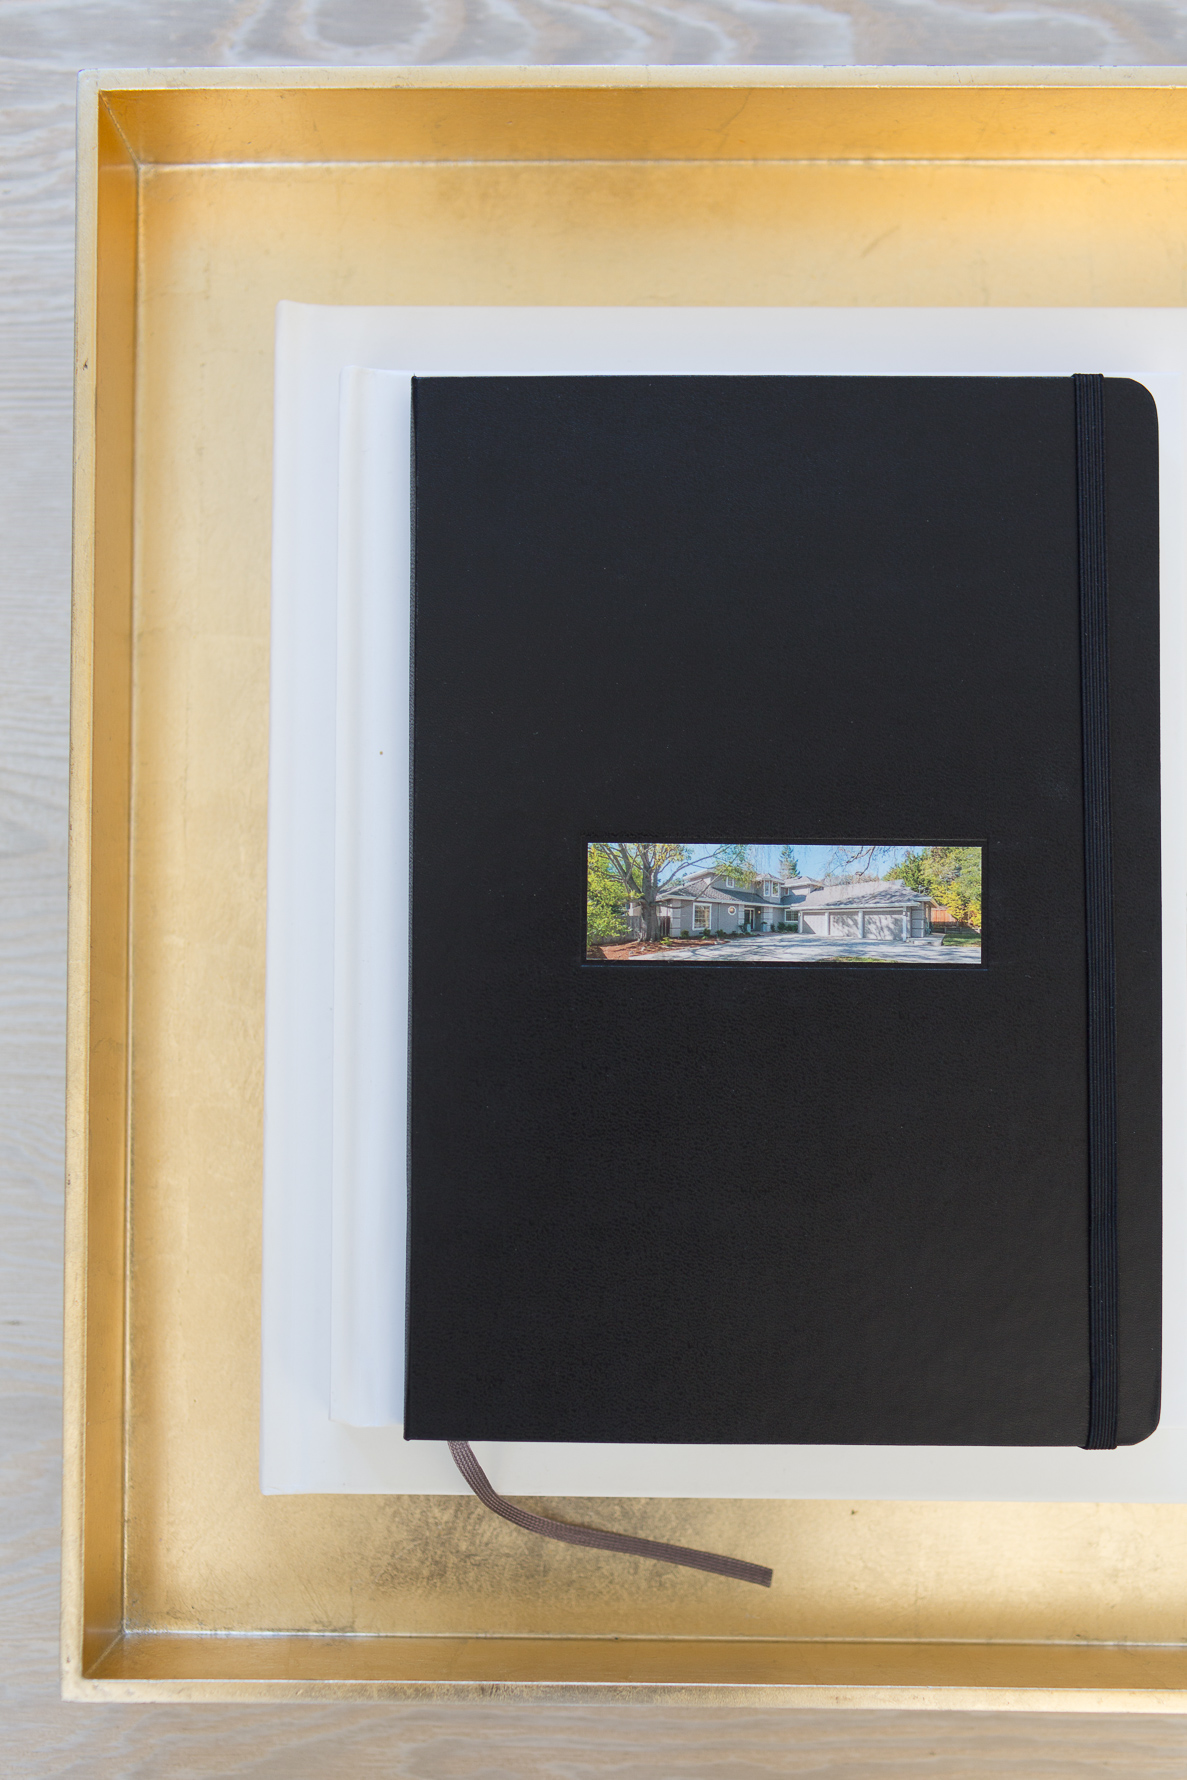
So I created this book as a love letter to all of those beautiful memories, to our home. The Moleskine by Milk 7×10 Portrait Monograph book was the perfect size for this small story. Inside the beautiful pages I was able to capture the visuals, and most importantly, the stories of each room.
Here are five techniques I utilized to create an album that, despite including content spanning multiple years, flows and feels cohesive…
PLAN AHEAD
Many of the Moleskine books have a fixed number of pages (60 in the case of the book I selected) so it is helpful plan ahead. To get started, I counted the number of rooms/areas I wanted to include in my story. I then calculated that each space could have 2 pages (one layout), with the flexibility to add 2 extra pages for those areas (like the back yard shown below) that had a lot of photos.
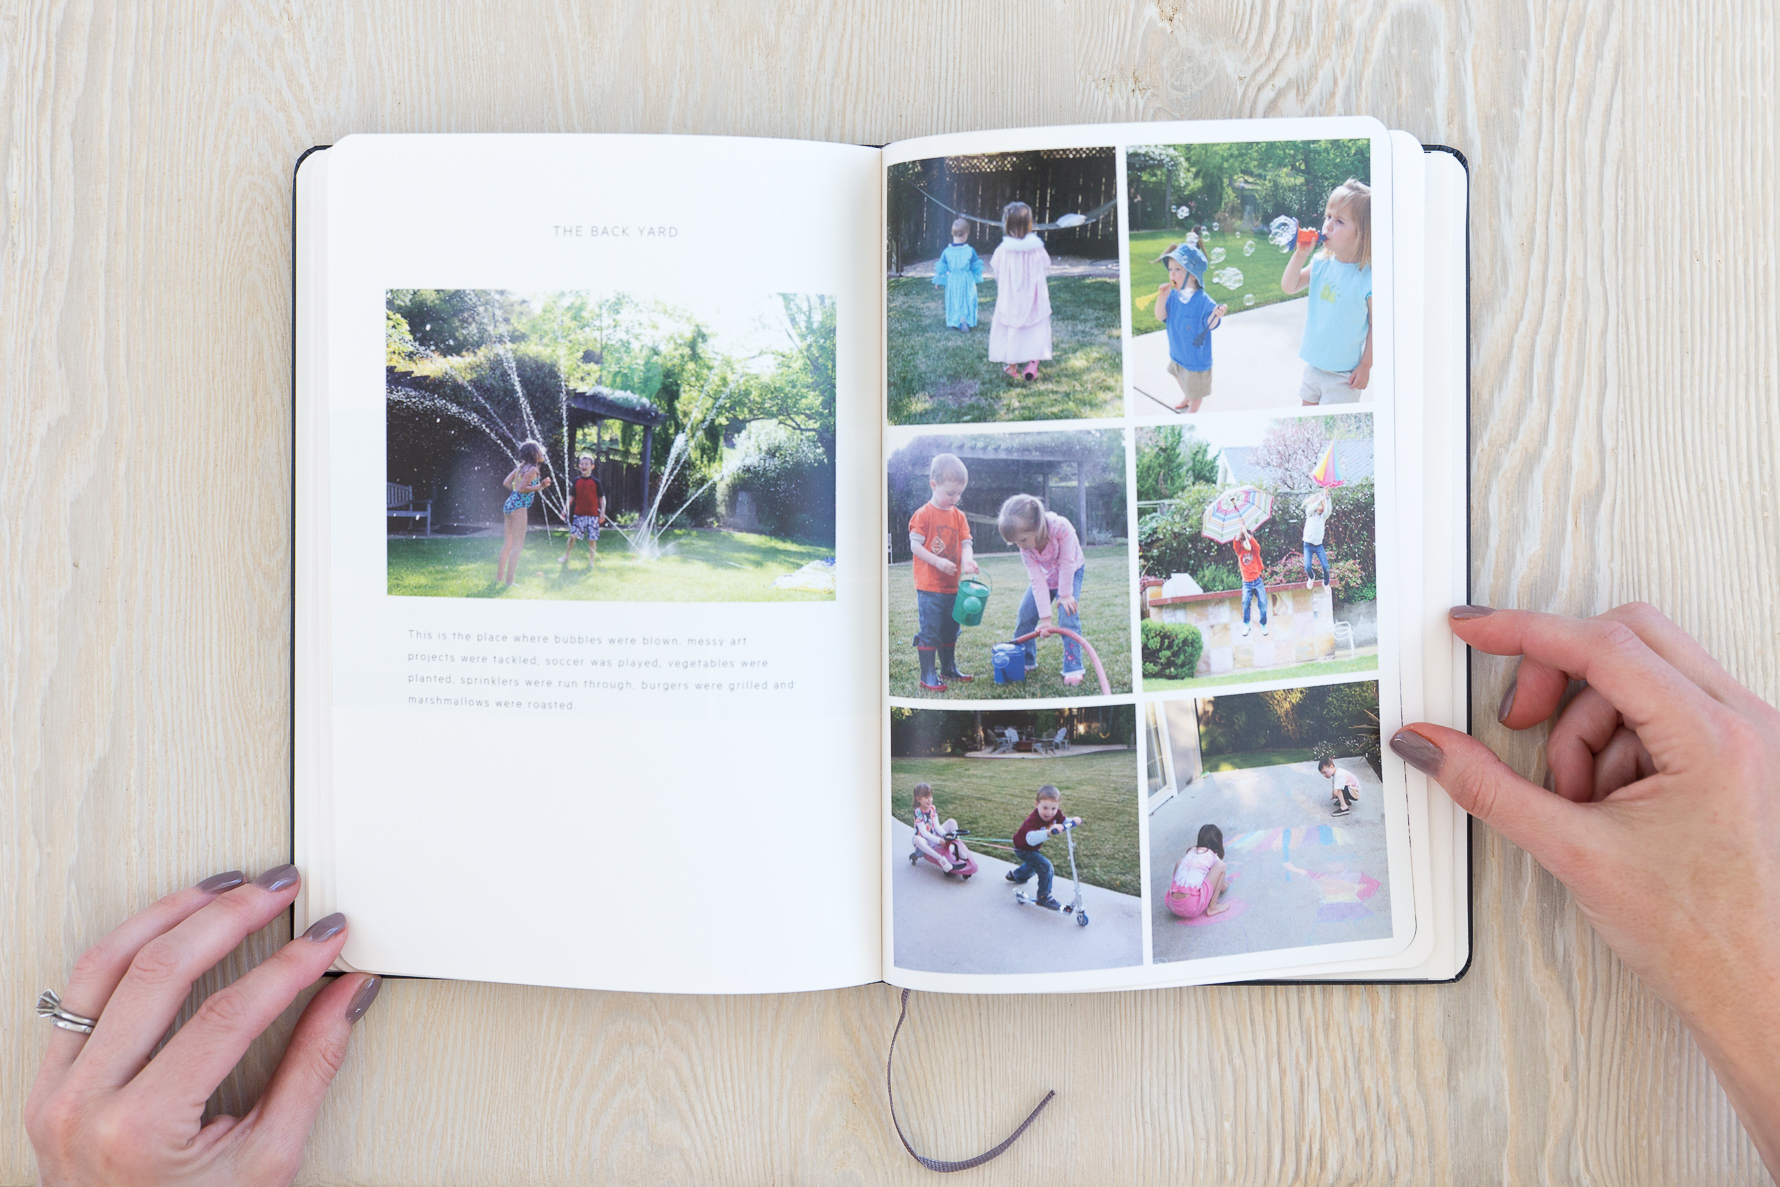
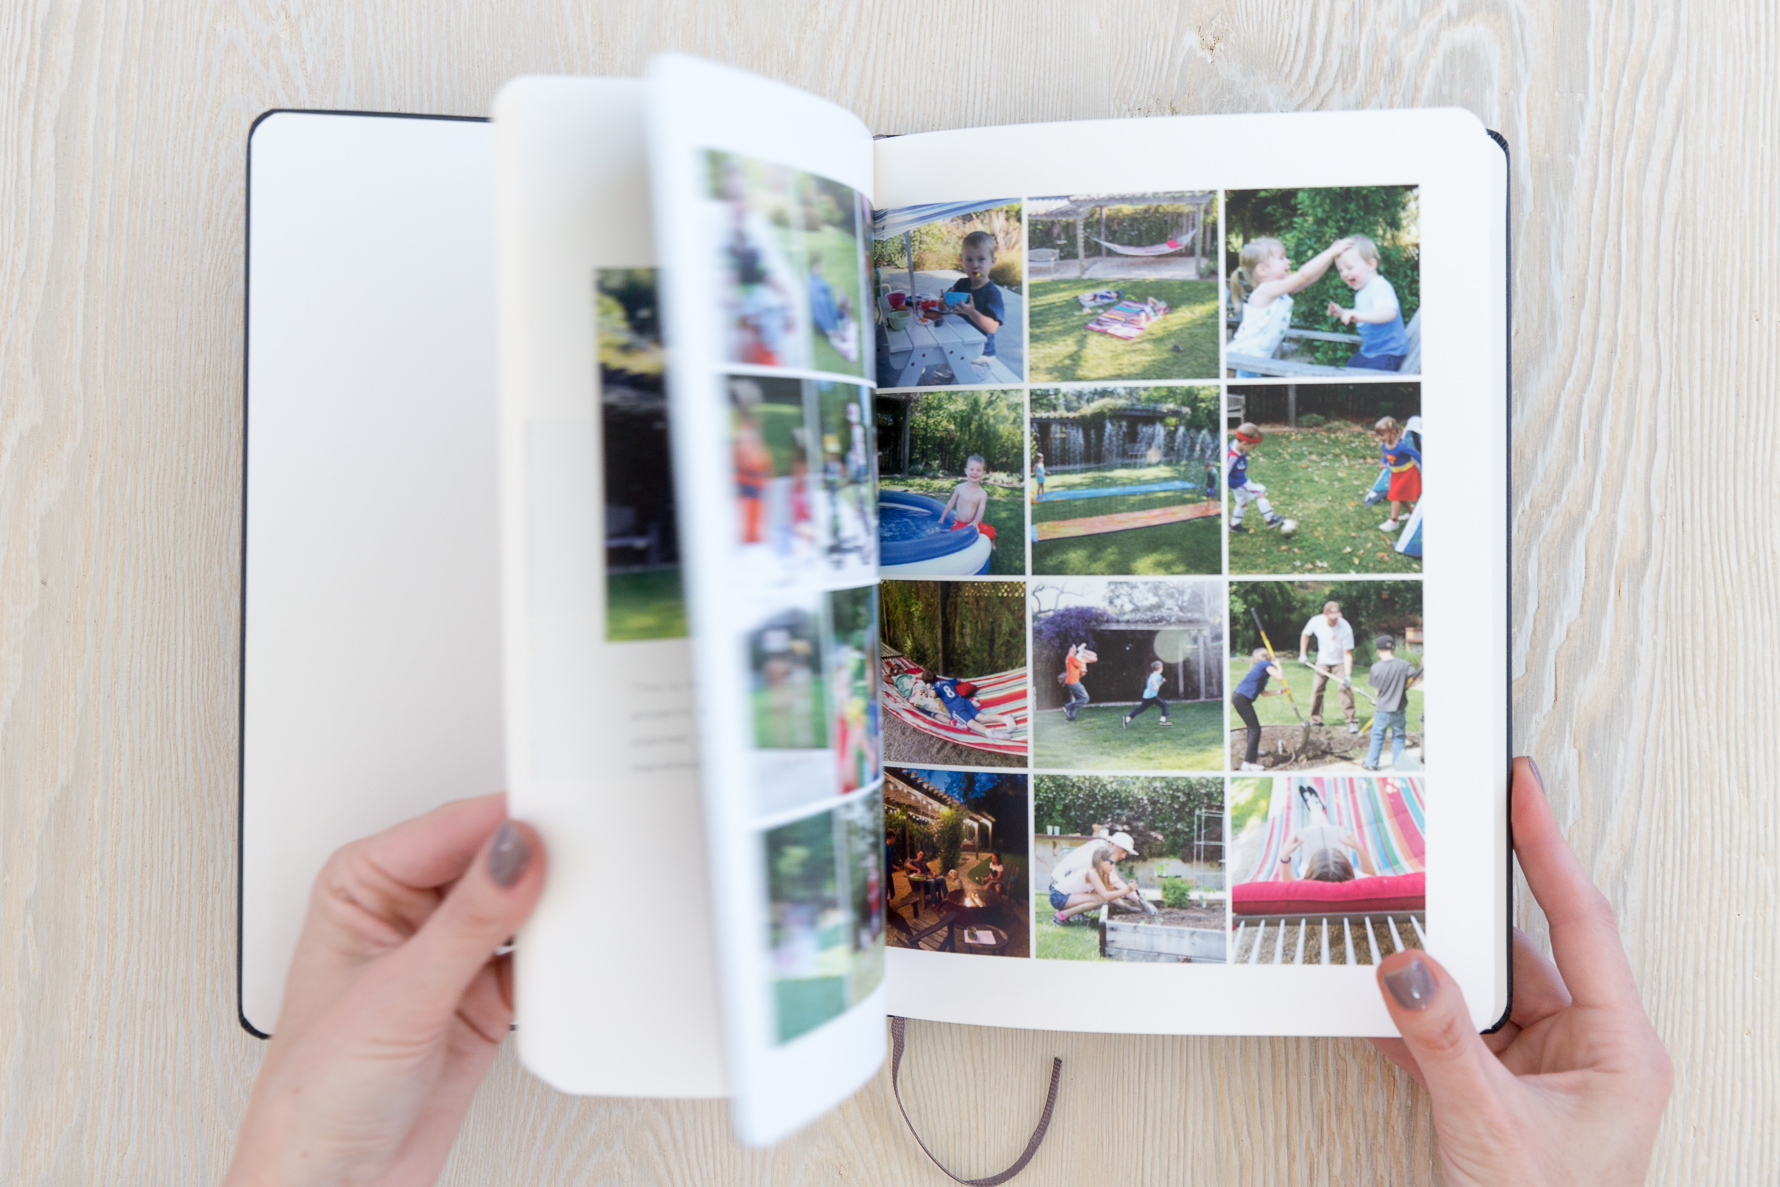
I also factored in the pages required to tell the story of the beginning (what the house looked like when we walked it in the open house) and the end of our time in the house. The end story included photos of us packing up and moving out, the garage sale we held, the marketing photos of our home staged to sell, as well as a photo and the personal letter written to us by the adorable family who purchased our home. I also created this timeline layout documenting the crazy timing of the whole process (we toured, bought and moved in to our new home in less than a month!)
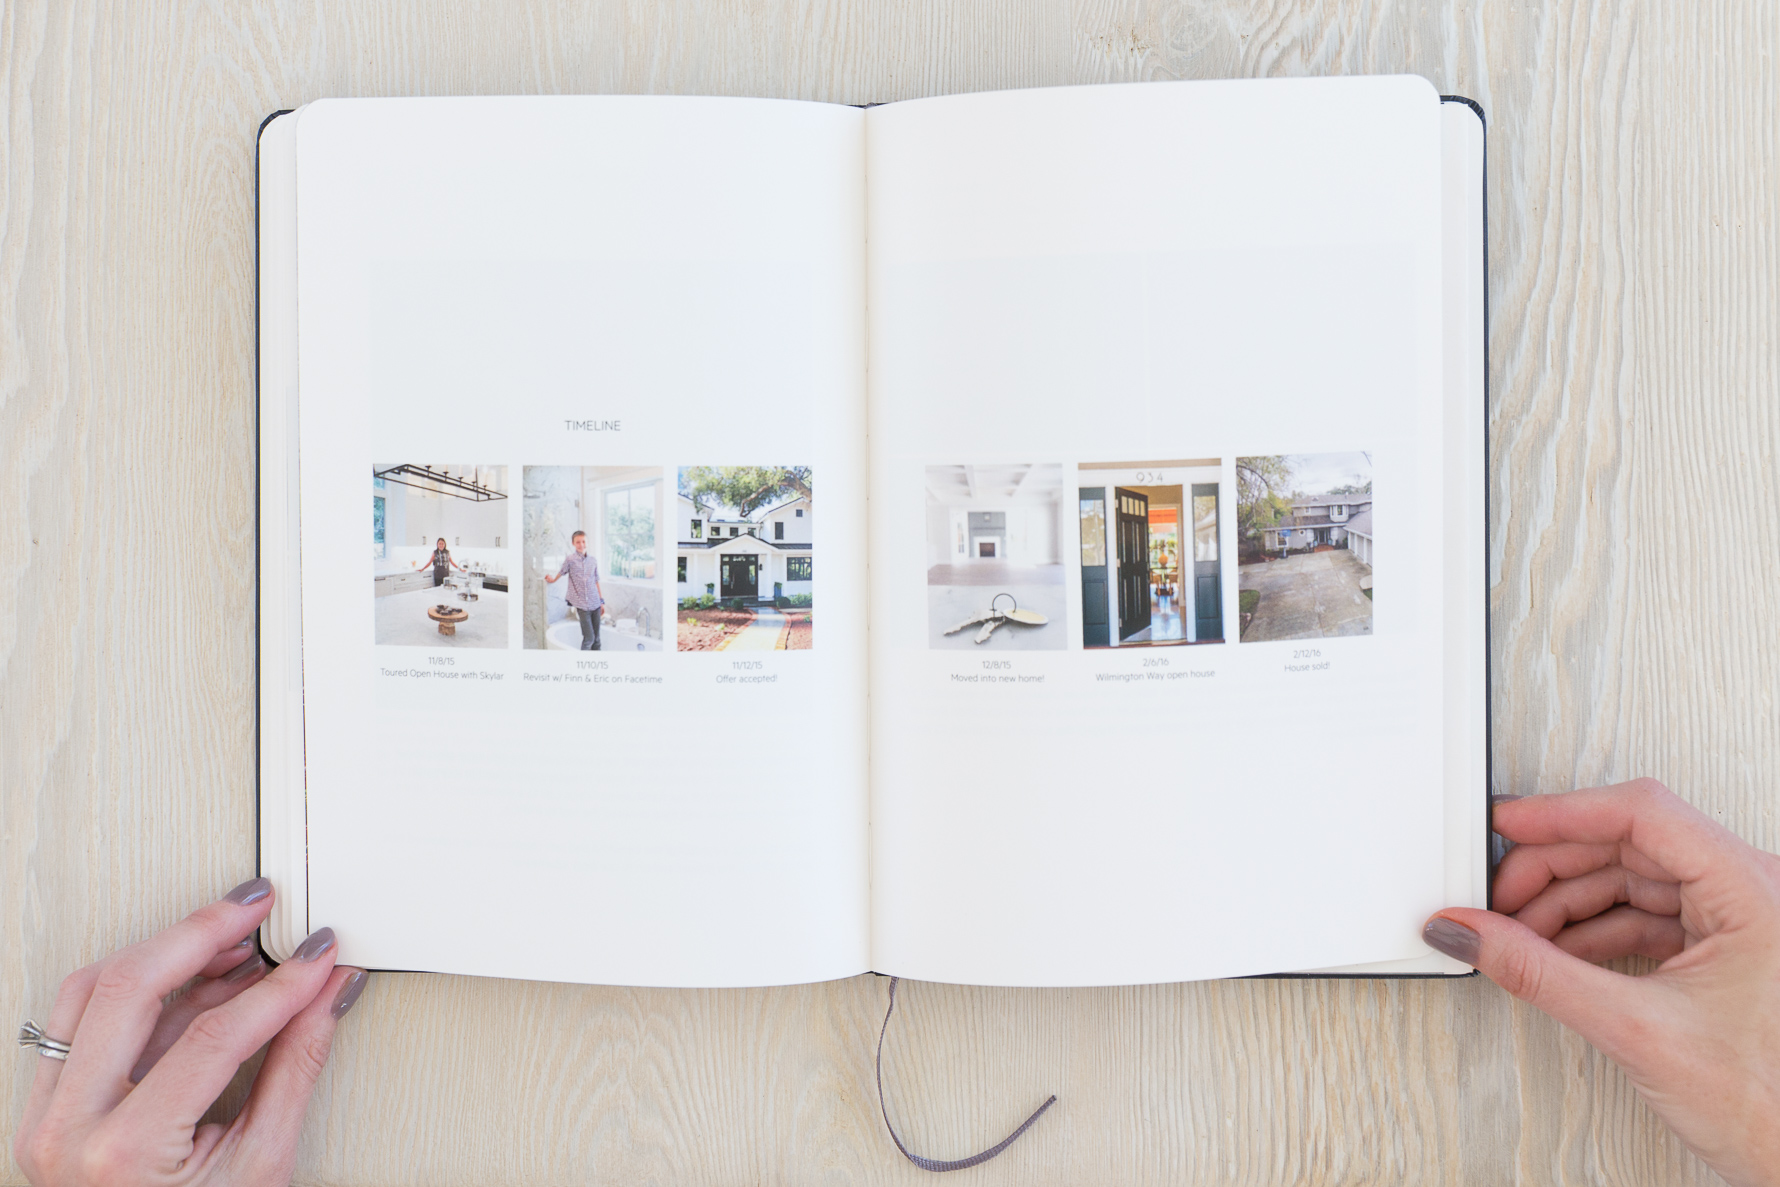
Planning out the structure of your book like this can remove some of the overwhelming “where do I even start” feelings experienced by many people at the onset of creating a photo book.
CREATE A DESIGN FORMULA
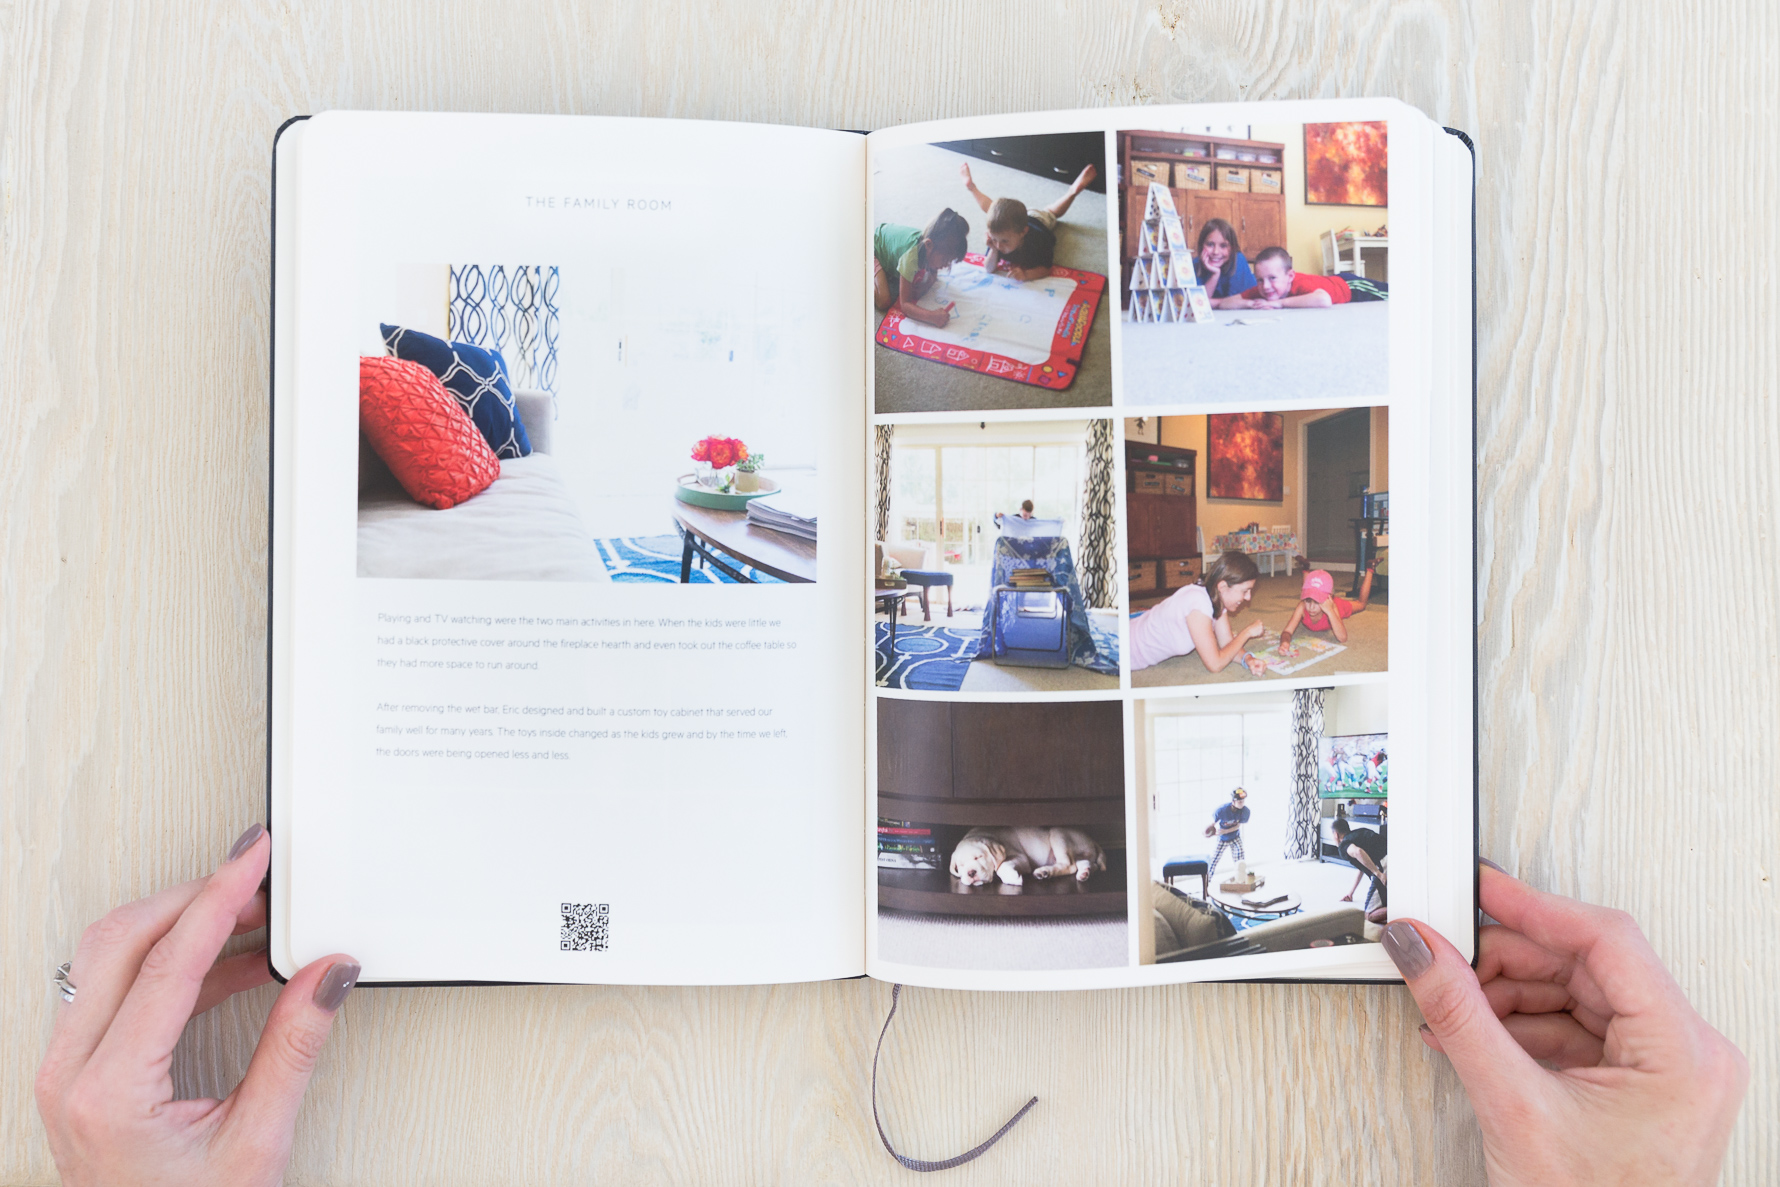
Once I knew the rough organization of the album, I employed one of my favorite book-making techniques – establishing a design formula that runs throughout the book. Since I knew I would be designing my book in Adobe inDesign, I set up a repeatable template that worked like this…
Left Side (L) = title + image of space + a few stories + QR code (see below)
Right Side (R) = images of life lived in that space
L + R and repeat!
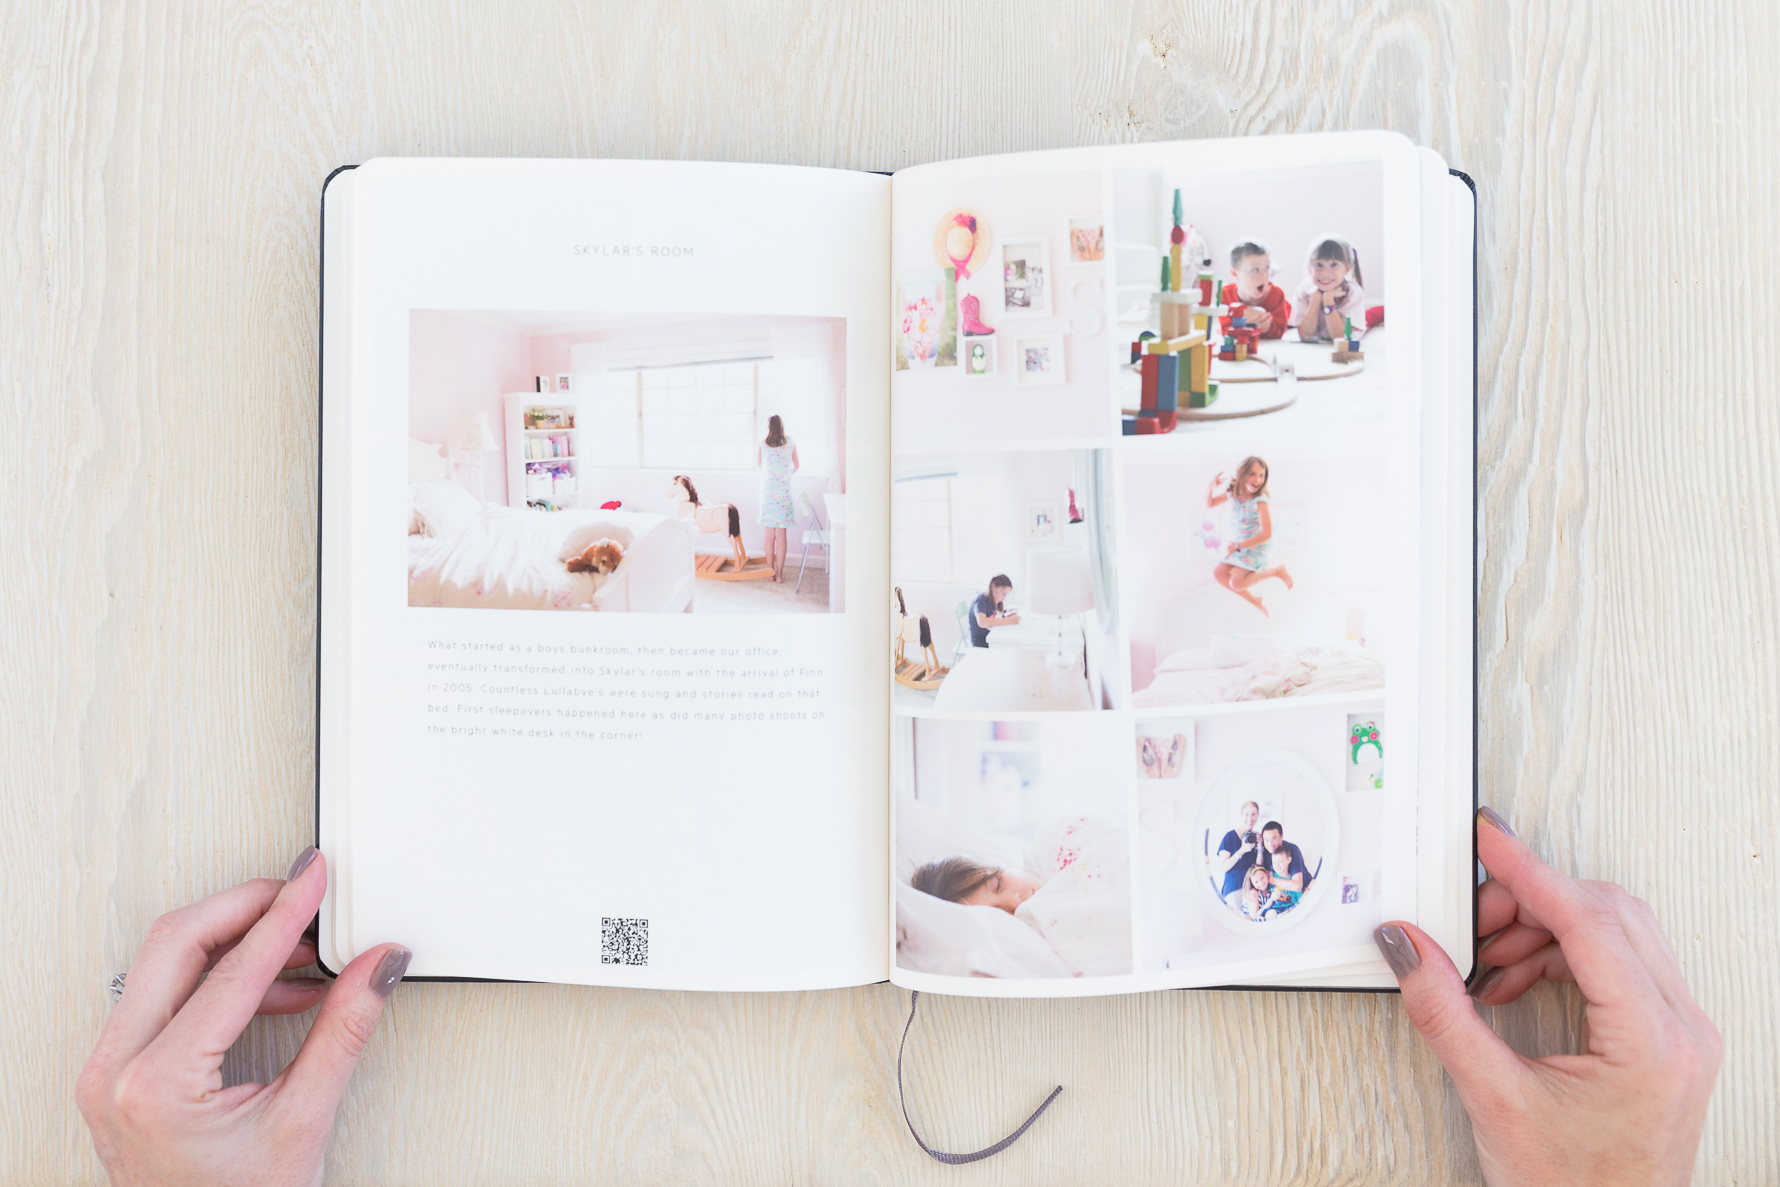
Picking a design for your book that you can carry throughout minimizes the amount of decisions required and provides a consistency to your book that helps the reader flow through the pages.
UTILIZE KEYWORDS
Pulling a book together from photos throughout the years was made much easier by harnessing the power of keywords in my photo organization software. Because I had tagged all of my photos with keywords such as “House Play”, “Bath Time” and “Backyard Play” I was able to more easily find those photos that highlighted all of the good things happening in our home. Consider this your gentle reminder of the benefits of spending the extra time to add some keywords to your photos!
ADD LIFE WITH QR CODES
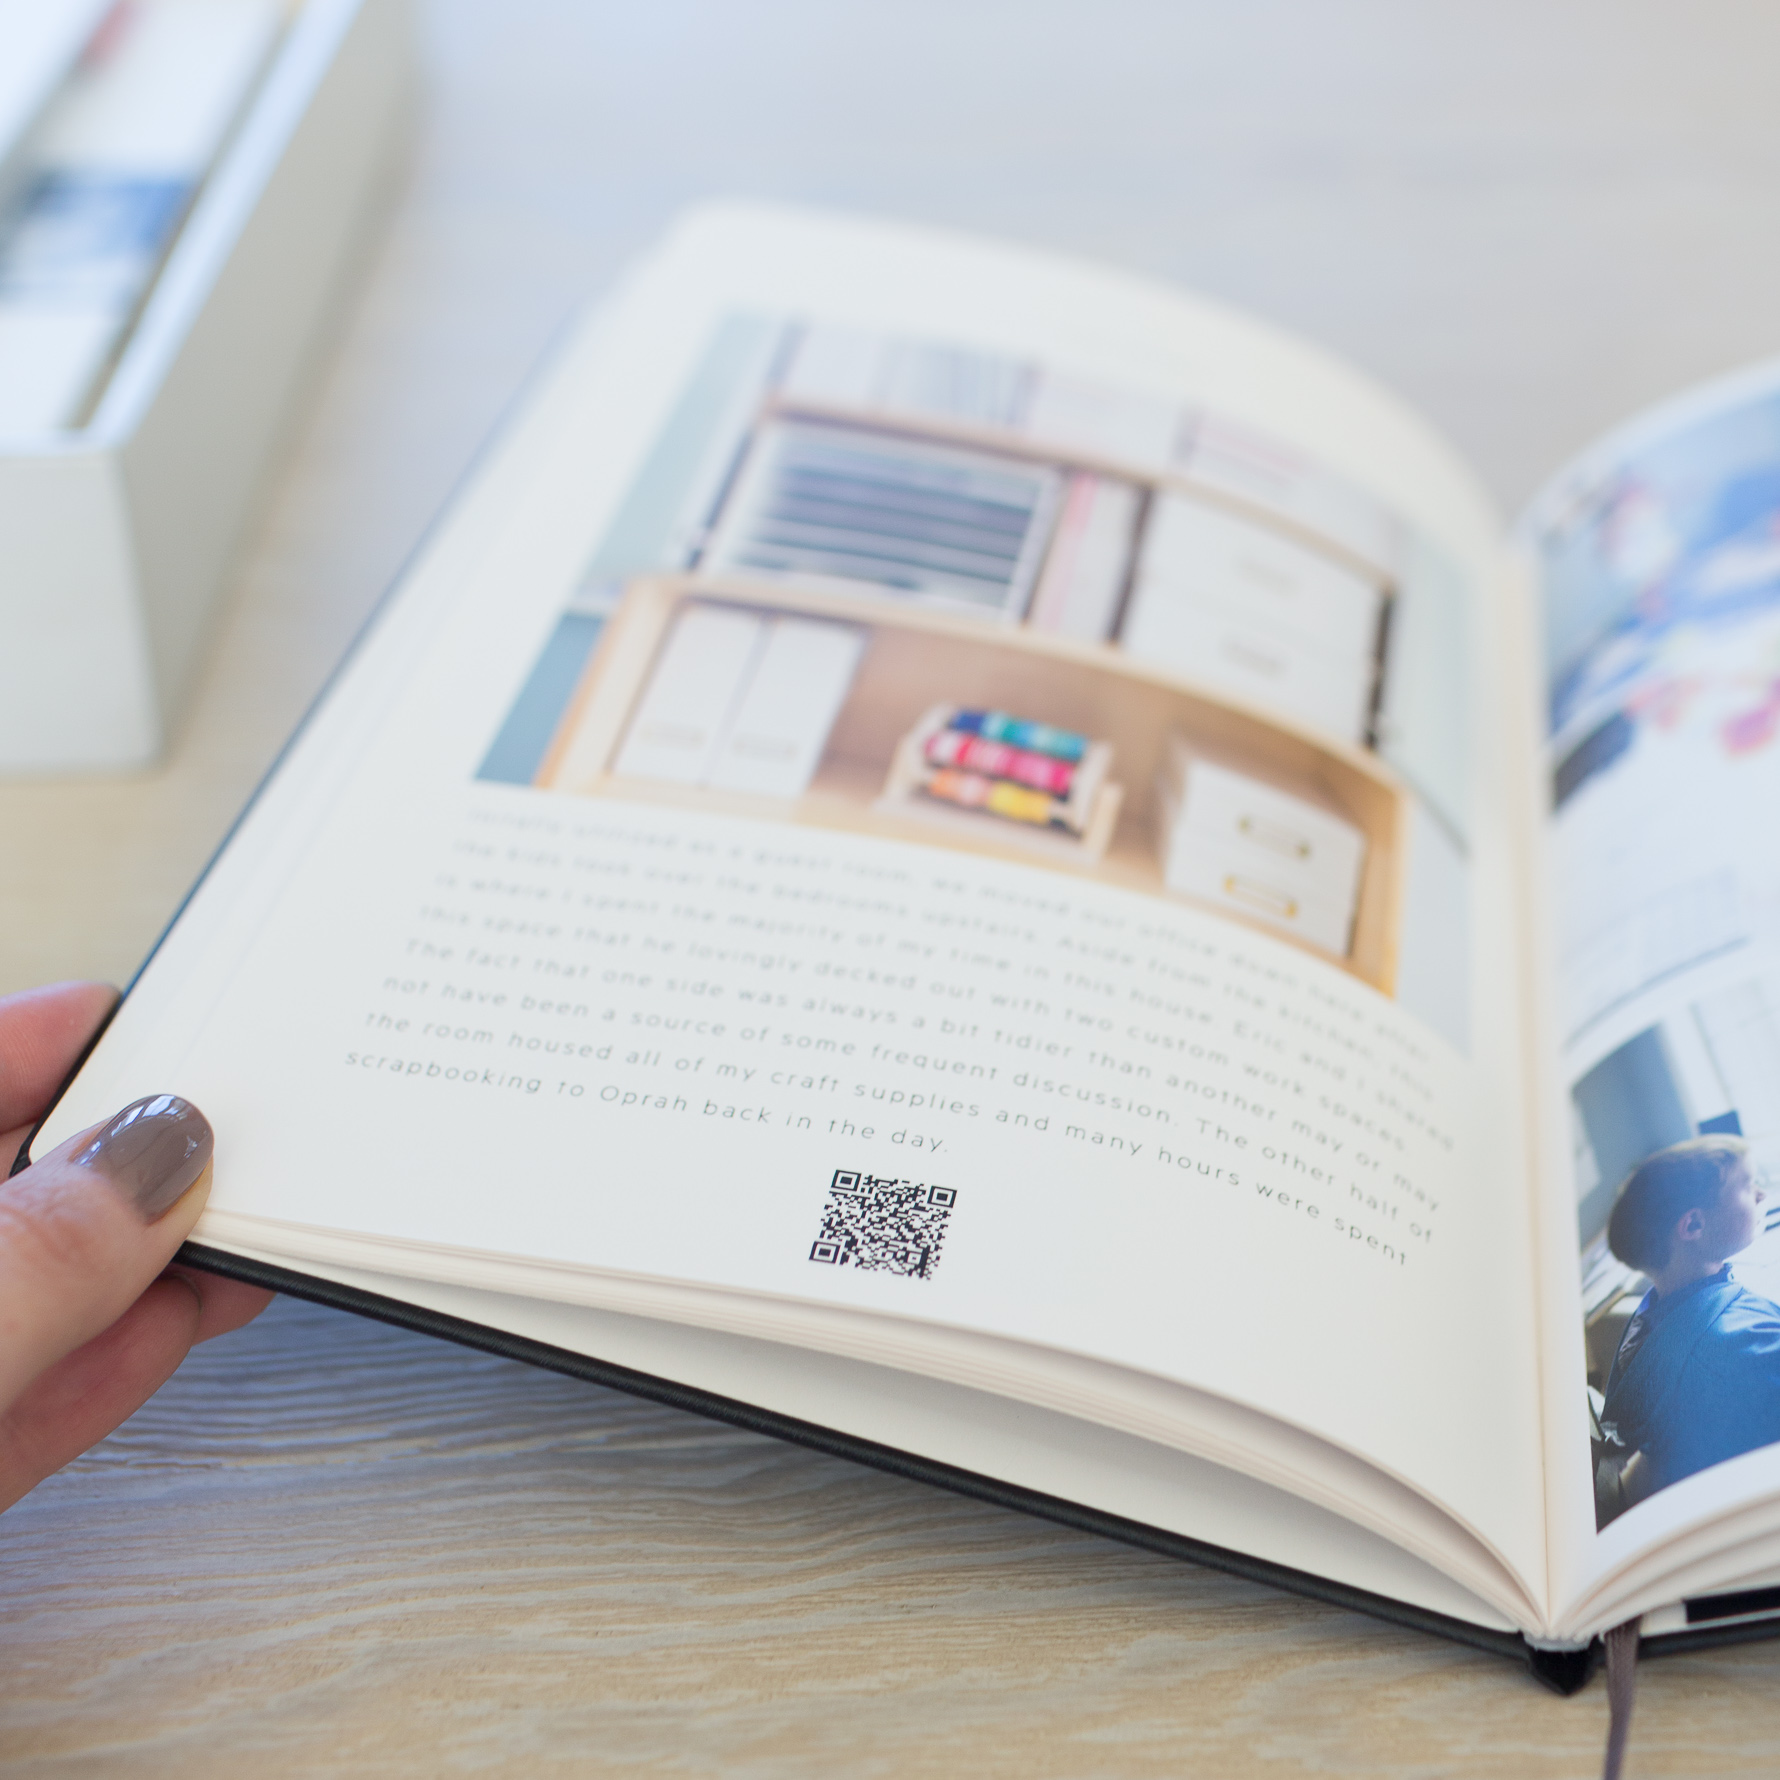
Do you have audio or video files that tell a part of your story that just can’t be captured in an image alone? Include those in your book! The night before we moved out, I rounded up my family and we walked around the house together. Each person shared a favorite memory or two in every space. From the dent in the stairwell made by a flying folding chair to the annual growth chart on the linen closet door, these stories are what make a house a home.
I recorded the narratives from each room as an individual audio file on my phone, converted to a QR code, and voila our voices telling our stories in these spaces are now included on each page! You can read more about the process behind adding QR codes to your book here.
FINISH STRONG
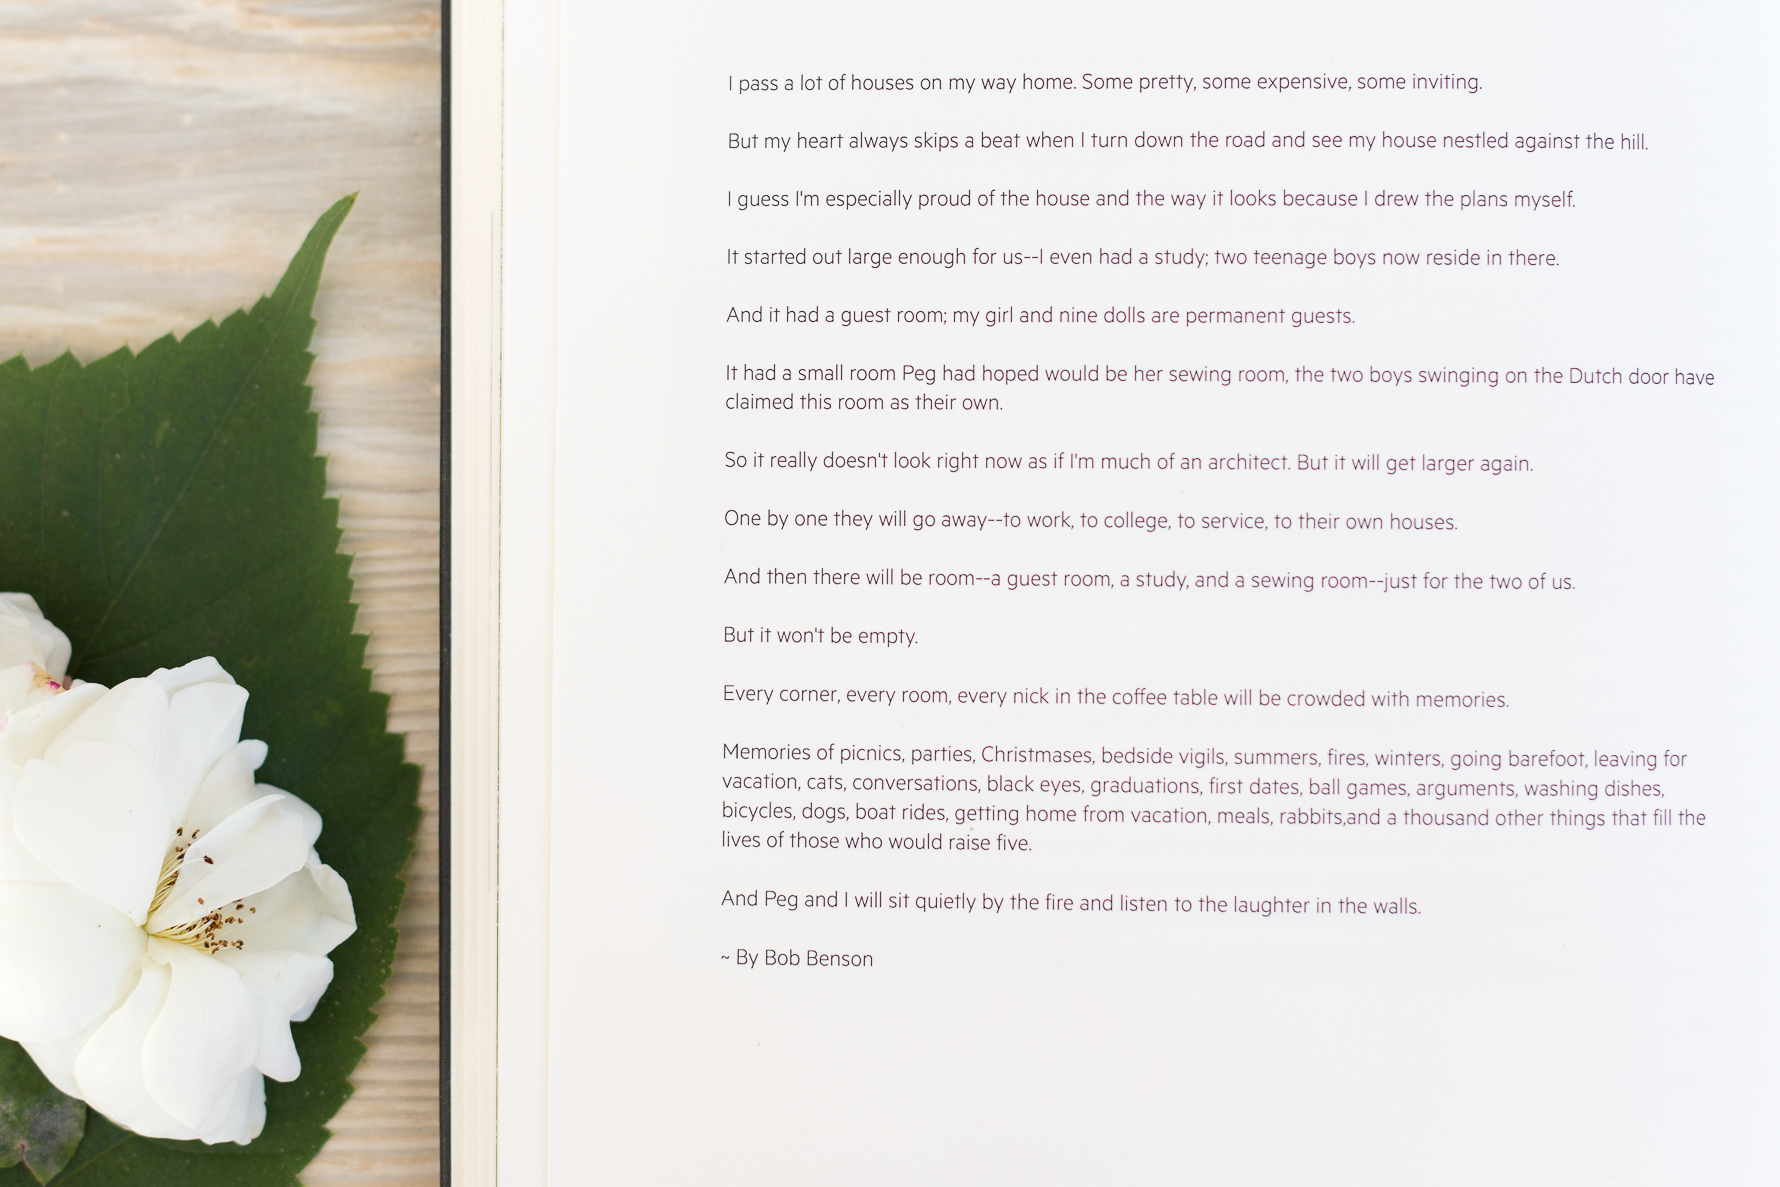
Ending your book with some final thoughts or a poignant photo provides a sense of completion for your story. This book ends with a poem, Laughter in the Walls, that I have been holding in my heart since I first heard it as a new mom…
As soon as this book landed on our doorstep, my oldest curled up on the couch with it and laughed her way through the stories and many funny pictures of her and her brother as little kids. My son is not yet ready to read it. I get that, it will be there whenever he is ready.

Want to see another fun project I printed with Milk Books? This little treasure chronicles my favorite San Francisco coffee houses!

Leave a Reply