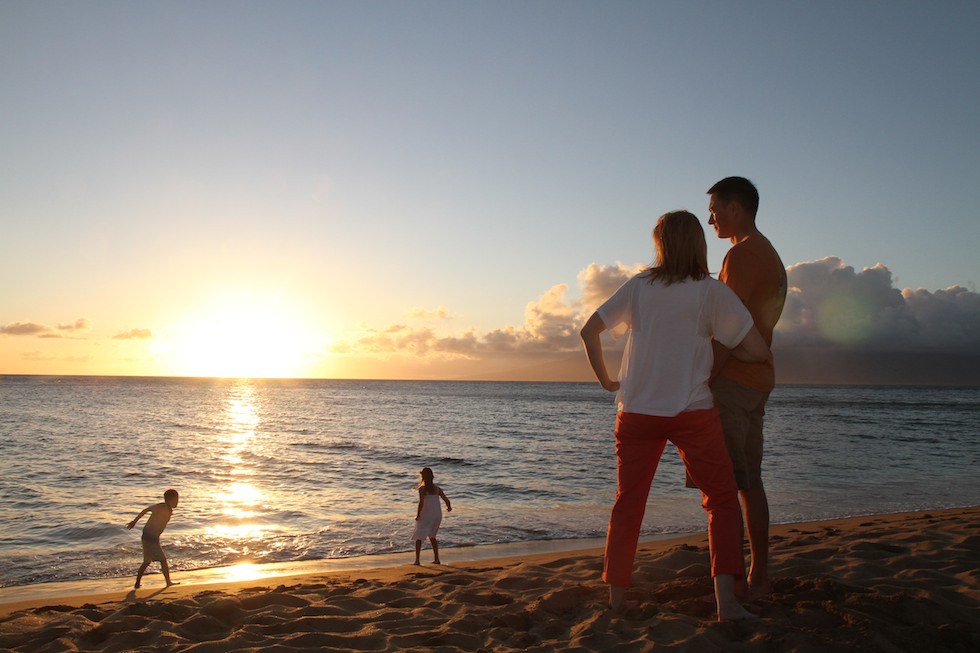
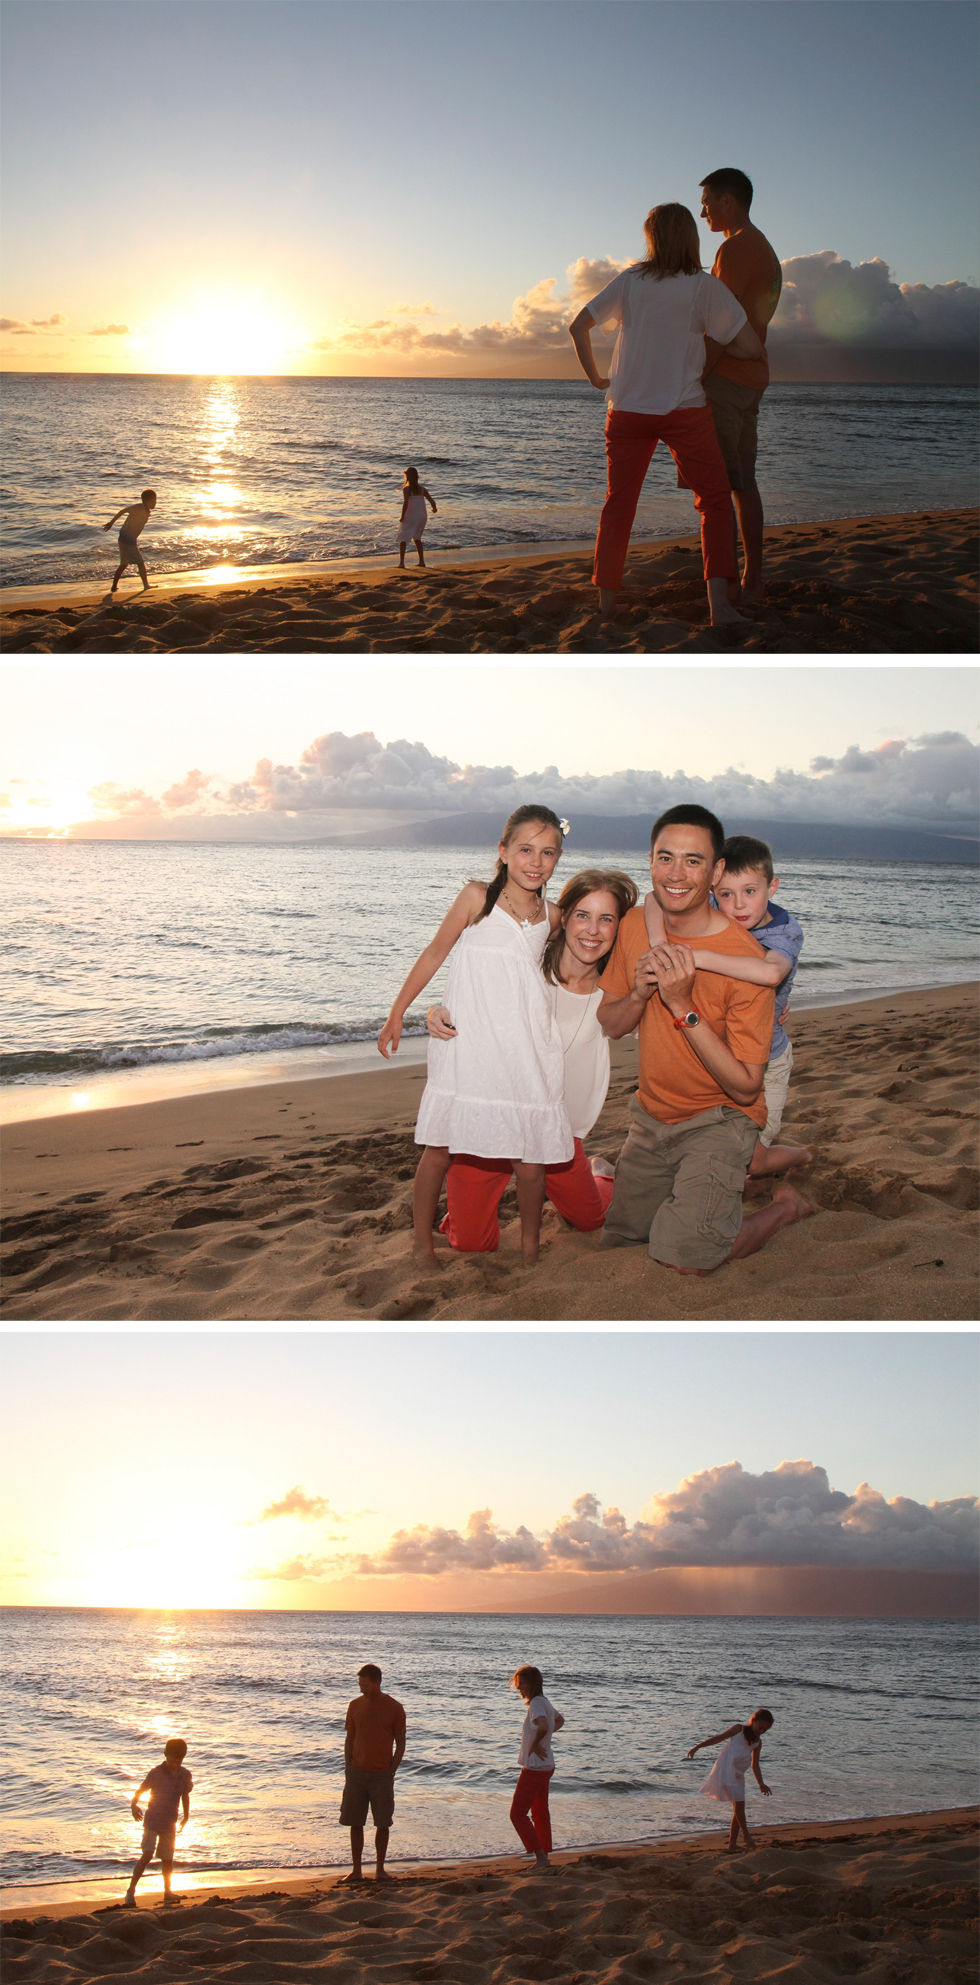
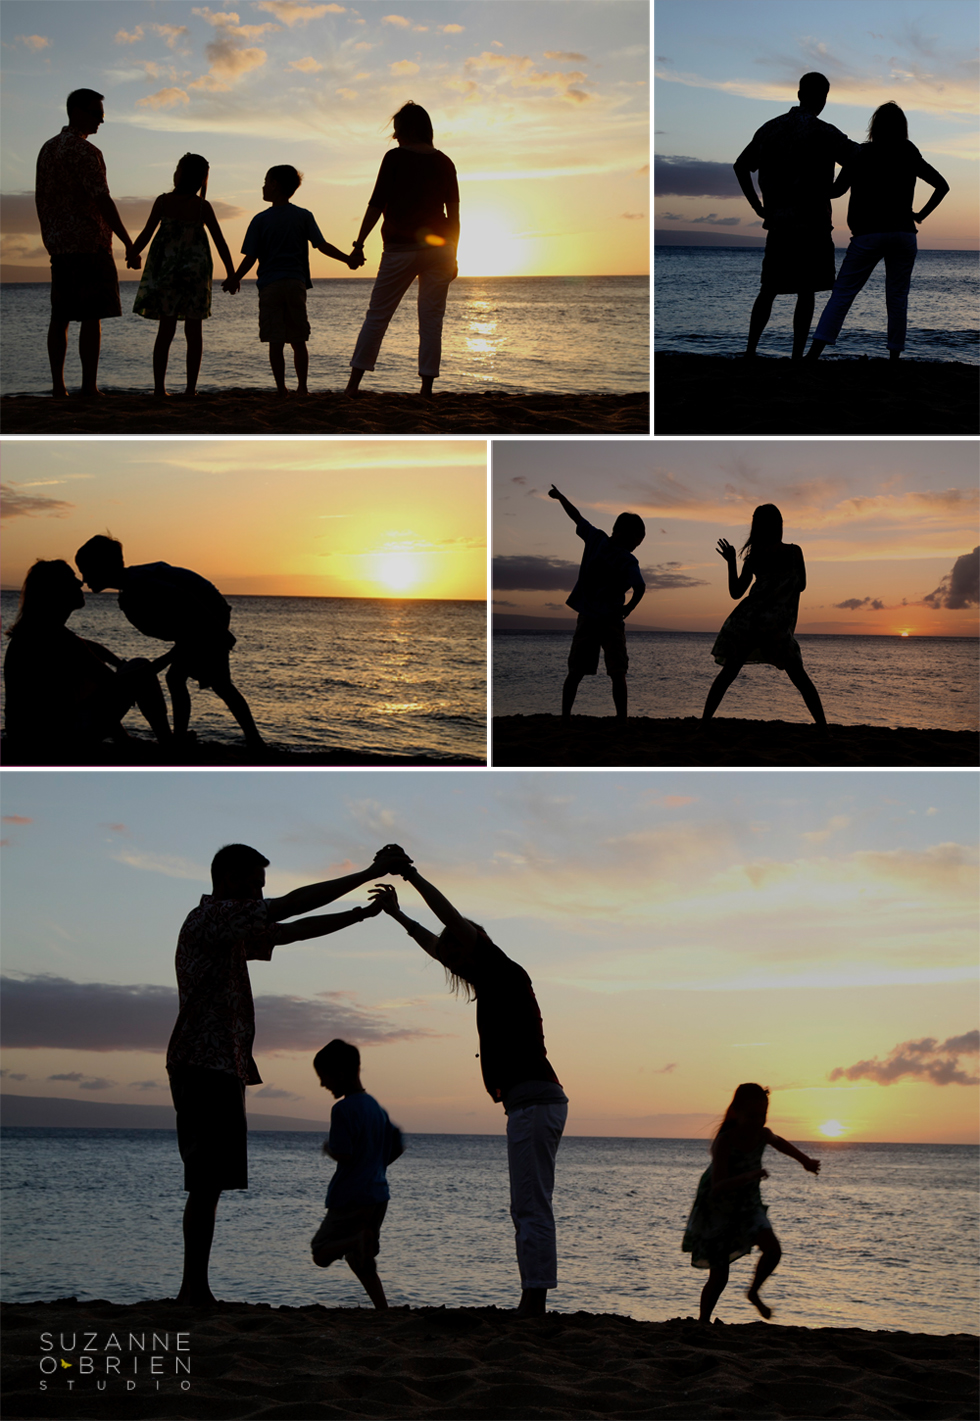
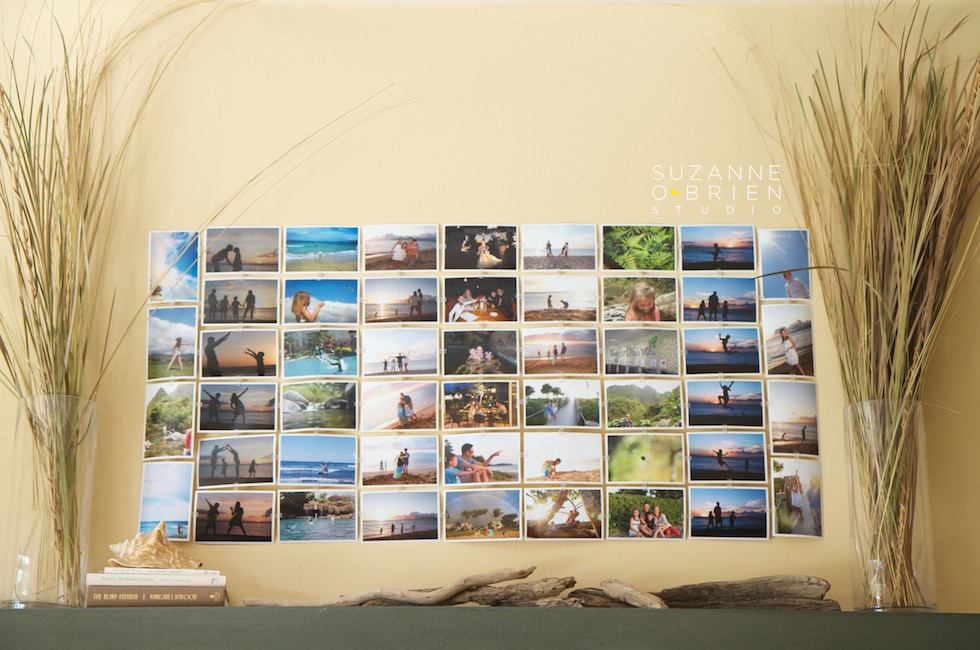
I’ve had some Fotoclips burning a hole on my worktable for a few months now. Waiting for inspiration to strike. On our flight home from spring break it finally did. I love when a project comes together quickly – here are the 5 easy steps it took me to create this travel photo wall:
Step 1: Edit photos from vacation on flight home and make digital album/folder of favorites.
Step 2: Upload said photos to Costco. Select thin white border and lustre print quality to minimize fingerprints. (smile to yourself in Step 5 because your decision to do this was a good one)
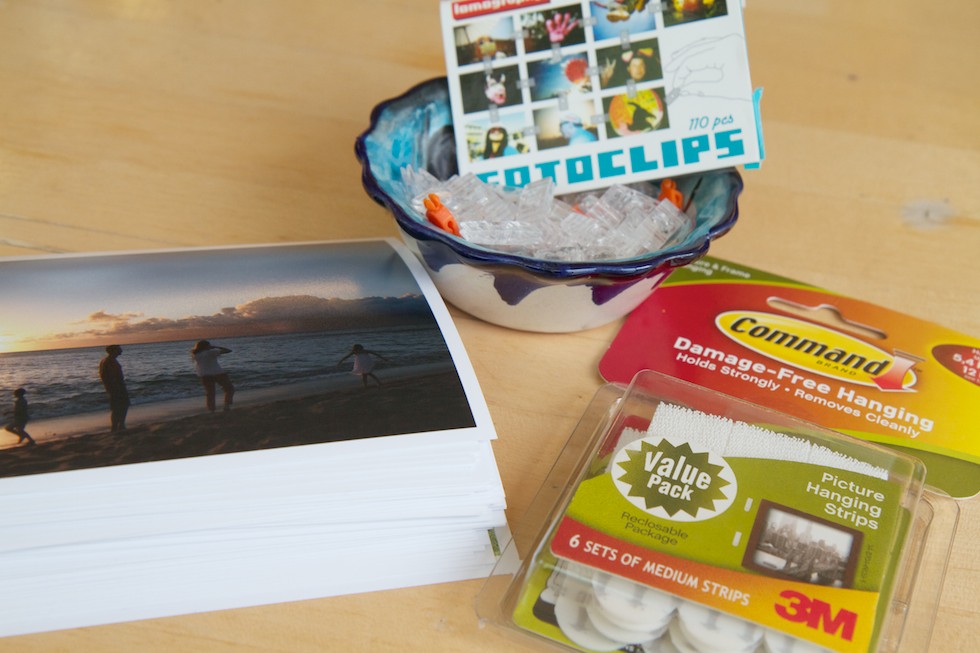
Step 3: Gather your supplies. I used 50 photos (but ordered extra so I could play around with colors, and just put the unused ones in a glass bowl on the coffee table) and 90 Fotoclips (110 clips/package) and medium-sized Command Strip picture hanging strips that I cut in half because I’m frugal like that. Since this is a temporary display, the Command strips are a great option.
Step 4: Decide on your space. I was originally thinking I could spell out “hawaii” with the photos on the this linen pinboard we use to display and rotate the kid’s artwork.
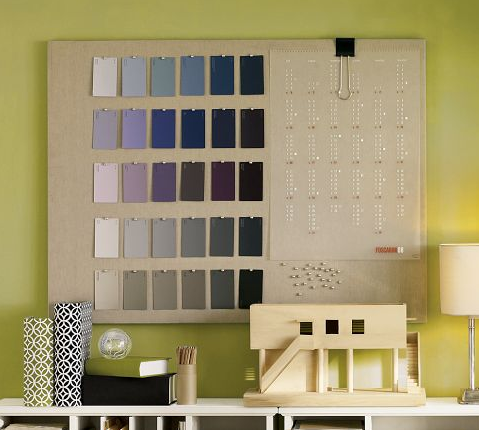
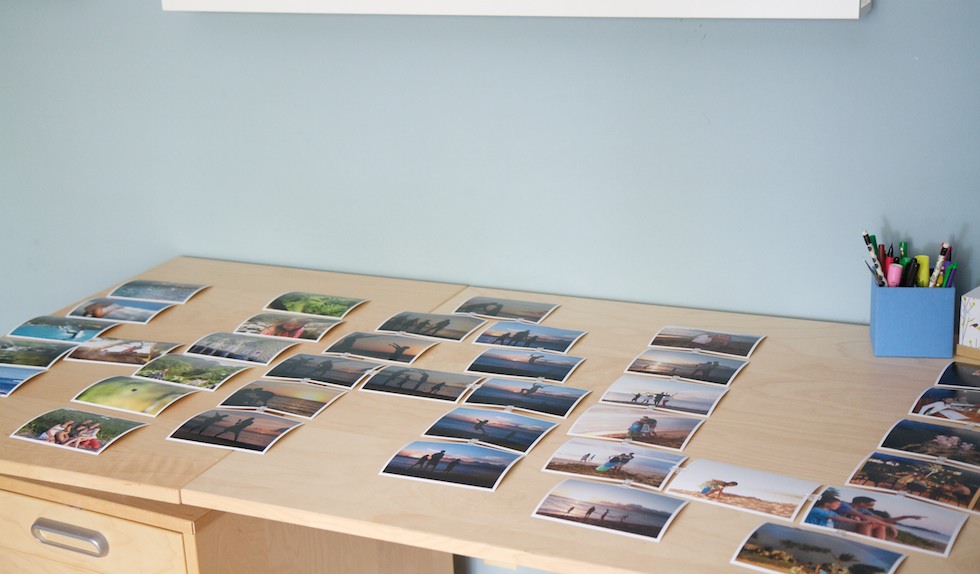
However, I did the math and realized it wouldn’t fit so I walked around the house trying to find another spot I could put this. Since I hadn’t done much with the mantel since taking down Easter decorations that seemed like as good of a spot as any. Once I chose this location I opted to go with a more traditional grid style.
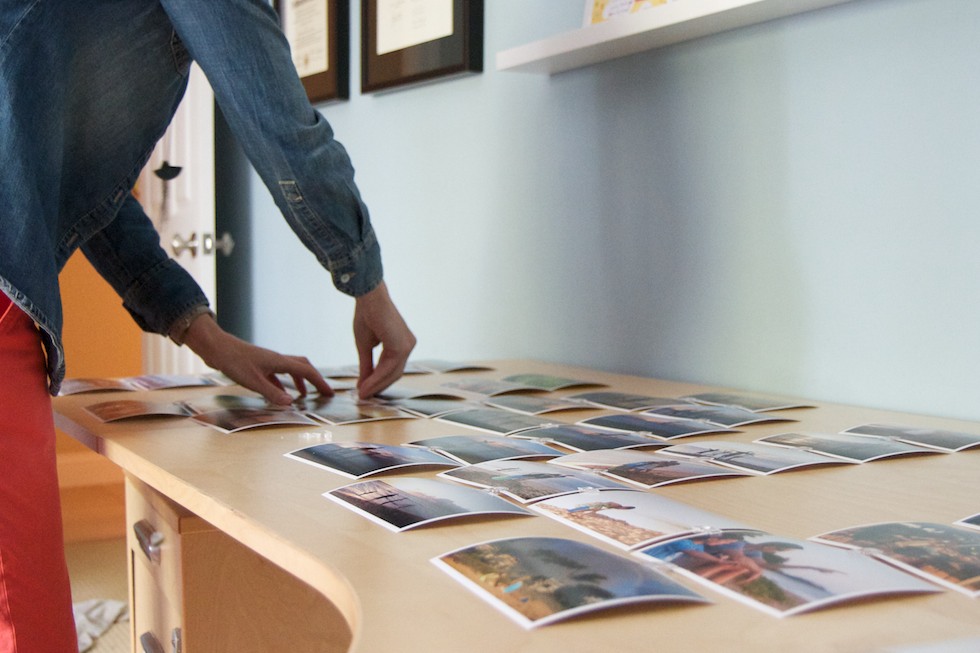
Step 5: Spend about 30 minutes creating the grid and then hang them up. I found it pretty easy to connect the vertical strips, stick a command strip on the top photo and attach to the wall. Then I attached clips on the side of that vertical strip and attached my next strip to that. Not sure if there is a better way, but this worked.
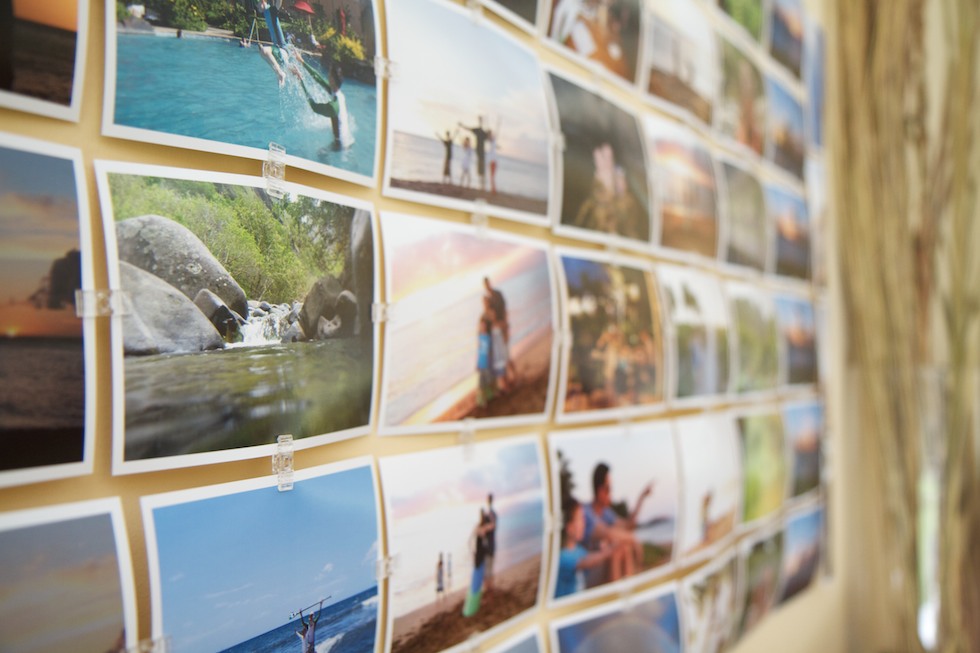
And voila, we are now instantly transported back to our fun family vacation anytime we walk in this room!

